Scratch Built Amiga 2000 Stacks Up The Mods

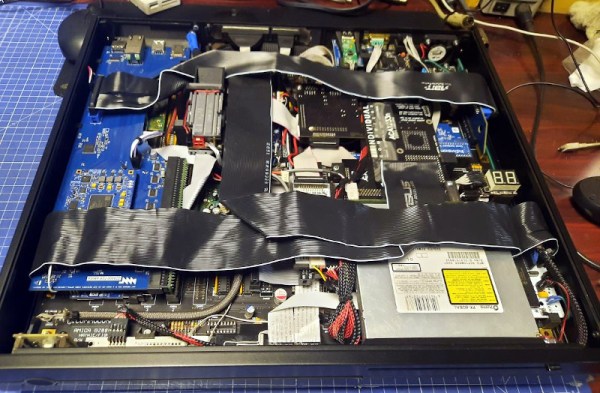
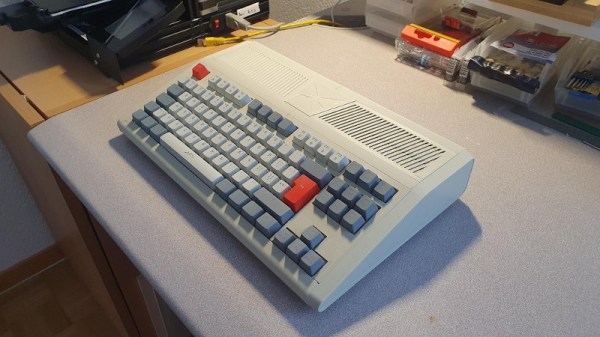
Around these parts, we most often associate [Drygol] with his incredible ability to bring damaged or even destroyed vintage computers back to life with a seemingly endless bag of repair and restoration techniques. But this time around, at the request of fellow retro aficionado [MrTrinsic], he was given a special assignment — to not only build a new Amiga 2000 from scratch, but to pack it with so many mods that just physically fitting them into the case would be a challenge in itself.

The final product, dubbed Tesseract, took two and a half years to complete and has been documented over the course of six blog posts. The first step was to get a brand new motherboard, in this case a modern recreation designed by Floppie209, and start populating it with components. With some modifications, the new board slipped neatly into a slick metal case. Unfortunately it quickly became clear some of the mods the duo wanted to install wouldn’t work with the reverse-engineered motherboard. This was around Spring of 2021, which is the last time we checked in on the project. Continue reading “Scratch Built Amiga 2000 Stacks Up The Mods”

Retro Computer Enclosure Without The Sacrifice

The unique look of early desktop computer systems remains popular with a certain segment of geekdom, so it’s no great surprise when we occasionally see a modern hacker or maker unceremoniously chuck 40+ year old electronics from a vintage machine just to reuse its plastic carcass. We try not to pass judgement, but it does sting to see literal museum pieces turned into glorified Raspberry Pi enclosures.

But with a little luck, perhaps the Retro Wedge Computer case designed by [AndyMt] will be able to save a few of those veteran computers from an unnecessary lobotomy. As the name implies, this 3D printable model is designed to resemble “wedge” desktop computers such as the Atari ST, TI-994A, and Commodore 128. But don’t be put off by its considerable size — the model has been chopped up so no piece is larger than what can fit on a fairly standard 230 x 230 mm print bed. Continue reading “Retro Computer Enclosure Without The Sacrifice”

New Commodore VIC-20 Build

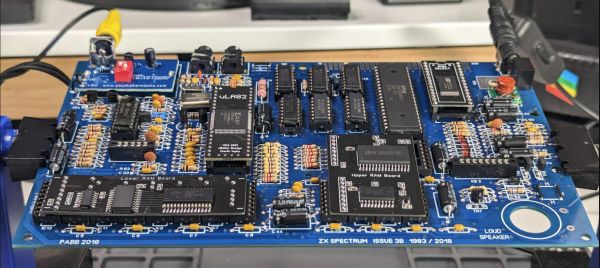
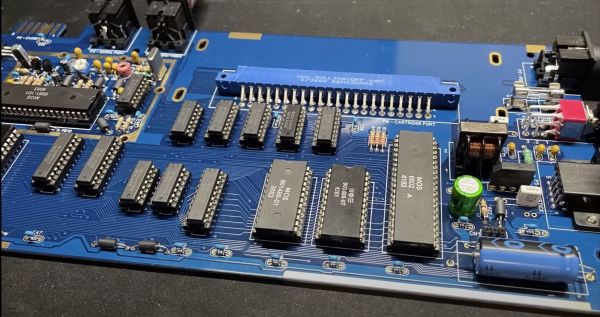
In a recent episode of [The Retro Shack], a new Commodore VIC-20 is built, using a ‘Vicky Twenty’ replacement PCB by [Bob’s Bits] as the base and as many new components as could be found. The occasion for this was that a viewer had sent in a VIC-20 that turned out to be broken, so in order to diagnose it, building a new one with known working parts seemed incredibly useful.

Advantages of the reproduction PCB are a number of board-level fixes that negate the need for certain bodge wires, while also having footprints for a wider range of round DIN connectors. The non-proprietary ICs were obtained along with other standard parts from a retro computing store, while the proprietary Commodore components were scrounged up from your friendly used component selling sites.

The result is what from the outside looks like a genuine VIC-20, and which should prove to be very useful in diagnosing the broken VIC-20 system in the future, as well as presumably to play some games on.

Continue reading “New Commodore VIC-20 Build”

Peer-Reviewed Continuity Tester

One of the core features of the scientific community is the concept of “peer review” where any claims made by a scientist are open to be analyzed and reproduced by others in the community for independent verification. This leads to either rejection of ideas which can’t be reproduced, or strengthening of those ideas when they are. In this community we typically only feature the first step of this process, the original projects from various builders, but we don’t often see someone taking those instructions and “peer reviewing” someone’s build. This is one of those rare cases.

[oxullo] came across [Leo]’s original build for the ultimate continuity tester. This design is much more sensitive than the function which is built in to most multi-meters, and when building this tool specifically some other refinements can be built in as well. [oxullo] began by starting with the original designs, but made several small modifications. Most of these were changing to surface-mount parts, and switching some components for ones already available. Even then, there was still a mistake in the PCB which was eventually corrected. The case for this build is also 3D printed instead of being made out of metal, and with the original video to work from the rest fell into place easily.

[oxullo] is getting comparable results with this continuity tester, so we can officially say that this design is peer reviewed and tested to the highest of standards. If you’re in need of a more sensitive continuity sensor, or just don’t want to shell out for a Fluke meter when you don’t need the rest of its capabilities, this is the way to go. And don’t forget to check out our original write-up for this tester if you missed it the first time around.

One Coder Is Porting Portal To The Nintendo 64

When Portal came out in 2007, developers Valve chose not to release the groundbreaking title on an obsolete Nintendo console long out of production. Nobody cared at the time, of course, but [James Lambert] is here to right that wrong. Yes, he’s porting Portal to the N64.

The port, or “demake,” as [James] calls it, has been under construction for some time. The project has posed some challenges: Portal was developed for PCs that were vastly more powerful than the Nintendo 64 of 1996. Thus, initial concerns were that the console wouldn’t be able to handle the physics of the game or render the recursive portal graphics.

However, hard work has paid off. [James] has chipped away, bit by bit, making improvements to his engine all the while. The latest work has the portals rendering nicely, and the companion cube works just the way you’d expect. There’s also a visible portal gun, and the engine can even render 15 recursive layers when looking through mirrored portals. Sixteen was too much.

Of course, there’s still lots to do. There’s no player model yet, and basic animations and sound are lacking. However, the core concept is there, and watching [James] flit through the not-quite-round portals is an absolute delight. Even better, it runs smoothly even on original Nintendo hardware. It’s a feat worthy of commendation.

We had no idea what [James] had in store back when we featured his work creating real-time shadows on N64 hardware. Now we know! Video after the break.

Continue reading “One Coder Is Porting Portal To The Nintendo 64″

Smallest Discrete Transistor 555 Timer

Over at Tiny Transistor labs, [Robo] took it upon himself to reproduce the classic 555 timer in discrete transistor form. For bonus points, he also managed to put it in a package that’s the same basic size, pin compatible with, and a plug-in replacement for the original. The first task was deciding which 555 circuit to implement. He examined a handful of different implementations — and by examined, we mean dissected them and studied the die circuitry under a microscope. In the end, he went with Hans Camenzind’s original circuit, both as a tribute and because it used the fewest transistors — a point which helped manage the final size, which is only a little bit bigger than the IC!

Speaking of sizes, have you ever soldered an EIA 01005 resistor? We agree with [mbedded.ninja] who wrote on a post about standard chip resistor sizes, the 01005 is a “ridiculously small chip package that can barely be seen by the naked eye.”  It is 16 thou x 8 thou (0.4 mm x 0.2 mm) in size, and despite its name and placement in the Imperial series, it is not half the size of an 0201. The transistors are your standard 2N3904 / 2N3906, but purchased in a not-so-standard DFN (Dual Flat Pack, No Leads). We might think a 1.0 x 0.6 mm component as small, but compared to its neighboring resistors in this circuit, it’s huge.

[Robo] has done this kind of project before, most recently making a discrete recreation of of the classic 741 op-amp. We covered a similar, but larger, discrete 555 timer project back in 2011. If you want to go really big-scale with your own reproduction project, check out the MOnSter 6502 from five years ago for further inspiration. Thanks to [Lucas] for the tip.

Digital Preservation For Old Batteries

The times they are a-changin’. It used to be that no household was complete without a drawer filled with an assortment of different sizes and types of batteries, but today more and more of our gadgets are using integrated rechargeable cells. Whether or not that’s necessarily an improvement is probably up for debate, but the fact of the matter is that some of these old batteries are becoming harder to find as time goes on.

Which is why [Stephen Arsenault] wants to preserve as many of them as possible. Not in some kind of physical battery museum (though that does sound like the sort of place we’d like to visit), but digitally in the form of 3D models and spec sheets. The idea being that if you find yourself in need of an oddball, say the PRAM battery for a Macintosh SE/30, you could devise your own stand-in with a printed shell.

The rather brilliantly named Battery Backups project currently takes the form of a Thingiverse Group, which allows other alkaline aficionados to submit their own digitized cells. The cells that [Stephen] has modeled so far include not only the STL files for 3D printing, but the CAD source files in several different flavors so you can import them into your tool of choice.

Like the efforts to digitally preserve vintage input devices, it’s not immediately clear how many others out there are willing to spend their afternoons modeling up antiquated batteries. But then again, we’ve long since learned not to underestimate the obscure interests of the hacker community.