If you listened to the National Weather Service Weather Radio in the US about 25 years ago, you’ll no doubt remember [Perfect Paul], one of the synthesized voices used to read current conditions and weather forecasts. The voice came from a DECtalk DTC01, a not inexpensive voice synthesizer first made in 1984 that also gave voice to [Stephen Hawking] for many years.
Long obsolete, the DECtalk boxes have a devoted following with hobbyists who like to stretch what the device can do. Some even like to make it sing, after a fashion, and [Michael] decided that making a DECtalk sing “Xanadu”, the theme song from the 1980 [Olivia Newton-John] musical extravaganza, was a good idea. Whether it actually was is debatable, and we’ll take exception with having that particular ditty stuck in our head as a result, but we don’t judge except on the merits of the hack.
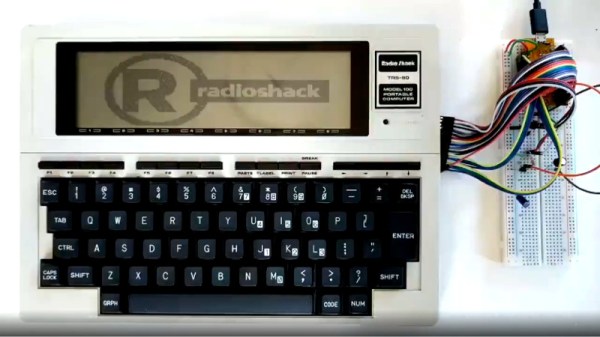
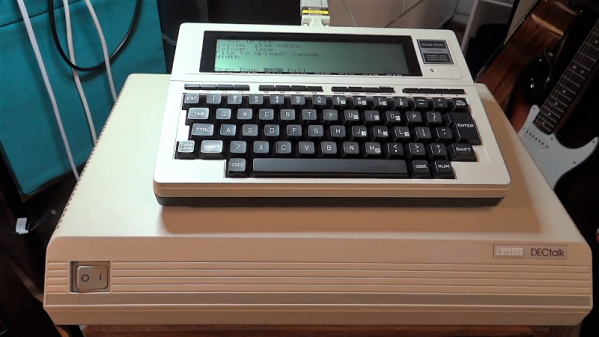
It’s actually easy if you have a DECtalk; the song is a straight ASCII file with remarkably concise instructions on which phonemes the box needs to generate. Along with inflection, tone, and timing instructions, the text file looks almost completely unlike English while still somehow being readable. The DECtalk accepts the file over RS-232, which would be easy enough to do with a modern computer, but [Michael] upped his game a bit by using a TRS-80 Model 100 computer as a serial terminal. The synthesized song is in the video below, with the original included for reference by those who didn’t experience endure the late disco-era glory days.
DECtalks seem pretty rare in the wild, so we appreciate this glimpse at what they can do. There are other retro speech synthesizer hacks, though: the simulated walnut goodness of the Votrax and the MicroVox come to mind, as does the venerable TI Speak and Spell.
Continue reading “Vintage Speech Synthesizer Croons The Oldies”