A quadrature encoder provides a way to let hardware read movement (and direction) of a shaft, and they can be simple, effective, and inexpensive devices. But [Paulo Marques] observed that when it comes to reading motor speeds with them, what works best at high speeds doesn’t work at low speeds, and vice versa. His solution? PicoEncoder is a library providing a lightweight and robust method of using the Programmable I/O (PIO) hardware on the RP2040 to get better results, even (or especially) from cheap encoders, and do it efficiently. Continue reading “Read Motor Speed Better By Making The RP2040 PIO Do It”→
Sometimes, a flat display just won’t cut it. If you’re looking for something a little rounder, perhaps your vision could persist in in looking at [lhm0]’s rotating LED sphere RP2040 POV display.
As you might have guessed from that title, this persistence-of-vision display uses an RP2040 microcontroller as its beating (or spinning, rather) heart. An optional ESP01 provides a web interface for control. Since the whole assembly is rotating at high RPM, rather than slot in dev boards (like Pi Pico) as is often seen, [lhm0] has made custom PCBs to hold the actual SMD chips. Power is wireless, because who wants to deal with slip rings when they do not have to?
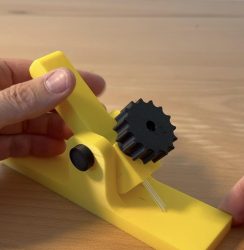
The LED-bending jig is a neat hack-within-a-hack.
[lhm0] has also bucked the current trend for individually-addressable LEDs, opting instead to address individual through-hole RGB LEDs via a 24-bit shift-register. Through the clever use of interlacing, those 64 LEDs produce a 128 line display. [lhm0] designed and printed an LED-bending jig to aid mounting the through-hole LEDs to the board at a perfect 90 degree angle.
What really takes this project the extra mile is that [lhm0] has also produced a custom binary video/image format for his display, .rs64, to encode images and video at the 128×256 format his sphere displays. That’s on github,while a seperate library hosts the firmware and KiCad files for the display itself.
Although most people would use C, C++ or MicroPython for programming microcontrollers, there are a few more obscure options out there as well, with MicroZig being one of them. Recently [Andrew Conlin] wrote about how to use MicroZig with the Raspberry Pi RP2040 MCU, showing the process of writing an SSD1306 OLED display driver and running it. Although MicroZig has since published a built-in version, the blog post gives a good impression of what developing with MicroZig is like.
Zig is a programming language which seeks to improve on the C language, adding memory safety, safe pointers (via option types), while keeping as much as possible of what makes C so useful for low-level development intact. The MicroZig project customizes Zig for use in embedded projects, targeting platforms including the Raspberry Pi MCUs and STM32. During [Andrew]’s usage of MicroZig it was less the language or supplied tooling that tripped him up, and more just the convoluted initialization of the SSD1306 controller, which is probably a good sign. The resulting project code can be found on his GitHub page.
We return to [Tom Verbeure] hacking on Symmetricom GPS receivers. This time, the problem’s more complicated, but the solution remains the same – hardware hacking. If you recall, the previous frontier was active antenna voltage compatibility – now, it’s rollover. See, the GPS receiver chip has its internal rollover date set to 18th of September 2022. We’ve passed this date a while back, but the receiver’s firmware isn’t new enough to know how to handle this. What to do? Build an interposer, of course.
You can bring the module up to date by sending some extra init commands to the GPS chipset during bootup, and, firmware hacking just wasn’t the route. An RP2040 board, a custom PCB, a few semi-bespoke connectors, and a few zero-ohm resistors was all it took to make this work. From there, a MITM firmware wakes up, sends the extra commands during power-on, and passes all the other traffic right through – the system suspects nothing.
Everything is open-source, as we could expect. The problem’s been solved, and, as a bonus, this implant gives a workaround path for any future bugs we might encounter as far as GPS chipset-to-receiver comms are concerned. Now, the revived S200 serves [Tom] in his hacking journeys, and we’re reminded that interposers remain a viable way to work around firmware bugs. Also, if the firmware (or the CPU) is way too old to work with, an interposer is a great first step to removing it out of the equation completely.
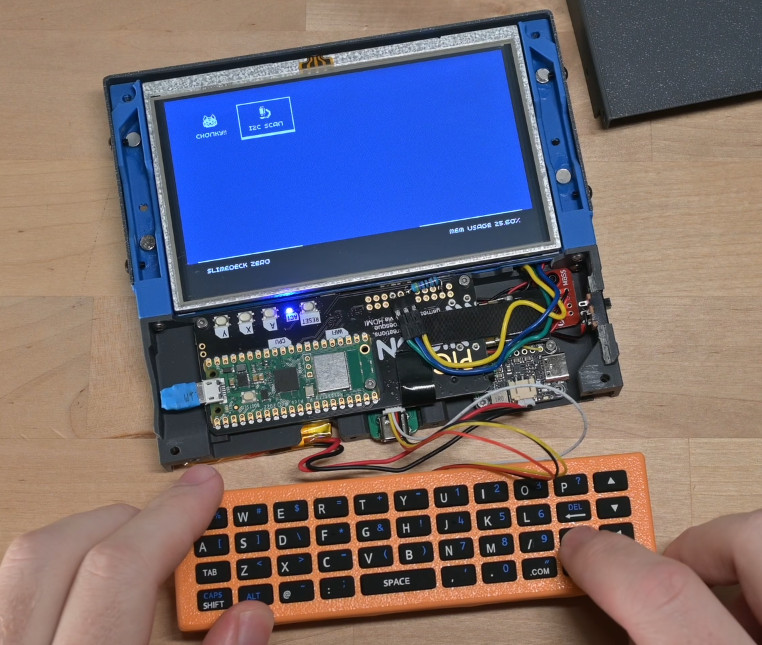
[Abe] wanted the perfect portable computer. He has a DevTerm, but it didn’t quite fit his needs. This is Hackaday after all, so he loaded up his favorite CAD software and started designing. The obvious choice here would be a Raspberry Pi. But [Abe] didn’t want to drop in a Linux computer — he was going for something a bit smaller.
An RP2040 Pico would be a perfect fit. Driving a display with the Pico can be eat a lot of resources though. The solution was a PicoVision from Pimoroni. PicoVision uses two RP2040 chips. One drives an HDMI port, while the other is free to run application software. This meant a standard HDMI screen could be used.
The keyboard was a bit harder. After a lot of searching, [Abe] found an IR remote designed for smart TVs. The QWERTY keyboard was the perfect size but didn’t have an interface he could use. He fixed that with an adapter PCB including an I2C GPIO expander chip. A bit of I2C driver software later, and he had a working input keyboard.
Hardware doesn’t do anything without software though. The software running on the handheld is called Slime OS, and the source is available at [Abe’s] GitHub. It’s a launcher, with support for applications written in python. [Abe] has a few basic demos working, but he’s looking for help to get more features up and running.
Although it wasn’t quite what [Abe] was after, our own [Donald Papp] came away fairly impressed when he gave the DevTerm a test drive back in 2022. Something to consider if you’re looking for a Linux handheld and not quite ready to build one yourself.
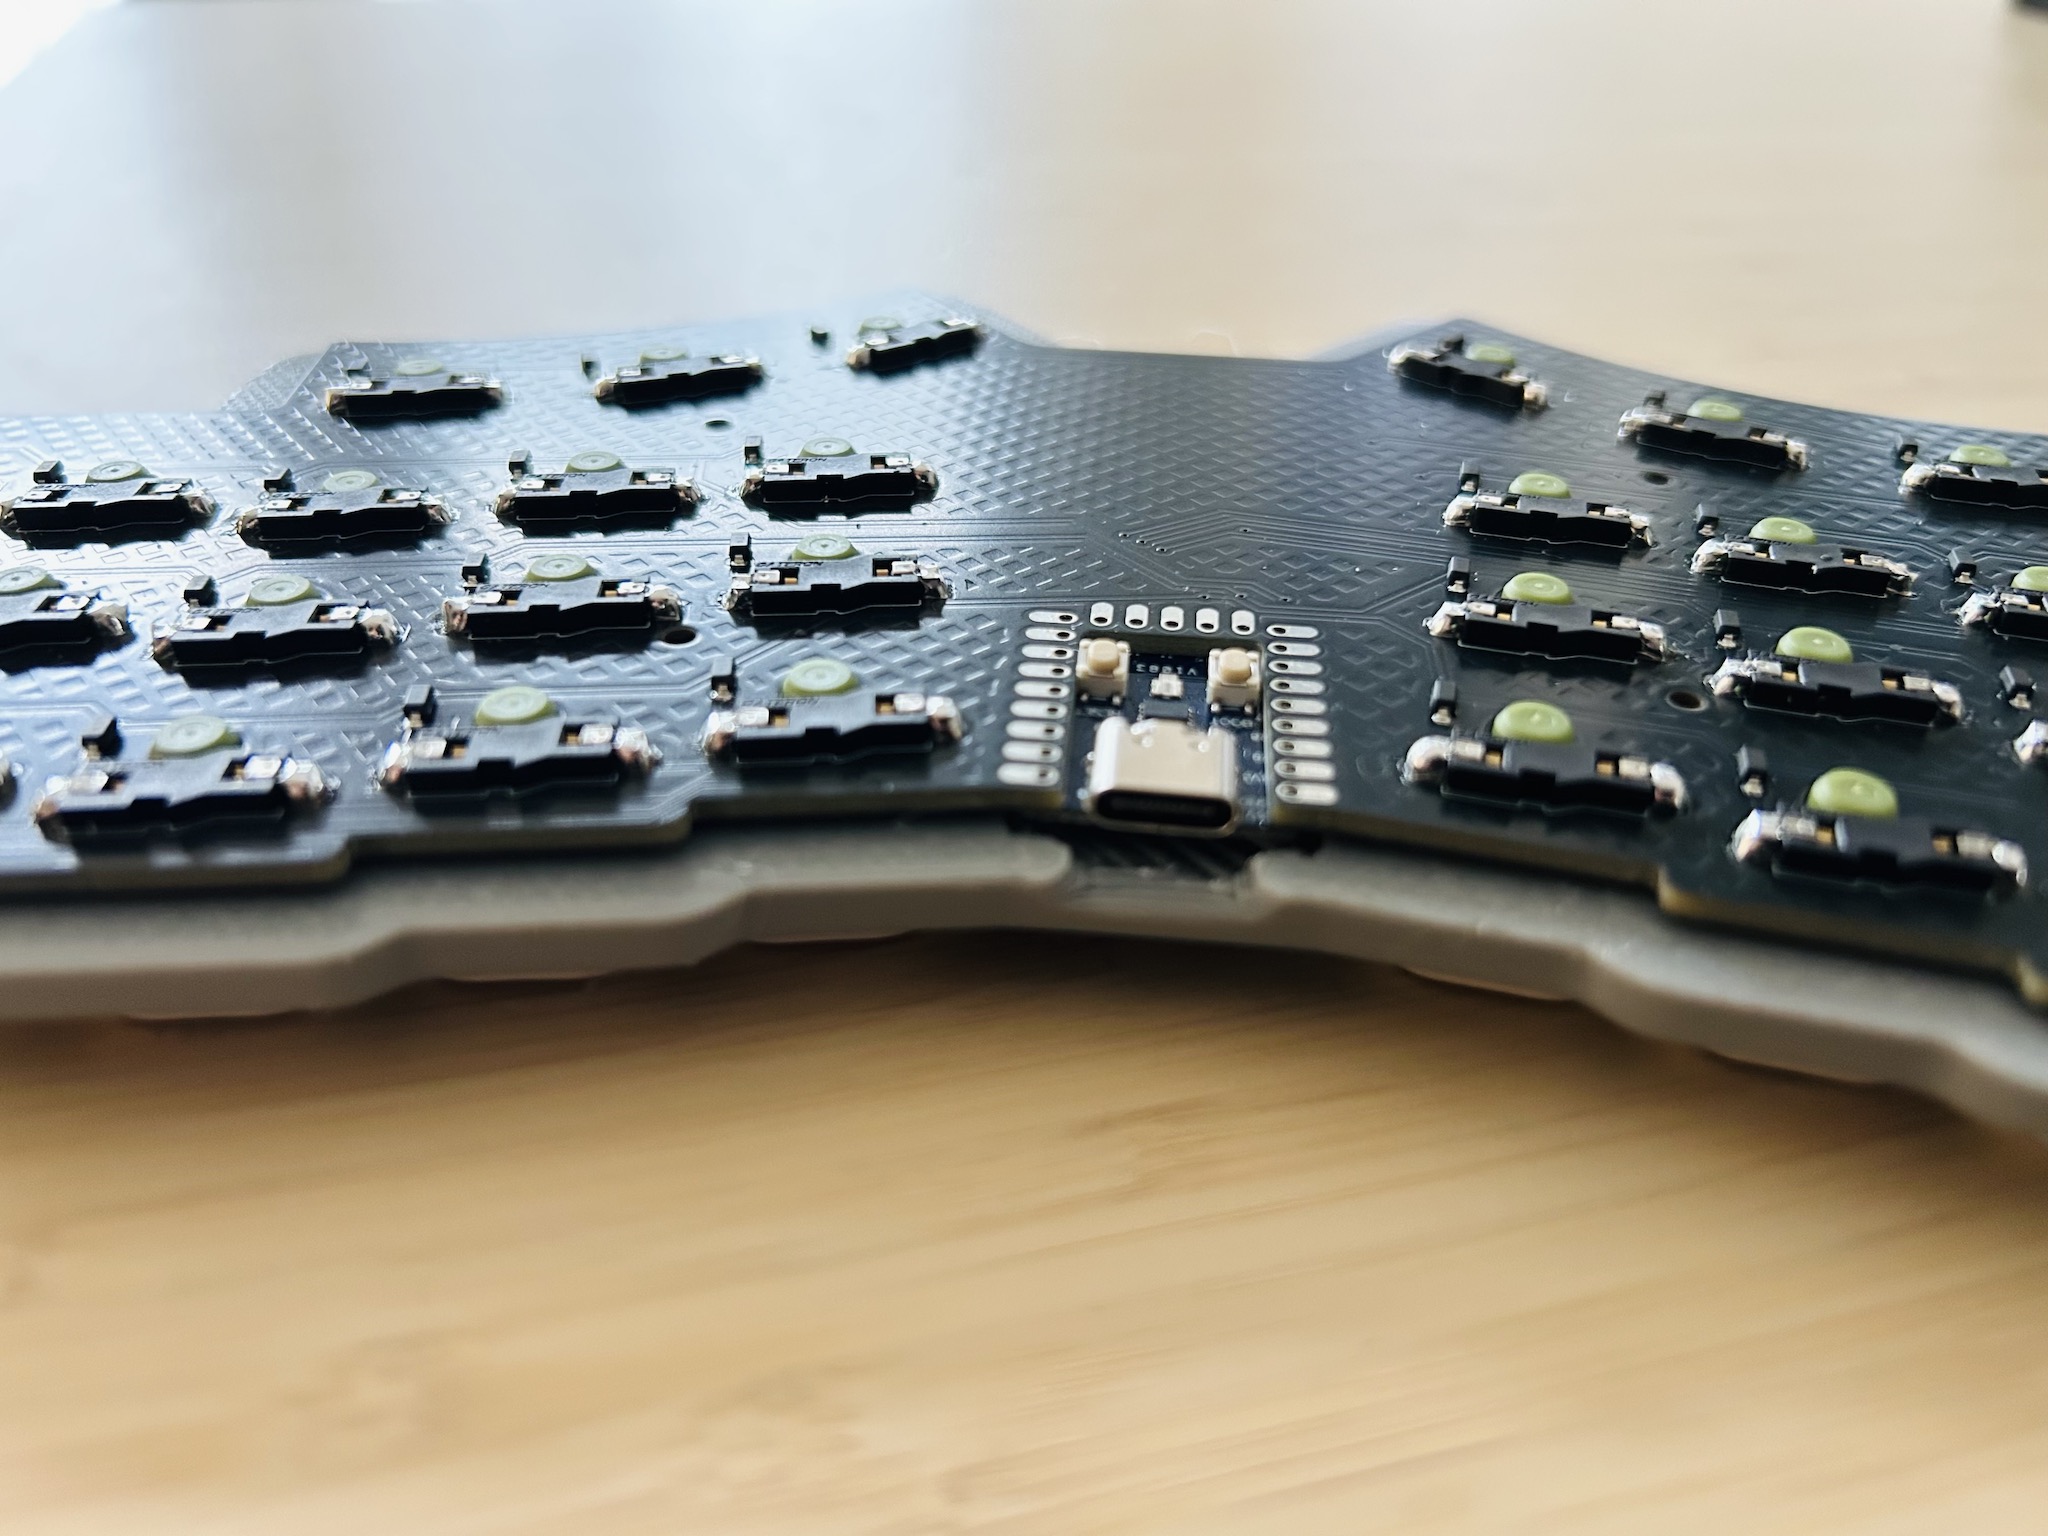
You know, it’s a tale as old as custom mechanical keyboards. [penkia] couldn’t find any PCBs with 36 keys and Gateron low-profile switch footprints, so they made their own and called it the LoremIpsum36. Isn’t it lovely?
This baby runs on an RP2040, which sits flush as can be in a cutout in the PCB. This maneuver, along with the LP switches in hard-to-find SK-33 sockets results in quite the thin board.
[penkia] says that despite using a 3 mm tray for added rigidity, the entire thing is thinner than the Nuphy Air60 v2, which is just over half an inch (13.9 mm) thick. For keycaps, [penkia] has used both XVX profile and FKcaps’ LPF.
And yeah, that area in the middle is crying out for something; maybe a trackball or something similar. But [penkia] is satisfied with it as-is for the first version, so we are, too.
When the Game Boy Printer was released back in 1998, being able to produce a hard-copy of your Pokémon diploma or your latest Game Boy Camera snapshot at the touch of a button was was pretty slick indeed. But in our modern paperless society, the GB Printer somehow sticks out as even more archaic than the other add-on’s for Nintendo’s iconic handheld. Even among the folks who are still proudly playing the games that support the Printer, nobody actually wants to print anything out — although that doesn’t mean they don’t want to see the images.
The TinyGB Printer, developed by [Raphaël BOICHOT] and [Brian KHUU], could be considered something of a Game Boy Non-Printer. Powered by the RP2040 Zero development board, this open source hardware device plugs into your Game Boy and is picked up by all the games as a legitimate Printer. But instead of cranking out a little slip of thermal paper once you hit the button, the image is displayed in all its 240×240 glory on a 1.3 inch TFT display mounted to the top of the board.