Over the years, we’ve seen a steady stream of updates for the Raspberry Pi Foundation’s flagship single-board computer (SBC), with each new release representing a significant boost in processing power and capability. But the slim Raspberry Pi Zero, released all the way back in 2015, hasn’t been quite so fortunate. Beyond the “W” revision that added WiFi and Bluetooth in 2017, the specs of the diminutive board have remained unchanged since its release.
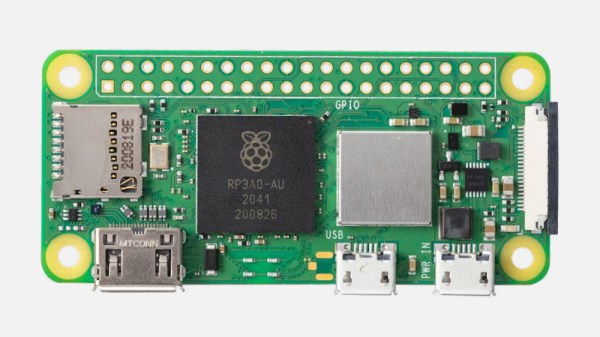
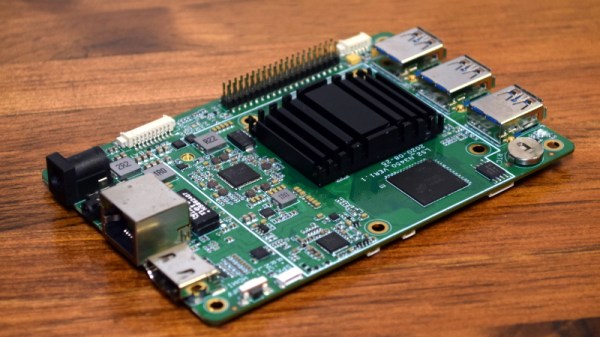
That is, until now. With the introduction of the $15 USD Raspberry Pi Zero 2 W, the ultra-compact Linux board gets a much-needed performance bump thanks to the new RP3A0 system-in-package, which combines a Broadcom BCM2710A1 die with 512 MB of LPDDR2 SDRAM and a quad-core 64-bit ARM Cortex-A53 CPU clocked at 1 GHz. In practical terms, the Raspberry Pi Foundation says the new Zero 2 is five times as fast as its predecessor with multi-threaded workloads, and offers a healthy 40% improvement in single-threaded performance. That puts it about on par with the Raspberry Pi 3, though with only half the RAM.
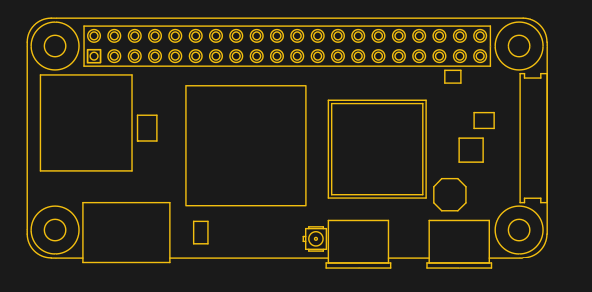
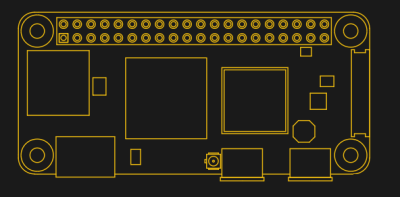 Otherwise, the new Zero 2 isn’t much different from the original. It’s the same size and shape, meaning existing cases or mounts should work fine. You’ll also find the micro SD slot, CSI camera connector, dual micro USB ports, and mini HDMI port in the same places they were in 2015.
Frankly we’re a little surprised they didn’t switch over to USB-C (at least for the power port) and micro HDMI to bring it in line with the Pi 4, but of course, they presumably didn’t want to break compatibility with existing Zero projects. At least we won’t have to wait for a second edition to add wireless, as the Zero 2 W offers 2.4 GHz 802.11 b/g/n WiFi and Bluetooth 4.2 out of the box.
We’ll have samples of the new Zero 2 W in hand shortly, so keep an eye out for a detailed overview of this highly anticipated new member of the Pi family. In the meantime, let us know what you think about the new hardware in the comments. Is it a worthy successor to the original $5 Pi Zero?