
For a five-year-old future Hackaday scribe, there could be no greater day than that on which a Dymo label maker appeared in the house. With its spinny daisy-wheel to choose a character and its squeezy handle to emboss the letter into the plastic tape, there would follow a period of going nuts kerchunking out misspelled labels and slapping them on everything. Plus the things look like space guns, so there would have been a lot of pew-pewing too.
This Dymo dot-matrix label maker bears no resemblance to our long-lost label blaster, but it’s pretty cool in its own right. The product of collaborators [Felix Fisgus] and [Timo Johannes] and undertaken as a project for their digital media program, the only thing the labeler has in common with the Dymos of old is the tape. Where the manual labelers press the characters into the tape with a punch and die, their project uses a dot-matrix approach. Messages are composed on an old PS/2 keyboard through an Arduino and a 16×2 LCD display, and punched onto the tape a dot at a time. The punch is a large darning needle riding on the remains of an old CD drive and driven by a solenoid. When it comes time to cut the label, servo driven scissors do the job. It’s a noisy, crazy, Rube Goldberg affair, and we love it. Check it out in action in the video below.
We applaud [Felix] and [Timo] for carrying the torch of embossed label making. It’s a shame that we’ve turned to soulless thermal printers to handle most of our labeling needs; then again, we’ve seen some pretty neat hacks for those too.
Continue reading “Dymo Rides Again With This Dot-Matrix Label Embosser”

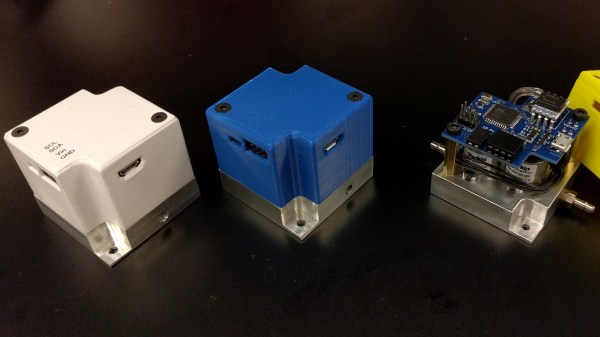
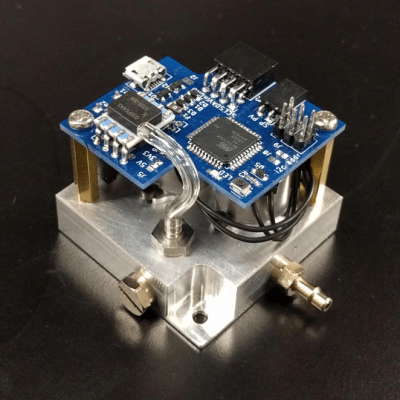 For many projects that require control of air pressure, the usual option is to hook up a pump, maybe with a motor controller to turn it on and off, and work with that. If one’s requirements can’t be filled by that level of equipment and control, then it’s time to look at commercial regulators. [Craig Watson] did exactly that, but found the results as disappointing as they were expensive. He found that commercial offerings — especially at low pressures — tended to leak air, occasionally reported incorrect pressures, and in general just weren’t very precise. Out of a sense of necessity he set out to design his own


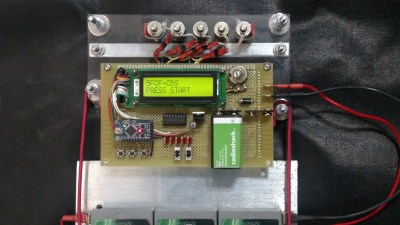 The electronics and mechanical part of this build are pretty simple. An acrylic frame holds five solenoids over the keypad, and this acrylic frame attaches to the car with magnets. There’s a second large protoboard attached to this acrylic frame loaded up with an Arduino, character display, and a ULN2003 to drive the resistors. So far, everything you would expect for a ‘robot’ that will unlock a car via its keypad.


