There’s more than one way to scare people on Halloween. Sure, there’s always the low-brow jump scare, but that will generally just annoy the person and possibly cause a heart attack. No, what you need is a sustained soundscape of hellish audio. And where does one find hellish audio? Well, you make your own with a spooky-sounds noise box.
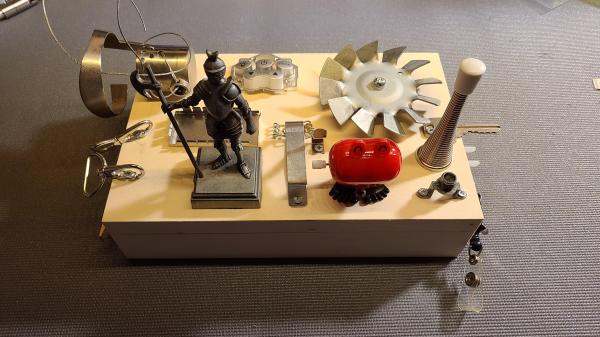
And no, we’re not talking about a soundboard that goes ‘boo’ and ‘ooo-OOO-oooh’ and whatnot. This is a full-on DIY instrument that has potential beyond Halloween. Essentially, the wooden box takes input vibrations from various doodads, and these vibrations are picked up by a piezo disk or two glued to the underside of the lid. The piezos are wired up to a 3.5 mm jack, which runs out to the PC and [SvartalfarQc]’s favorite Digital Audio Workstation (DAW). From there, it’s just a matter of playing around with the sounds — looping them, running them through various instrument voices, adding effects, and so on.
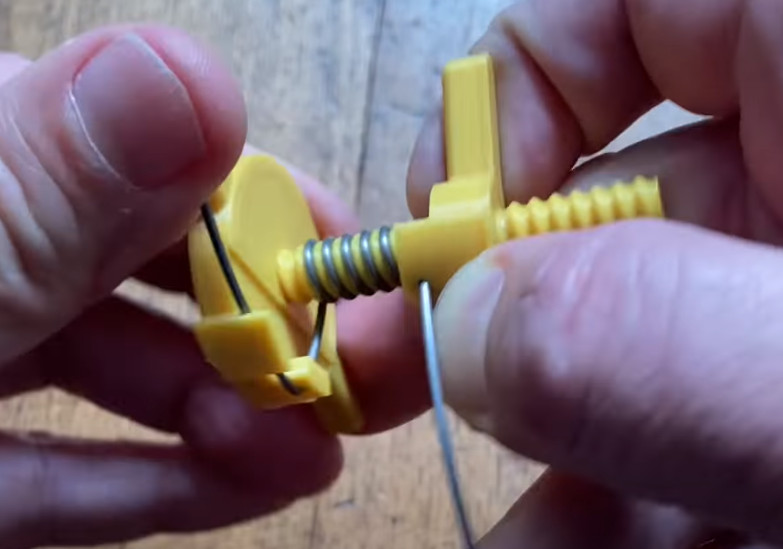
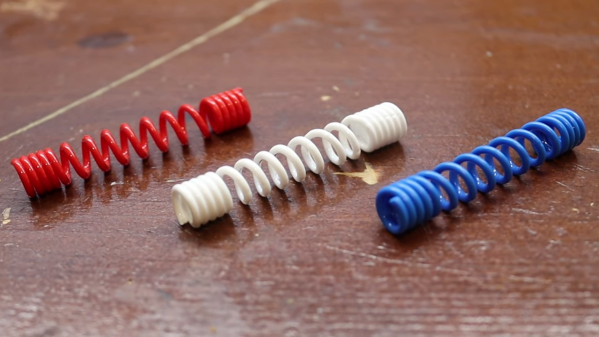
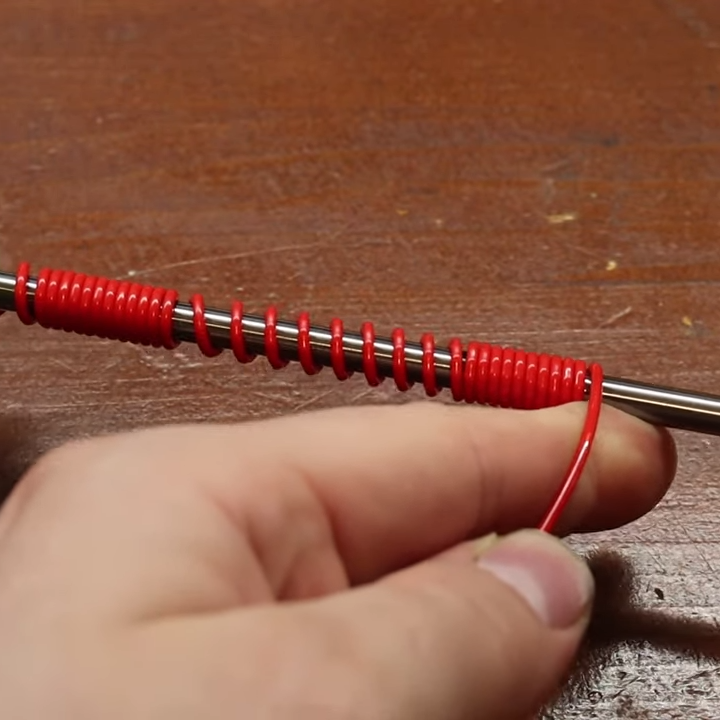
We love the the things that [SvartalfarQc] came up with, including a wind-up walking heart thing, a retractable badge holder, and that noise box mainstay, a sproingy doorstop.
We all know piezos are awesome, but have you ever considered that they can be used to digitize old wax cylinder recordings?