Audio Cassette Tape Data Retrospective

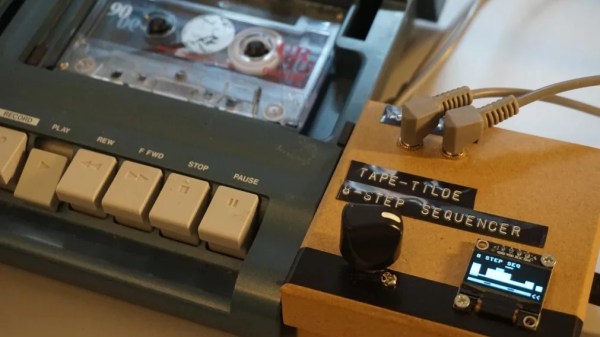
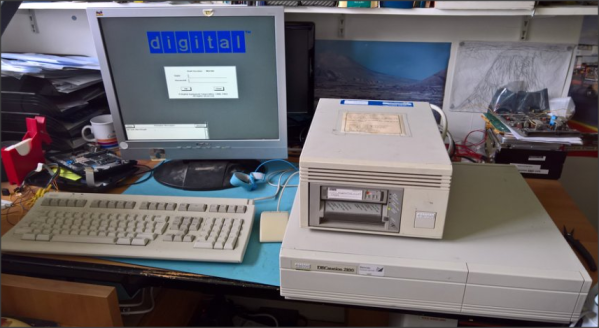
It has been a long time since we stored software and computer data on audiotape. But it used to be the de facto standard for hobby computers and [Noel] has a great video about the Amstrad’s system (embedded below) which was pretty typical and how the process could be sped up since today, you have perfect audio reproduction, especially compared to consumer-grade audiotape.

The cassette tapes suffered from several problems. The tape had an inherently low bandwidth, there was quite a bit of noise present from the analog circuitry and heads, and the transport speed wasn’t necessarily constant. However, you can easily digitally synthesize relatively noise-free sound at high fidelity and rock-solid frequency. So basically a microcontroller, like an Arduino, can look like an extremely high-quality tape drive.

Continue reading “Audio Cassette Tape Data Retrospective”

Adding Remote Control To An Old Stereo

Sometimes, the best hifi gear is the gear you’ve already got. This is particularly the case in the cassette world, as high quality decks are long out of production. [Nick] liked his current rig, but wanted to be able to use it with a remote from across the room. Naturally, he set to hacking the feature in.

The cassette deck in question, a Yamaha K-220, was old enough to lack a remote, but thankfully new enough to use a computer-controlled tape transport. This meant that the basic features of play, stop, rewind and fast forward can all be controlled with simple digital buttons rather than mechanical ones. This made it easy to interface an ATmega328P to the stereo’s original circuitry. Digital IO pins are hooked up to the buttons, held as high-impedance inputs most of the time, only toggling to ground when necessary to trigger a button press. It was then a simple job to hook up an IR receiver to the chip and program it with some Arduino libraries to work with a typical stereo remote control [Nick] had laying around.

It’s a tidy build, and with more cool cassette releases coming out every year, we’re sure [Nick]’s going to put some miles on the setup. If you find IR too cumbersome though, you can go a step further and replace it with a web app instead. If you’ve been tinkering with similar things in your own workshop, be sure to drop us a line!

Wooden Cassette Tape Is A Veneer Stackup Seeking A Few Good Walkmen

While the days of audio cassette tapes are long over for almost everyone, magnetic tape still enjoys extensive use in some other realms such as large-scale data backup. Those that are still using it to store their tunes are a special subset of audio enthusiasts. [Frank] still has a working tape deck, and enthusiasm for classic non-vinyl sound. His homage to audio tape? Building a working cassette made (almost) entirely of wood.

The cassette is modeled on the formerly popular Maxell XL-II and the first versions of this build were modeled in paper. Once the precise dimensions of the enclosure were determined, [Frank] got to work building the final version from wood in a decidedly 2D process. He used a plotter to cut layers out of a wood veneer and glued them together one-by-one. The impressive part of this build is that the tape reel bearings are also made from wood, using a small piece as a race that holds the reels without too much friction.

Once everything was pieced together and glued up, [Frank] had a perfect working cassette tape made entirely from wood with the exception of the magnetic tape and a few critical plastic parts that handle the tape directly. The build is an impressive piece of woodworking, not unlike the solid wood arcade cabinet from a few days ago.

Continue reading “Wooden Cassette Tape Is A Veneer Stackup Seeking A Few Good Walkmen”

3D Printing With VHS Tape Filament

If you have a pile of old VHS tapes collecting dust in your attic or basement that you know you’ll never watch again, either because all of those movies are available on DVD or a streaming service, or because you haven’t had a working VCR since 2003, there might be a way of putting them to good use in another way. With the miles of tape available in just a few cassettes, [brtv-z] shows us how to use that tape as filament for a 3D printer.

The first step of the build is to actually create the filament. He uses a purpose-built homemade press to spin several tapes into one filament similar to how cotton or flax is spun into yarn. From there the filament is simply fed into the 3D printer and put to work. The tape filament needs to be heated higher than a standard 3D printer filament so he prints at a much slower rate, but the resulting product is indistinguishable from a normal print except for the color. It has some other interesting properties as well, such as retaining its magnetism from the magnetic tape, and being a little more brittle than PET plastic although it seems to be a little stronger.

While the VHS filament might not be a replacement for all plastic 3D prints, it’s still a great use for something that would likely otherwise head straight to the landfill. There are some other uses for this magnetic tape as well, like if you wanted to build a DIY particle accelerator.

Continue reading “3D Printing With VHS Tape Filament”

TMD-1 Makes Turing Machine Concepts Easy To Understand

For something that has been around since the 1930s and is so foundational to computer science, you’d think that the Turing machine, an abstraction for mechanical computation, would be easily understood. Making the abstract concepts easy to understand is what this Turing machine demonstrator aims to do.

The TMD-1 is a project that’s something of a departure from [Michael Gardi]’s usual fare, which has mostly been carefully crafted recreations of artifacts from the early days of computer history, like the Minivac 601  trainer and the DEC H-500 computer lab. The TMD-1 is, rather, a device that makes the principles of a Turing machine more concrete. To represent the concept of the “tape”, [Mike] used eight servo-controlled flip tiles. The “head” of the machine conceptually moves along the tape, its current position indicated by a lighted arrow while reading the status of the cell above it by polling the position of the servo.

Below the tape and head panel is the finite state machine through which the TMD-1 is programmed. [Mike] limited the machine to three states and four transitions three symbols, each of which is programmed by placing 3D-printed tiles on a matrix. Magnets were inserted into cavities during printing; Hall Effect sensors in the PCB below the matrix read the pattern of magnets to determine which tiles are where. The video below shows the TMD-1 counting from 0 to 10, which is enough to demonstrate the basics of Turing machines.

It’s hard not to comment on the irony of a Turing machine being run by an Arduino, but given that [Mike]’s goal was to make abstract concepts easy to understand, it makes perfect sense to leverage the platform rather than try to do this with discrete logic. And you can’t argue with results — TMD-1 made Turing machines clear to us for the first time.

Continue reading “TMD-1 Makes Turing Machine Concepts Easy To Understand”

Printable, Castable Feeders Simplify Pick-and-Place Component Management

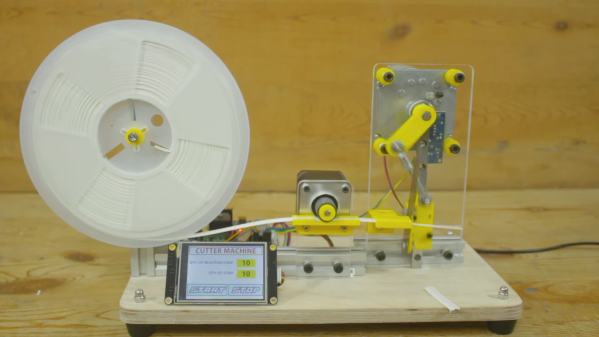
It goes without saying that we love to see all the clever ways people have come up with to populate their printed circuit boards, especially the automated solutions. The idea of manually picking and placing nearly-microscopic components is reason enough to add a pick and place to the shop, but that usually leaves the problem of feeding components to the imagination of the user. And this mass-production-ready passive component feeder is a great example of that kind of imagination.

Almost every design we’ve seen for homebrew PnP component feeders have one of two things in common: they’re 3D-printed, or they’re somewhat complex. Not that those are bad things, but they do raise issues. Printing enough feeders for even a moderately large project would take forever, and the more motors and sensors a feeder has, the greater the chance of a breakdown. [dining-philosopher] solved both these problems with a simple design using only two parts, which can be resin cast. A lever arm is depressed by a plunger that’s attached to the LitePlacer tool, offset just enough so that the suction cup is lined up with the component location on the tape. A pawl in the lower arm moves forward when the tool leaves after picking up the part, engaging with the tape sprocket holes and advancing to the next component.

[dining-philosopher] didn’t attack the cover film peeling problem in his version, choosing to peel it off manually and use a weight to keep it taut and expose the next component. But in a nice example of collaboration, [Jed Smith] added an automatic film peeler to the original design. It complicates things a bit, but the peeler is powered by the advancing tape, so it’s probably worth it.

Continue reading “Printable, Castable Feeders Simplify Pick-and-Place Component Management”

DJ Scratches Out Club Music With Tape, Not Turntables

It goes without saying that not everyone has the same taste in music, and what sounds amazing to one person will be the next person’s noise. But even if you’re not into hip-hop and the whole DJ scene, it’s hard not to be impressed with what [Jeremy Bell] has done here with his homemade tape loop “scratching” rig.

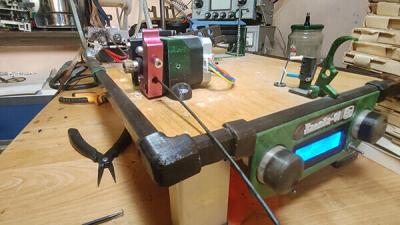
Most people have probably seen a DJ in a club using dual turntables to scratch or “scrub” a vinyl record back and forth to create effects that add to the music. Part musician and part performance artist, DJs and “turntablists” tend to be real crowd-pleasers. [Jeremy]’s “ScrubBoard” uses a loop of 2″ audiotape, the kind recording studios once used for multitrack recordings. The loop is driven across a wide platen by a motor with a foot pedal control, which he can use to quickly reverse the direction of travel and control the speed of the tape. A pair of playback heads are wired into the amplifier and can be positioned anywhere on the sometimes moving, sometimes stationary tape. The sounds he can create are rhythmic, percussive, and at times frenetic, but they’re always interesting. Check it out in action in the video below.

This version of the ScrubBoard is far from the first [Jeremy] has built. You may recall his first prototype from our coverage in 2014; that one used just a few feet of 1/4″ tape fixed to a board. He was still able to get some great sounds from it, but this version should really change things for him. 

Continue reading “DJ Scratches Out Club Music With Tape, Not Turntables”