For retrocomputing enthusiasts, getting old computers to work with newer peripherals can be an exciting challenge or horrible headache. If you need to print out receipts from an old Mac, you might just be in luck now that [Hamin Mousavi] has gotten AppleTalk to work with cat printers.
[Mousavi] uses a Raspberry Pi 4 here in his version of the hack, but any Bluetooth capable computer running Linux should work. His command line screenshots are from a Debian-based system, but you should be able to translate to other systems as needed.
Thanks to previous work on these thermal printers, drivers are available for them on many other systems, so the tricky part comes down to getting the web connection to the printer working through the Linux box and then getting the Mac (in this case an iMac G3) to recognize the printer as something to install.
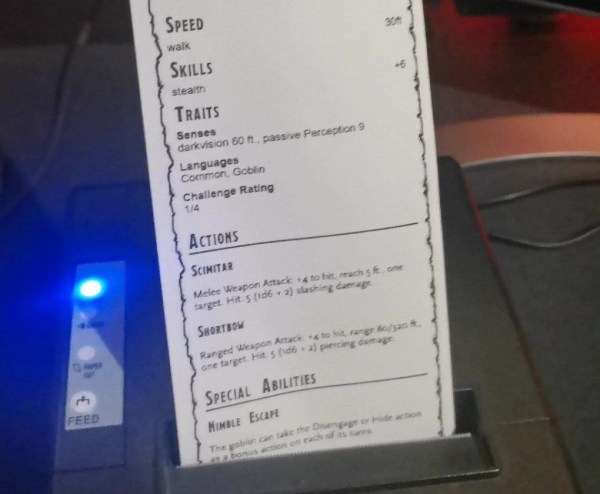
We’ve seen people do some really interesting things with thermal printers like making them D&D tools, breaking their paper DRM, and even black and white “Polaroids.”