It wasn’t long ago that we saw the Echo bloom into existence as a standalone product from its conceptual roots as a smartphone utility. These little black columns have hardly collected their first film of dust on our coffee tables and we’re already seeing similar technology debut on the toy market, which causes me to raise an eye-brow.
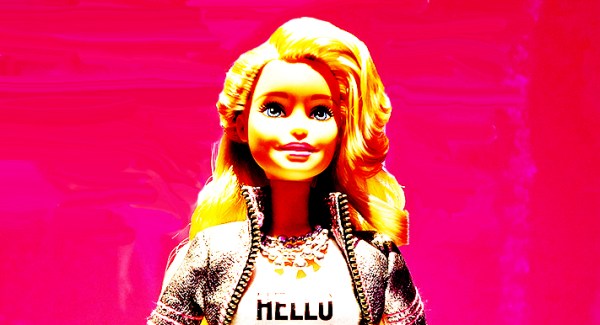
There seems to be some appeal towards making toys smarter, with the intent being that they may help a child learn while they play. Fair enough. It was recently announced that a WiFi enabled, “Hello Barbie” doll will be released sometime this Fall. This new doll will not only be capable of responding to a child’s statements and questions by accessing the Internet at large, it will also log the likes and dislikes of its new BFF on a cloud database so that it can reference the information for later conversations. Neat, right? Because it’s totally safe to trust the Internet with information innocently surrendered by your child.
Similarly there is a Kickstarter going on right now for a re-skinned box-o-internet for kids in the shape of a dinosaur. The “GreenDino”, is the first in a new line called, CogniToys, from a company touted by IBM which has its supercomputer, Watson, working as a backbone to answer all of the questions a child might ask. In addition to acting as an informational steward, the GreenDino will also toss out questions, and upon receiving a correct answer, respond with praise.
Advancements in technology are stellar. Though I can see where a child version of myself would love having an infinitely smart robot dinosaur to bombard with questions, in the case of WiFi and cloud connectivity, the novelty doesn’t outweigh the potential hazards the technology is vulnerable to. Like what, you ask?
Whether on Facebook or some other platform, adults accept the unknown risks involved when we put personal information out on the Internet. Say for instance I allow some mega-corporation to store on their cloud that my favorite color is yellow. By doing so, I accept the potential outcome that I will be thrown into a demographic and advertised to… or in ten years be dragged to an internment camp by a corrupt yellow-hating government who subpoenaed information about me from the corporation I consensually surrendered it to.
The fact is that I understand those types of risks… no matter how extreme and silly they might seem. The child playing with the Barbie does not.
All worst case scenarios of personal data leakage and misuse aside, what happens when Barbie starts wanting accessories? Or says to their new BFF something like, “Wouldn’t we have so much more fun if I had a hot pink convertible?”
 Summer is upon us. The