As video game systems pass into antiquity, some of them turn out to make excellent platforms for homebrew gaming. Not only does modern technology make it easier to interact with systems that are now comparatively underpowered and simpler, but the documentation available for older systems is often readily available as well, giving the community lots of options for exploration and creativity. The Game Boy Advance is becoming a popular platform for these sorts of independent game development, and this video shows exactly how you can get started too.
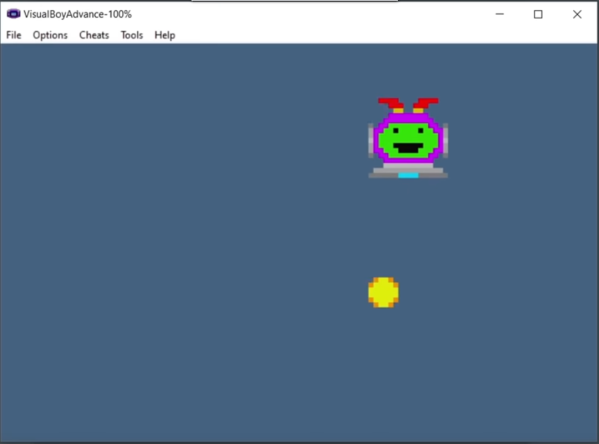
This tutorial starts with some explanation of how the GBA works. It offered developers several modes for the display, so this is the first choice a programmer must make when designing the game. From there it has a brief explanation of how to compile programs for the GBA and execute them, then it dives into actually writing the games themselves. There are a few examples that [3DSage] demonstrates here including examples for checking the operation of the code and hardware, some simple games, and also a detailed explanation the framebuffers and other hardware and software available when developing games for this console.
While the video is only 10 minutes long, we recommend watching it at three-quarters or half speed. It’s incredibly information-dense and anyone following along will likely need to pause several times. That being said, it’s an excellent primer for developing games for this platform and in general, especially since emulators are readily available so the original hardware isn’t needed. If you’d like to build something from an even more bygone era than the early 2000s, though, take a look at this tutorial for developing games on arcade cabinets.
Continue reading “A Primer For The Homebrew Game Boy Advance Scene”