Many years ago, in a rainy concrete jungle on the west coast of Australia, I worked for a medium-sized enterprise doing a variety of office-based tasks. Somehow, I found myself caught up in planning a product launch event outside the official remit of my position. We got through it, but not before the audiovisual (AV) setup of the event turned into one giant hack.
The initial planning stages went remarkably smoothly until less than a month out from the big day when three weeks of frantic changes and revisions to the presentation rained down. These were some of the hardest days of my working life to date, as it seemed that we would lock in a new arrangement, only to tear it up days later as some new vital criteria came to light, throwing everything back into disarray.
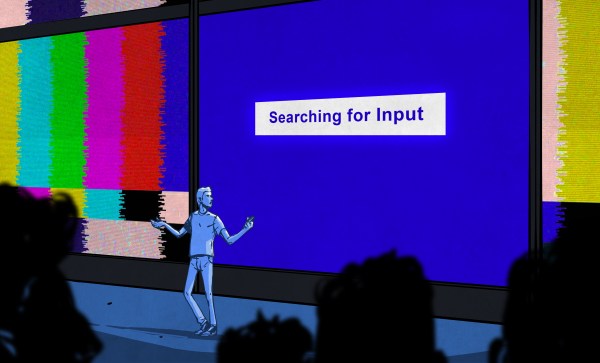
Things came to a head on the night before the event. Working with two different AV teams we had planned for four projection screens and five flat screen televisions spread throughout the venue and controlled from the central AV desk. But somewhere in all those changes the televisions were set up to all display a still image, or nothing at all. I needed to show different videos on each and have the ability to black them all out.
It was at this point I realized we were screwed. The production team simply didn’t have the hardware to drive another five screens, but they could source it — for the sum of $5000. Management were furious, and were under the impression, like myself that this was what we had asked and paid for already. I was at an impasse, and beginning to wonder if I’d have a job come Monday. I wandered off to a corner to curse, and more importantly, think. After all, I’m a hacker — I can get through this.
Continue reading “Hacker Heroism: Building Your Way Out Of AV Hell”