Wire Wrap Odyssey: A 7400-series Homebrew 8-bit Computer

The Wire Wrap Odyssey's first Hello World from the CPU module, here hooked up to a logic analyzer in July of 2020. (Credit: Paul Krizak)
The Wire Wrap Odyssey’s first Hello World from the CPU module, here hooked up to a logic analyzer in July of 2020. (Credit: Paul Krizak)

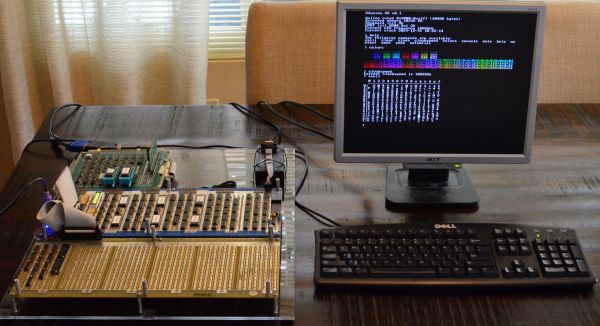
As part of his computer science curriculum at Texas A&M University in the early 2000s, [Paul Krizak] took a computer architecture course on the basics of their functioning. This and being exposed to dozens of homebuilt computer projects inspired him to begin building his own 8-bit computer in 2010, which eventually grew into the Wire Wrap Odyssey. This name covers both the primary construction method chosen around 2019 in the form of wire-wrapped connections, as well the harrowing journey to reach this point with a functioning computer system despite many choices and setbacks.

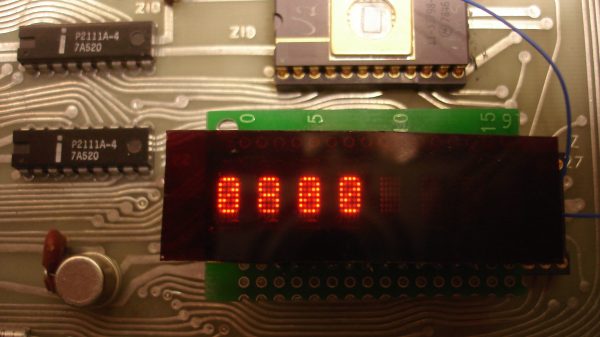
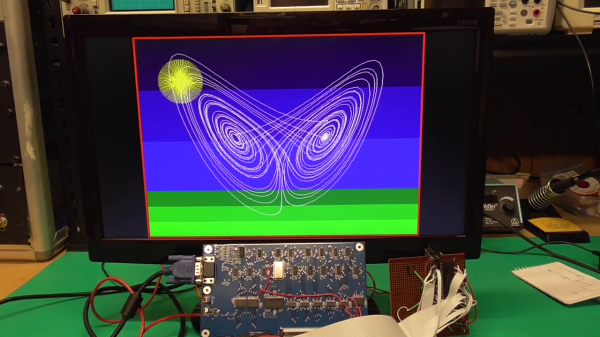
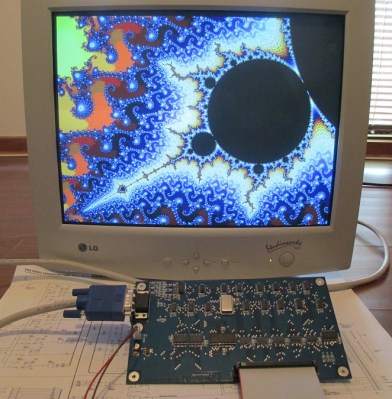
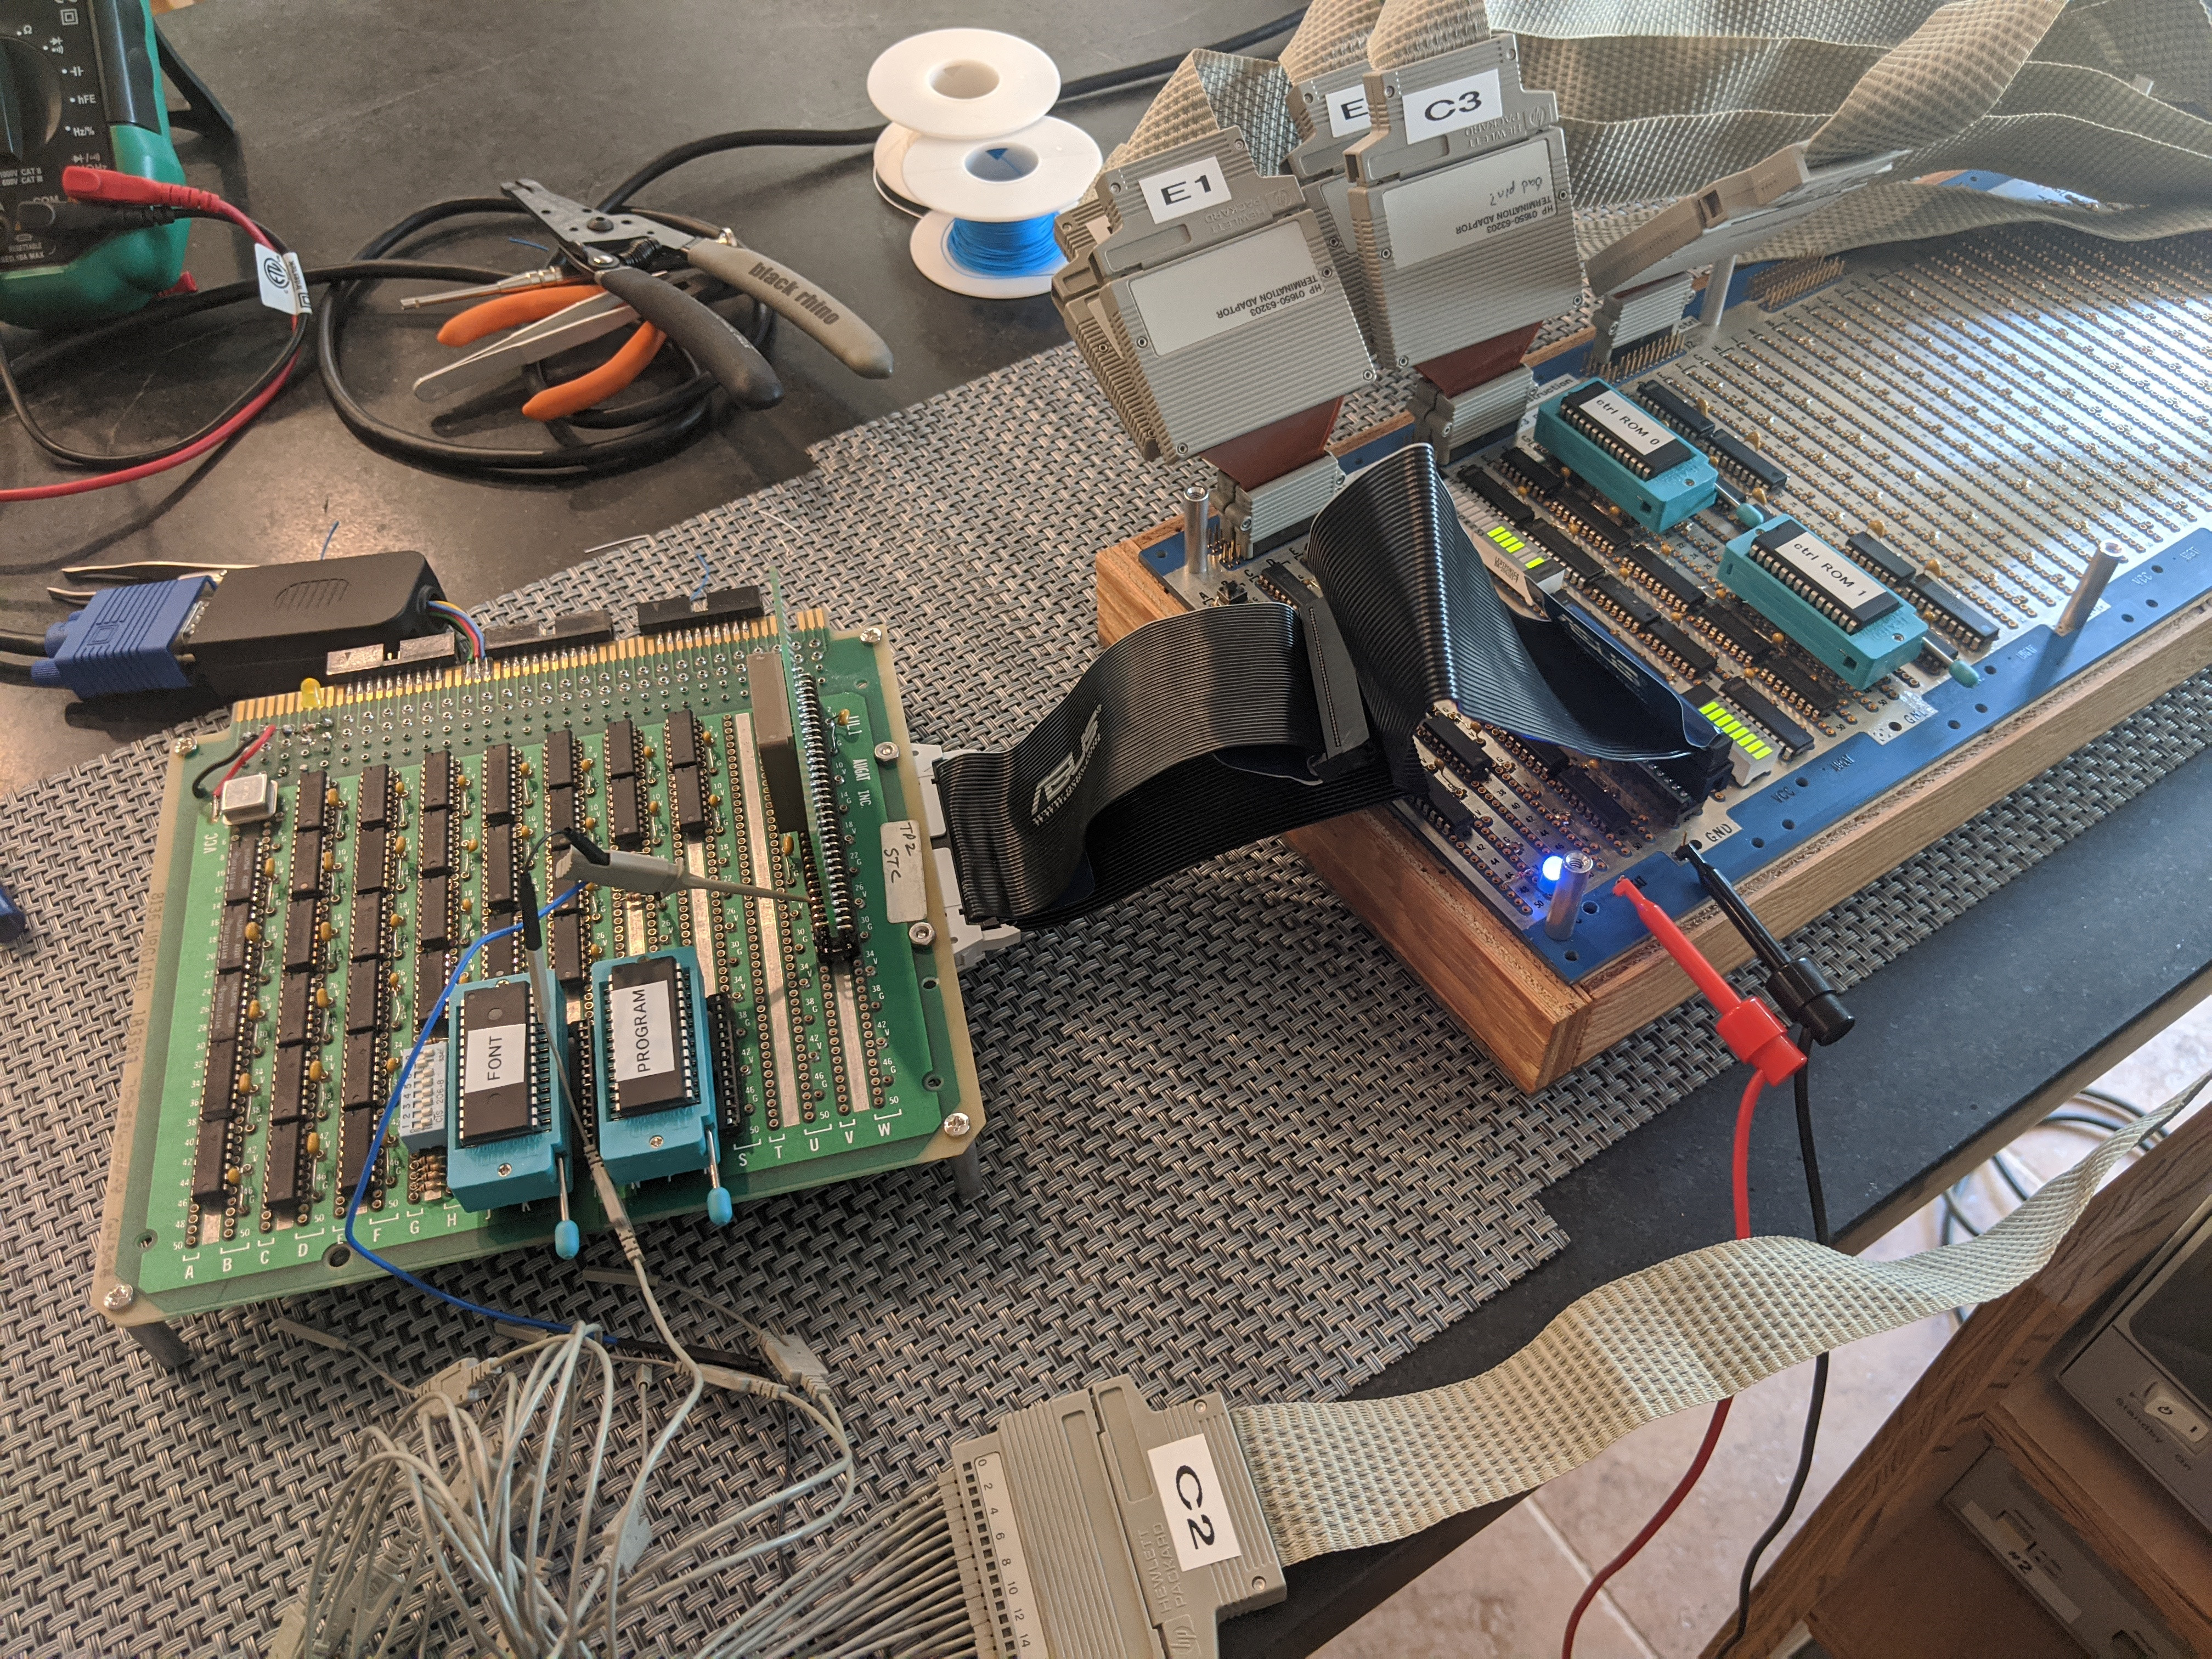
The Odyssey CPU is an 8-bit microcoded design with 16-bit address bus, using mostly 74HC-series logic. A VGA graphics card is also part of the design, which can output a 640×480 text display, with character glyphs read from the system ROM (32 kB AT28C256). As for the RAM, this is an extravagant 32 kB dual-port SRAM (Renesas 7007), which also allows both the CPU and video card to use the same SRAM. Currently the system has four peripherals: a PS/2 keyboard controller, an RTC and timer (DS1511Y+), 82C52 UART and 1 MB of extended RAM, but an ATA port and parallel port are in development.

Perhaps the most impressive part about this product is the level of documentation, from the early stages including paper doodles to the current state of the system, including the GitHub repository for the software. [Paul] was also an exhibitor at the Vintage Computing Festival (VCF) SoCal recently with his Wire Wrap Odyssey, where he was able to show off the progress so far. Next year he hopes to visit VCF SoCal again, with the remaining planned peripherals implemented.

Old Barcode Scanner Motherboards Live Again

Sometimes, hacking is just for the pleasure of diving into the secrets of old hardware. That was very much the case when [glitch] and a friend started hacking on some old Intel 8080 boards that had been living in the junk pile for too long.

The boards in question were motherboards from Identicon barcode scanners, running the Intel 8080 CPU. Hacking on the 8080 is a little different, with the ancient CPU requiring three separate voltages to run. However, with the power rails figured out and power applied, it was possible to get the old boards up and running.

The boards were first run with test ROMs which showed the 8080 CPU to be functional. The ROMs hosted a simple program which got the 8080 to spit out the word “HELO” on to an HP HDSP-2416 ASCII character display. From there, the barcode scanner boards were installed in a chassis and hooked up to a bigger Siemens character display, and the memory was mapped out.

The result was that [glitch] and co were able to largely reverse engineer the Identicon hardware, learning it was fairly similar to the Intel MCS-80 reference design of the era. They were able to get code running on the platform, access the RAM, and fit a larger 8-character display. However, without the original barcode scanner attachment, the boards weren’t able to return to their original duty.

As far as hacks go, it’s pretty old school. The boards don’t talk to Twitter, nor run the lights or help with the dishes. However, plenty of fun was had seeing if this old metal could be made to follow instructions once more. Hacking for the pleasure of it is always a good thing by our book!

VGA Graphics Card In 74xx Logic

Feeling nostalgic we presume, [Glen Kleinschmidt] set out to build a 640x480x64 VGA controller card from discrete logic chips. If we ignore the 512Kx8 Cypress SRAM video memory, he succeeds, too — and on a very readable, single page A3 schematic. The goal is to interface some of his older 8-bit machines, like the TRS-80 Model 1 and the BBC Micro, but for now he’s running a demo using a 20+ year old PIC16F877 micro.

[Glen] provides all the schematics, Gerbers, and C source code on his website should you be inclined to reproduce one for yourself. He has three versions in the works, with various capabilities (there’s a table on his website). As an alternative, one could always use an FPGA or a custom-built chip such as the SSD1963 to generate video for these micros, but sometimes the urge to go retro is too great to resist. We get the feeling that for [Glen], this is a project unto itself, and being able to interface it to his 8-bit computers is just a convenient excuse.

This isn’t [Glen]’s first retro project, either. Check out his analog computer “bouncing ball” project we covered back in 2017. Have you struggled with the build vs. buy decision, and how do you decide?

Continue reading “VGA Graphics Card In 74xx Logic”

Build An 8-bit CPU To Know “But How Do It Know?”

Sometime around 2009, [J. Clark Scott] published a book aimed to demystify computers for everyone by walking through construction of an 8-bit CPU from scratch. The book had a catchy, but somewhat confusing title But How Do It Know?. The back story on the title goes something like this: Joe is a very nice fellow, but has always been a little slow. He goes into a store where a salesman is standing on a soapbox in front of a group of people. The salesman is pitching the miracle new invention, the Thermos bottle. He is saying, “It keeps hot food hot, and cold food cold….” Joe thinks about this a minute, amazed by this new invention that is able to make a decision about which of two different things it is supposed to do depending on what kind of food you put in it. He can’t contain his curiosity, he is jumping up and down, waving his arm in the air, saying “but, but, but, but…” Finally he blurts out his burning question “But how do it know?” Joe looked at what this Thermos bottle could do, and decided that it must be capable of sensing something about its contents, and then performing a heating or cooling operation accordingly. Joe’s concept of how the bottle worked was far more complicated than the truth. With that introductory opening, [J. Clark Scott] goes on to cover basic number theory, leading on to logic gates, and finally the 8-bit CPU.

[Patrick LeBoutillier] decided to build a hardware version of the CPU/computer as described in [John Clark Scott]’s book. In order to keep size and cost within reasonable bounds, he choose a hybrid construction using a combination of micro-controllers and SN74HC logic IC’s. When used as a companion project alongside reading the book, he hopes people can get their hands dirty and try it out for themselves. He has published a series of 14 videos covering construction of the CPU and the first Introductory video is embedded after the break below. For the micro-controller part of the project, he is using four Arduino Nanos, the code and install instructions for which are available at his Git repo. The Fritzing schematic, also available at the repo, might look a bit daunting at first look, but when you follow along his video series, it becomes easier. You can preview the first three chapters of the book at the “But How Do It Know?” website.

If FPGA’s are more of a thing for you, or you’d like to dip your feet learning FPGA, then [Patrick] has another series of 17 videos (embedded below) where he goes through the same process using a Digilent BASYS3 FPGA development board. These aren’t your only options — if you just want to understand how it works, without having to build the hardware, then check out the online, browser based implementation of the [Clark Scott] CPU.

If it seems the breadboard build of this 8-bit CPU looks complex, then this
Home Made 8-bit CPU Is A Wiry Blinky Build and a veritable rats nest of jumper wires.

Continue reading “Build An 8-bit CPU To Know “But How Do It Know?””

A Pocket Retro Computer Anyone Can Build

Not satisfied with any of the DIY retro computer kits on the market, [Leonardo Leoni] decided to make his own. Built using only the finest through-hole technology and powered by the ATmega328 microcontroller, his diminutive 8-bit computer is easy to build and even easier to develop for. Whether you’re looking to hone your BASIC skills or play some Zork on the bus, this little computer looks like a great project for anyone who has a soft spot for computing’s simpler days.

All things considered, using this tiny machine looks like it would be relatively pleasant. [Leonardo] is using a common SH1106 OLED display, and there’s a full QWERTY keyboard (with number row) done up with tactile momentary buttons. There’s very few passive components involved in the build, which is sure to be appealing to new players; especially after they’ve finished soldering all those switches to the board.

On the software side, [Leonardo] says he leaned heavily on open source projects to get his machine up and running. Beyond the hardware drivers for things like the display, he specifically calls out the Tiny Basic and Tiny Lisp Computer projects for their code. If small-scale programming isn’t your style, the machine is compatible with the Arduino IDE so you can easily throw something else on it. If you’ve ever dreamed of a QWERTY Arduboy, this might be your chance.

From the way [Leonardo] describes the computer, which he calls the Cobalt 3, we get the impression a commercial kit might be in the cards. We hope the community shows enough interest to make it happen. After all, not everyone was able to make it to Hackaday Belgrade 2018 to get their own pocket retro computer.

Teardown: VTech PreComputer 1000

Back in the days before kids could be placated with a $50 Android burner phone, many a youngster was gifted a so-called “educational computer” to keep them occupied. Invariably looking like a fever dream version of the real computer their parents didn’t want to let them use, these gadgets offered monochromatic exploits that would make Zork look like Fortnite. Due equally to their inherent hardware limitations and the premise of being an educational toy, the “games” on these computers often took the form of completing mathematical equations or answering history questions.

The VTech PreComputer 1000 is a perfect specimen of this particular style of educational toy. Released in 1988, it was advertised as a way for pre-teens to become more comfortable with operating a real computer; since at that point, it had become abundantly clear that the coming decade would see a beige box on every professional’s desk. Its full-size QWERTY keyboard was specifically mentioned in the product’s accompanying literature as a way to get young hands accustomed to the ways of touch typing.

Words of wisdom from the PreComputer 1000’s manual.

By the mid-1990s these devices would have progressed far enough to include passable text-to-speech capabilities and primitive graphics, but the junior professional who found him or herself seated in front of the PreComputer 1000 was treated to a far more spartan experience. It’s perhaps just as well that this particular educational computer was listed as a training tool, because even in 1988, surely a session with this toy must have felt very much like work.

But that’s not to say the PreComputer 1000 is without its own unique charms. In an effort to help cement its role as a “trainer” for more conventional computers, VTech saw fit to equip the PreComputer with its own BASIC interpreter. They even included generous written documentation that walked young programmers through the various commands and functions. Even today, there’s something oddly appealing about a mobile device with a full keyboard that can run BASIC programs for better than 24 hours on batteries (even if they’re alkaline “C” cells).

Let’s take a look inside this more than 30 year old mobile device, and see how the designers managed to create a reasonable facsimile of actual computing on a kid-friendly budget.

Continue reading “Teardown: VTech PreComputer 1000”

Back To Where (For Most Of Us) It Started, The Intel 8080

The early history of microprocessors is a surprisingly complex one, with more than one claimant for the prize of being the first, and multiple competing families. That the first commercially available part was the Intel 4004 is a matter of record, but it’s fair to say that few of us will have ever encountered one. Even its 8-bit sibling the 8008 would not have featured heavily in a 1974 version of Hackaday, such was its exotic nature. If there’s a microprocessor that can be claimed to have started it all for us then, it’s the Intel 8080. It established the 8-bit microporcessor with an 8-bit bus and a 16-bit address space, it had an order of maginitude more performance than its predecessors, and crucially it would become affordable enough for experimenters. It provided the guts of the MITS Altair 8800 microcomputer, and thus kickstarted the progression of home computers which led to the devices you use every day.

The 8080 is in our sights today, thanks to [DeviceGuru], who was sent down memory lane by thoughts of the 6502-based KIM-1 from his master’s thesis project. This led to memories of the 8080 Abie computer that he built for himself in 1979, for which he provides us some details and hand-drawn schematics. By then the 8080’s need for several support chips made it somewhat outdated, but from his perspective the chip could be had from Radio Shack without too much outlay. His tale of hand-assembling 8080 code and sending it to a friend for blowing onto a PROM might be familiar to some readers of a certain age.

Though the 8080 ceased volume production a quarter century ago (surprisingly there are still places you can get a new one though) it hasn’t entirely disappeared from our community’s consciousness. [DeviceGuru] tells us about the 8080 Microprocessor kit from [Wichit Sirichote] in Thailand which is a single board computer in the 1970s vein, hex keypad and all.

As you might expect, the 8080 hasn’t appeared in many projects here due to its rarity. Those that have seem more likely to feature its Eastern Bloc clones, such as this Polish model or this Russian one. It’s worth the reminder that if you fancy exploring some 8080 code of your own that you don’t even need an 8080 to run it on some silicon. The hugely popular Zilog Z80 as found in retrocomputers such as the RC2014 is fully mostly 8080 code compatible, indeed some of us learned about microprocessors that way because 8080 books were discounted in 1983 and Z80 ones weren’t.

Header image: Konstantin Lanzet [CC BY-SA 3.0].