While there are loads of impressive and complex projects here on Hackaday, sometimes it’s the simple ones that really speak to us. In this case we were presented with [Isabell Park]’s easy-to-follow instructable on how to build an anti-procrastination device.
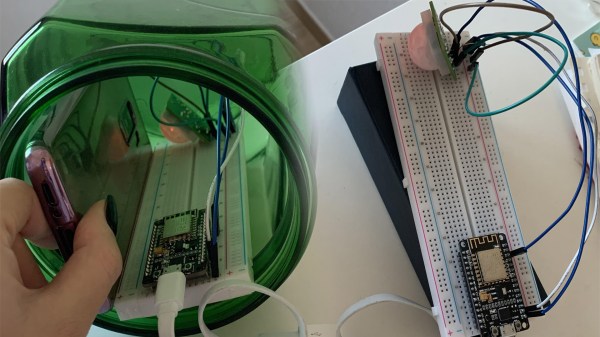
On the hardware side there are no surprises, it consists of a PIR sensor connected to a NodeMCU microcontroller. It checks for a signal from the sensor, and if it’s triggered, it sends a command through the Adafruit IO libraries to IFTTT. On its own it could make for a decent movement alarm, but the part that makes the project interesting is how it’s applied to become a device to help with procrastination instead.
First, you put your phone in a jar along with the electronics and close it. Then, with everything configured, the circuit is powered on and stays vigilant for any movement inside the jar. Should you try to take your phone out of it for a quick social media break (which, if you’re like us, can turn into a few hours), IFTTT will be alerted and run through whatever script you have in place. In [Isabell]’s case, she suggests sending an SMS to a trusted contact to keep you in check.
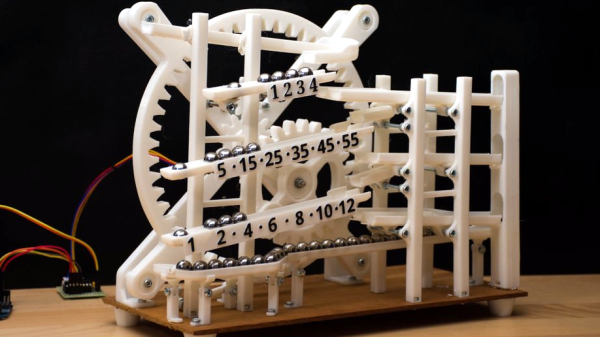
If you’re looking to keep track of how much time you’ve spent procrastinating, have we got a clock for you. But if you’re looking for more projects involving PIR sensors, we have one that alerts you when your cat is back home. Meanwhile, check out this one in action after the break. Continue reading “PIR Sensor In A Jar Helps You Keep Your Concentration”