EcoEDA Integrates Your Junk Bin Into Your Designs

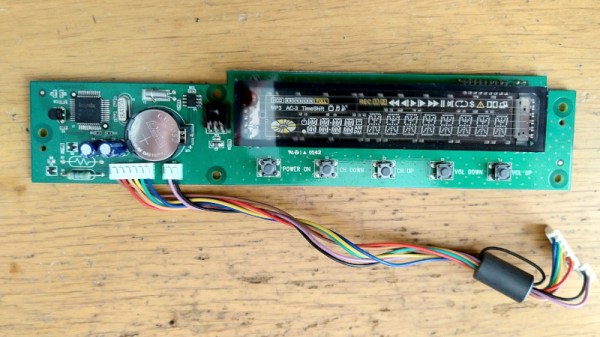
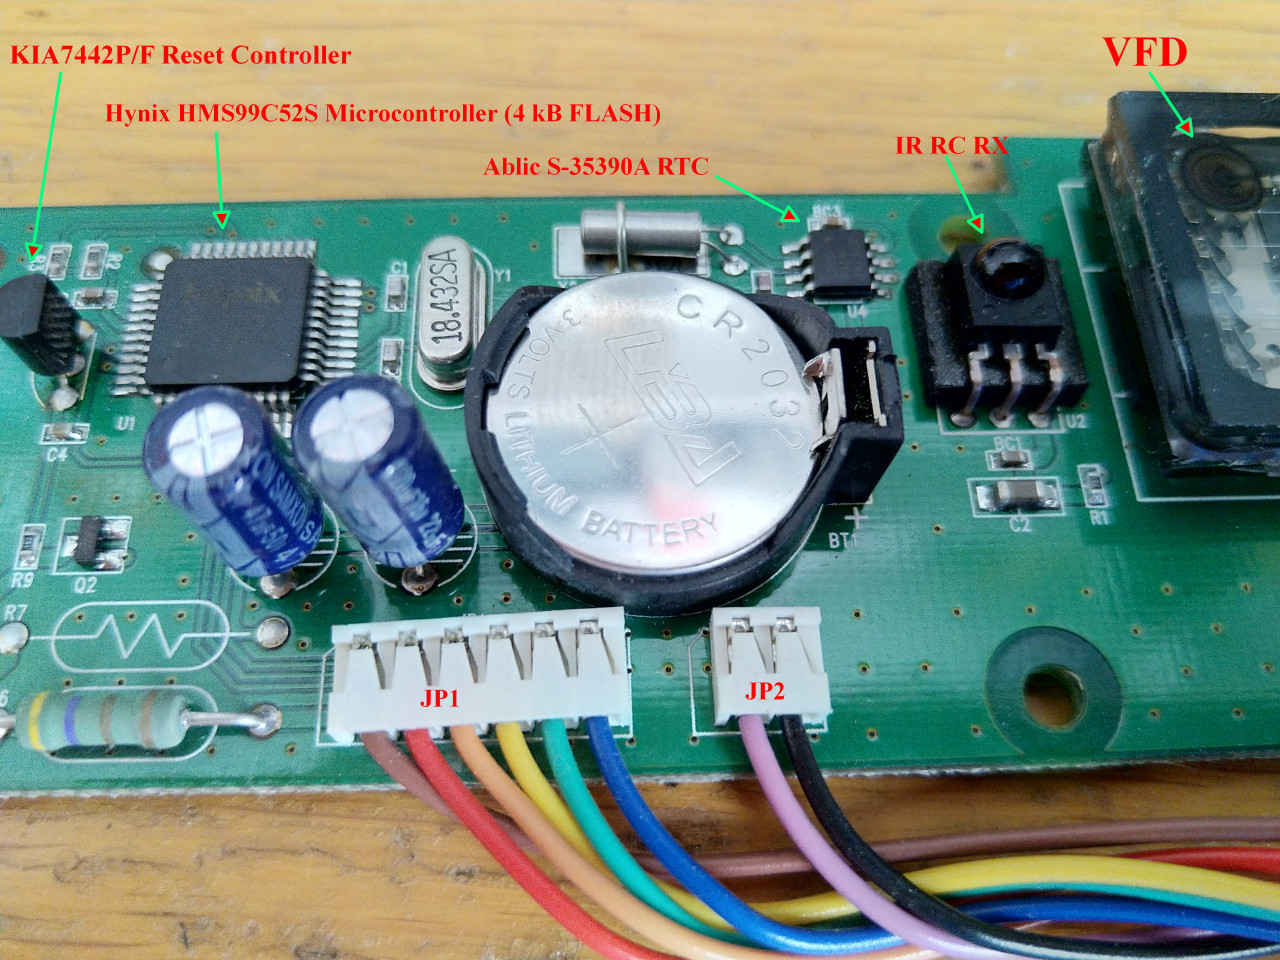
If you’re like us, there’s a creeping feeling that comes over you when you’re placing an order for parts for your latest project: Don’t I already have most of this stuff? With the well-stocked junk bins most of us sport and the stacks of defunct electronics that are almost always within arm’s length, chances are pretty good you do. And yet, we always seem to just click the button and place a new order anyway; it’s just easier.

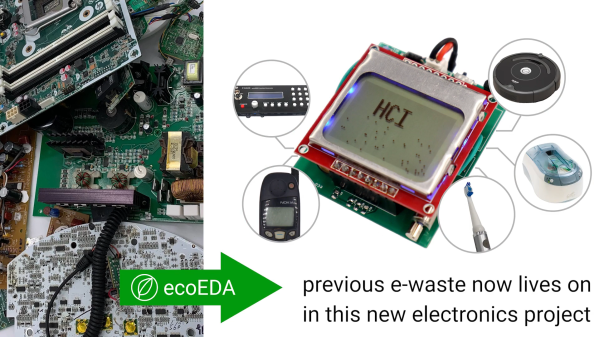
But what if mining the treasure in your junk bin was easier? If you knew right at design time that you had something in your stash you could slot into your build, that would be something, right? That’s the idea behind ecoEDA, a Python-based KiCAD plugin by [Jasmine Lu], [Beza Desta], and [Joyce Passananti]. The tool integrates right into the schematic editor of KiCAD and makes suggestions for substitutions as you work. The substitutions are based on a custom library of components you have on hand, either from salvaged gear or from previous projects. The plug-in can make pin-for-pin substitutions, suggest replacements with similar specs but different pinouts, or even build up the equivalent of an integrated circuit from available discrete components. The video below gives an overview of the tool and how it integrates into the design workflow; there’s also a paper (PDF) with much more detail.

This seems like an absolutely fantastic idea. Granted, developing the library of parts inside all the stuff in a typical junk bin is likely the biggest barrier to entry for something like this, and may be too daunting for some of us. But there’s gold in all that junk, both literally and figuratively, and putting it to use instead of dumping it in a landfill just makes good financial and environmental sense. We’re already awash in e-waste, and anything we can do to make that even just a little bit better is probably worth a little extra effort. Continue reading “EcoEDA Integrates Your Junk Bin Into Your Designs”

Salvaging Working LEDs From “Dead” Light Bulbs

Sure the box said they would last for years or even decades, but anyone who’s picked up some bargain LED bulbs knows the reality is a bit more complicated. Sometimes a few LEDs in the array pop, reducing the overall light output. More commonly, the power supply starts to fail and the bulb begins to flicker or hum. In either event, you end up pulling the bulb and replacing it.

But [Bifferos] thinks we can do a bit better than that. Rather than just chalking it up to poor QA and tossing the bulb, why not do a little exploratory surgery to identify salvageable LEDs in an otherwise “dead” bulb? After pulling apart a couple of burned out bulbs (name brand and otherwise), he was able to pull out an impressive number of handy LED panels that could be easily repurposed. Naturally, with a little more coaxing, the individual SMD LEDs could be liberated and pushed into service as well.

Separate PCBs with banks of LEDs are ideal for reuse.

As you might expect, there are far too many different LED bulbs out there to create a comprehensive teardown guide, but [Bifferos] does provide some tricks to help get the bulb open without hurting yourself or destroying the thing in the process. Once inside, the design of the bulb will dictate what happens next. Bulbs with multiple arrays of LEDs on their own PCBs can be easily broken down, but if there’s just the single board, you may want to pull the LEDs off individually. To that end, the write-up demonstrates efficient methods of stripping the LEDs using either hot air or a pair of soldering irons.

We’ve talked previously about the rather underwhelming performance of modern LED bulbs compared to the manufacturer’s lofty claims. We’d rather see these bulbs designed well enough that they actually live up to their full potential, but the ability to salvage useful components from the failed luminaries at least softens the blow of having to toss them early. Though that’s not the only reason you should disassemble your LED bulbs before you put them in the trash.

Impromptu Metal Detector Built From The Junk Bin

Have you ever found yourself suddenly in need of finding a small metal object hidden in the woods? No? Well, neither have we. But we can’t say the same thing for [zaphod], who’s family was hoping to settle a dispute by finding the surveyor stakes that marked the corners of their property. It was a perfect job for a metal detector, but since they didn’t own one, a serviceable unit had to be assembled from literal garbage.

To start with, [zaphod] had to research how a metal detector actually works. After reviewing the pros and cons of various approaches, the decision was made to go with a beat frequency oscillator (BFO) circuit. It’s not the greatest design, it might even be the worst, but it could be built with the parts on hand and sometimes that’s all that matters. After packing a 2N3904 transistor, an LM386 amplifier, and every Hackaday reader’s favorite chip the 555 timer into an enclosure along with some of their closest friends, it was time to build the rest of the metal detector.

Look ma, no MCU!

The sensor coil was made by salvaging the wire from an old fluorescent lamp ballast and winding it around the lid of a bucket 27 times. This was mounted to the end of a broom handle with some angle pieces made from PVC sheet material, being careful not to use any metal fasteners that would throw off the detector. With the handle of an old drill in the middle to hold onto, the metal detector was complete and actually looked the part.

So did [zaphod] save the day by finding the surveyor stakes and reconnoitering the family’s plot? Unfortunately, no. It wasn’t a technical failure though; the metal detector did appear to work, although it took a pretty sizable object to set it off. The real problem was that, after looking more closely into it, the surveyors only put down one stake unless they are specifically instructed otherwise. Since they already knew where that one was…

If your homemade metal detector can’t find something that was never there, did it really fail? Just a little something to meditate on. In any event, when even the cheapest smart bulb is packing a microcontroller powerful enough to emulate early home computers, we’re always happy to see somebody keep the old ways alive with a handful of ICs.

Reverse Engineering A Topfield VFD Front Panel

Hackers love the warm glow of a vacuum fluorescent display (VFD), and there’s no shortage of dead consumer electronics from which they can be pulled to keep our collective parts bins nicely stocked. Unfortunately, figuring out how to actually drive these salvaged modules can be tricky. But thanks to the efforts of [Lauri Pirttiaho], we now have a wealth of information about a VFD-equipped front panel used in several models of Topfield personal video recorders.

The board in question is powered by a Hynix HMS99C52S microcontroller and includes five buttons, a small four character 14-segment display, a larger eight character field, and an array of media-playback related icons. There’s also a real-time clock module onboard, as well as an IR receiver. [Lauri] tells us this same board is used in at least a half-dozen Topfield models, which should make it relatively easy to track one down.

After determining what goes where in the 6-pin connector that links the module with the recorder, a bit of poking with a logic analyzer revealed that they communicate over UART. With the commands decoded, [Lauri] was able to write a simple Python tool that lets you drive the front panel with nothing more exotic than a USB-to-serial adapter. Though keep in mind, you’ll need to provide 17 VDC on the appropriate pin of the connector to fire up the VFD.

What’s that? You don’t need the whole front panel, and just want to pull the VFD itself off the board? Not a problem. Our man [Lauri] was kind enough to document how data is passed from the Hynix microcontroller to the display itself; critical information should you want to liberate the screen from its PVR trappings.

If you manage to get your hands on one of these modules, it would be an ideal addition to a custom media streamer. Though we suppose simply turning it into a network-controlled clock would be a suitable alternative if you’re looking for something a bit easier.

Continue reading “Reverse Engineering A Topfield VFD Front Panel”

A Big Ship Chop Shop On The Georgia Coast

Last week we saw a hapless container ship vaulted to fame, where people converged on its combination of mind-boggling size suffering an easily relatable problem of getting stuck. Now that it is moving again, armchair engineers who crave more big ship problem-solving should check out [David Tracy]’s writeup on the salvage operation of an overturned car carrier ship, the MV Golden Ray published by Jalopnik. If the ship’s name doesn’t ring a bell, the writeup opens with a quick recap.

Written for an audience of gearheads, [Tracy]’s writeup walks through some technical aspects of the salvage plan and initial results of execution. Citing from the official entity in charge, the St. Simons Sound Incident Response Unified Command, and augmented with information from elsewhere. Even though the MV Golden Ray is “only’ half the length and a third of the gross tonnage of our meme darling MV Ever Given, it is still a huge ship. Every salvage operation this big is unique, requiring knowledge far beyond our everyday intuition. At this scale, most Internet “Why don’t they just…” comments range from impractical to absurd.

Fortunately, people who actually know how to perform salvage work designed plans, submitted by multiple bidders, each making a different tradeoff in cost and speed among other factors. The chosen plan was to cut the ship into sections small enough to be carried by barge for further processing elsewhere. This required a huge floating crane, a chain pressed into cutter duty, custom fabricated lugs for lifting, and similarly custom fabricated cradles for the barges.

But we all know that no plan survives contact with reality. While this plan was seemingly chosen for speed, it hasn’t gone nearly as fast as advertised. Certainly the pandemic was a huge hinderance, but cutting has also been slowed by pieces built far stronger than spec. Delays also meant more sediment buildup inside the wreck, compounding headaches. Other bidders have started saying that if their plan had been chosen the job would be done by now, but who’s to say their plan wouldn’t have encountered their own problems?

In time St. Simons Sound will be cleared as the Suez Canal has been. Results of their respective investigations should help make shipping safer, but salvage skills will still be needed in the future. At least this operation isn’t as controversial as trying to retrieve the radio room of RMS Titanic.

Orphaned Gimbal Gets Second Chance To Fly

A reality of flying RC aircraft is that at some point, one of your birds is going to fall in the line of duty. It could get lost in the clouds never to be seen again, or perhaps it will become suddenly reacquainted with terra firma. Whatever the reason, your overall enjoyment of the hobby depends greatly on how well you can adapt to the occasional loss.

Based on what we’ve seen so far, we’d say [Rural Flyer] has the right temperament for the job. After losing one of his quadcopters in an unfortunate FPV incident, he decided to repurpose the proprietary gimbal it left behind. If he still had the drone he could have slipped a logic analyzer in between its connection with the motorized camera to sniff out the communication protocol, but since that was no longer an option, he had to get a little creative.

Figuring out the power side of things was easy enough thanks to the silkscreen on the camera’s board, and a common 5 V battery eliminator circuit (BEC) connected to the drone’s 7.4 V battery pack got it online. A cobbled together adapter allowed him to mount it to one of his other quads, but unfortunately the angle wasn’t quite right.

[Rural Flyer] wanted the camera tilted down about 15 degrees, but since he didn’t know how to talk to it, he employed a clever brute force solution. After identifying the accelerometer board responsible for determining the camera’s position, he use a glob of hot glue to push the sensor off of the horizontal. Providing this physical offset to the sensor data caused the camera to automatically move itself to exactly where he wanted it.

Continue reading “Orphaned Gimbal Gets Second Chance To Fly”

Salvaged Drill Gets A Magnetic Upgrade

For most people, a broken tool is at the end of its useful life. But rather than toss a heavy-duty drill that had its handle broken off, [Workshop From Scratch] thought it was a perfect opportunity to create something new. In his latest video, he shows how he converted this old hand tool into a magnetic drill press with predictably impressive results.

Despite being assembled largely from pieces of scrap metal cut into shape with an angle grinder, we wouldn’t blame you for believing the end result was a commercial product. From the handles salvaged from chewed up old screwdrivers to the scratch-built rack and pinion assembly, the attention to detail here is really fantastic.

Removing what was left of the broken handle.

It’s difficult to pick a favorite detail, but the reinvented enclosure for the drill certainly ranks up there. [Workshop From Scratch] could have simply bolted on the tool as-is, but instead he surgically removed the vestigial handle to make it look as though the drill was always meant for this application. After cutting, it was finished off with some body filler, a bit of sanding, and a coat of his signature orange spray paint.

When he built his magnetic vise, [Workshop From Scratch] used magnets pulled from automotive air conditioning systems. They got the job done, but were somewhat annoying to work with given their round shape. This time around, he’s used off-the-shelf magnetic locks intended for steel doors. When energized with a 19 V laptop power supply, he says the three rectangular electromagnets have a combined pull of 540 kilograms.

If you don’t have a broken drill to use as a donor for this type of project, don’t worry. You could always use a salvaged hoverboard motor instead.

Continue reading “Salvaged Drill Gets A Magnetic Upgrade”