Get ready for vintage computing aplenty in [David Given]’s project to port EmuTOS to the AlphaSmart Dana. He’s got it all on video, too. All 38 hours of it over 13 episodes!
[David]’s fork of EmuTOS is an open source version of the Atari TOS, which is itself the 68000-based OS for the Atari ST line of computers.
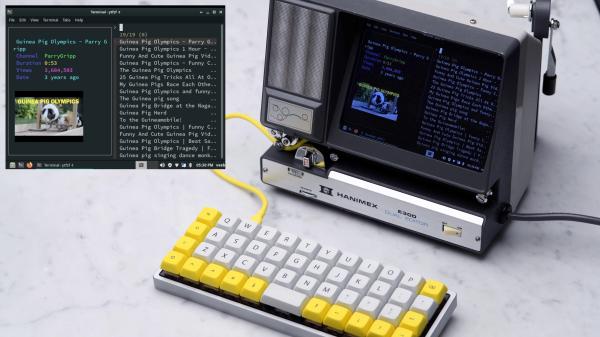
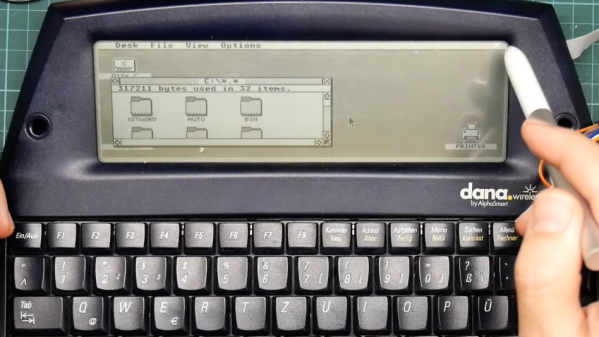
As for the AlphaSmart Dana, it is a roughly twenty-year-old portable word processor thing with pen input which runs a version of PalmOS. It’s a slightly oddball piece of hardware, but quite capable in its own way. A match obviously made in heaven? It is if you have [David]’s skill and drive!
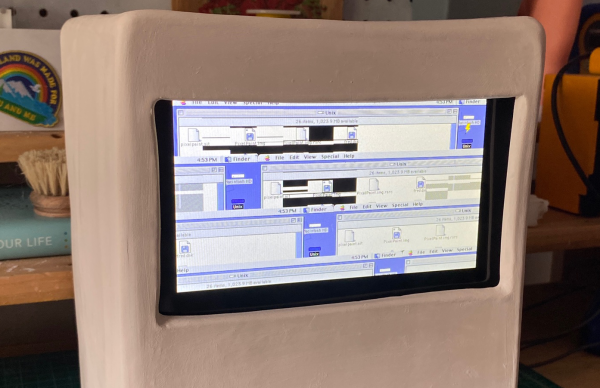
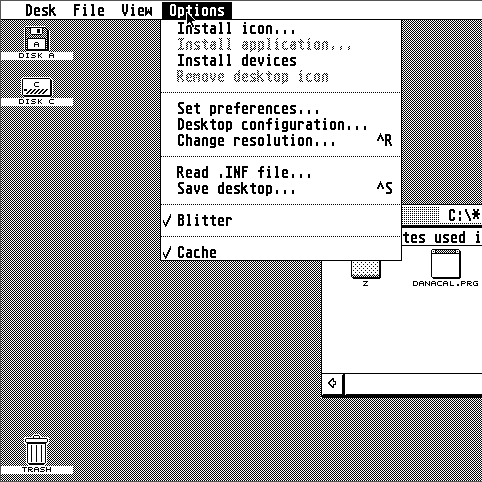
To get EmuTOS working on the Dana, the first step was figuring out how to find and work with the Dana’s debug port, using it to get direct access to the CPU while bypassing the boot ROM. Turns out that the Dana’s 68000-compatible processor has a handy feature: by manipulating the right pin, one can remote-control the CPU (to a certain extent) via the UARTs. That’s the entry point for a whole lot of hacking that ultimately results in firing up the GEM desktop on the Dana, and being able to run (some) original Atari ST software. Probably the biggest issue is that the screen size isn’t a great match for what the OS expects, but it works.
Continue reading “See The ATARI GEM Desktop Running On A Portable Word Processor… Thing”