We just dished out the first round of achievements to a bunch of hardware projects and there’s a lot more to come.
You may have missed it in all the fanfare last week, so today we take a closer look. Achievements are the newest edition to the Hackaday Prize and we’re really excited about them! With so much creativity in the projects we see entered, these achievements recognize a range of different aspects from serious to lighthearted, and even the downright absurd. There can be only 20 finalists in each challenge of the Prize, but there can be dozens of projects that unlock each achievement.
Today we’re taking a look at three of the achievements: Voltron, Pickle Rick, and the League of Extraordinary Cyborgs. You can also pursue the current list of achievements for an idea of what they’re all about.
 Voltron Achievement

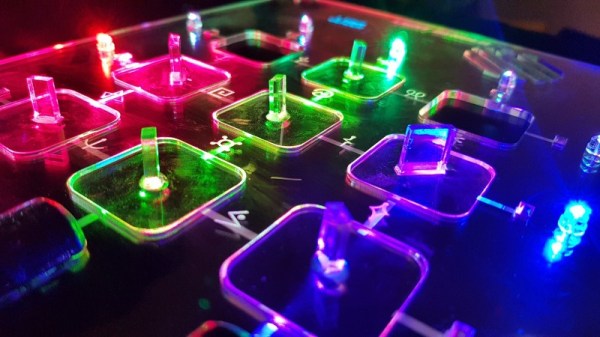
Modular PCBs

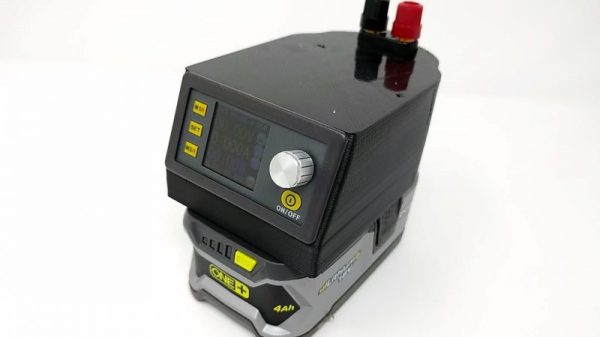
Swarm Robotics
The five projects that have unlocked the Voltron Achievement aren’t about defending the universe (but if that’s what you’re doing, cool!). What we’re looking for is many things coming together to be greater than the whole. Two great examples are the Hexabitz project which is an edge-soldered modular PCB system, and a project that envisions swarm robotics for construction, inspection, and maintenance.
 Pickle Rick Achievement

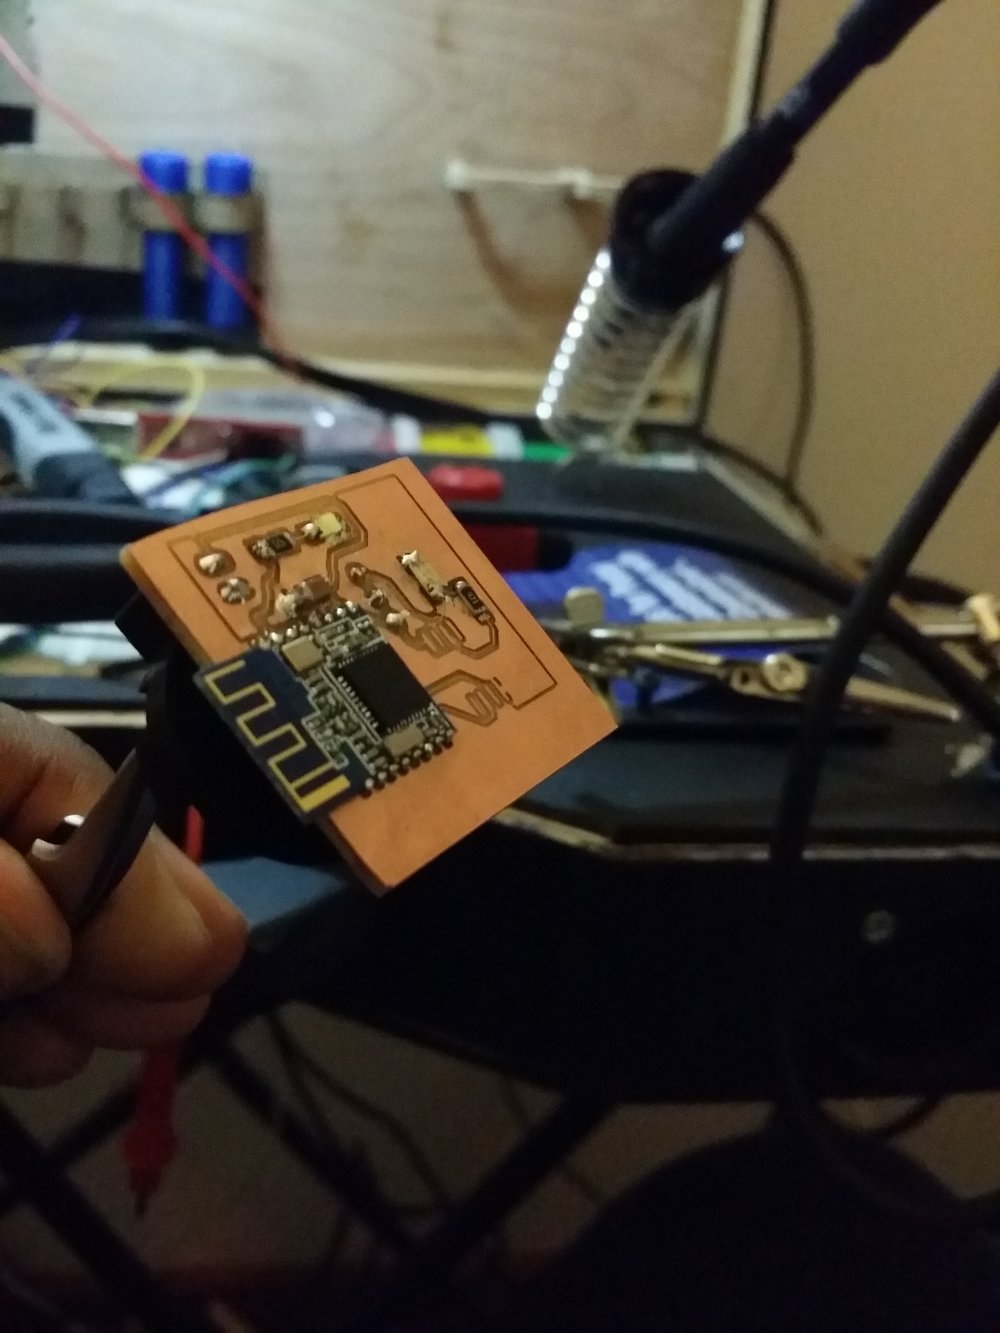
Neon 7-Segment Displays

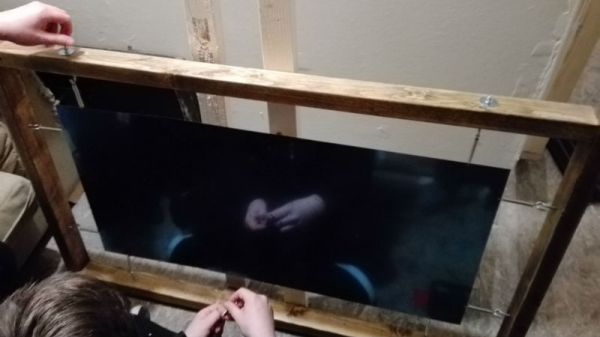
Car Robot or Snake Robot?
Does this need explaining? If your brain skips a cycle and your lips utter a halting “What?!” then you’ve unlocked the Pickle Rick Achievement. These are the out-of-the-ordinary hacks borne of the because-I-can mentality and we love them. The first two projects in this group are a neon 7-segment display (complete with bulky toggle switches and mechanical relays) and a robot snake that transforms into a robot car. What?!
 League of Extraordinary Cyborgs Achievement
It’s dangerous to go alone. OK, maybe it’s not, but you can get a lot more done as a close-knit team! We’re looking for team entries, which is how you unlock the League of Extraordinary Cyborgs Achievement.
Unlocks and the Achievements We Forgot
These achievements are easy to unlock. Your project needs to be a Hackaday Prize entry, and meet the achievement criteria. They don’t come with a cash prize (and don’t affect your chances of winning one). Achievements are a tip of the hat to the hackers who are passionate about the hardware they’re building.
We’ll be digging through entries, awarding these as we go, but of course we would love your help. When you see projects perfect for an achievement, leave a comment on that page with your support. You can also send a Hackaday.io message to Stephen Tranovich, Technical Community Leader at Hackaday.io and the person most on the lookout for awarding achievements, requesting an achievement unlock.
The currently displayed list doesn’t include all of the achievements. Some of them are secret (we’ll tell you when we start awarding those). We will be adding more along the way. If an idea for an interesting achievement pops into your mind, let us know in the comments below and we might add it!