A Rotary Encoder: How Hard Can It Be?

As you may have noticed, I’ve been working with an STM32 ARM CPU using Mbed. There was a time when Mbed was pretty simple, but a lot has changed since it has morphed into Mbed OS. Unfortunately, that means that a lot of libraries and examples you can find don’t work with the newer system.

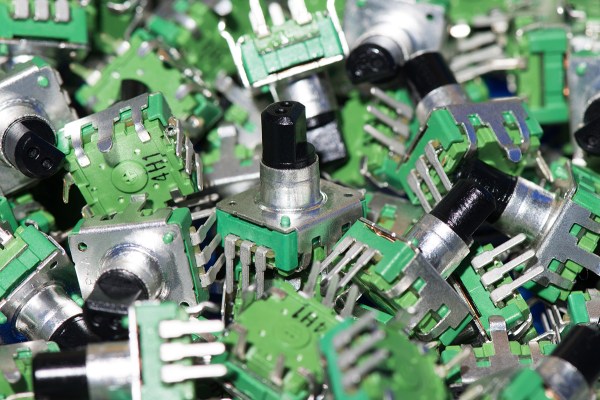
I needed a rotary encoder — I pulled a cheap one out of one of those “49 boards for Arduino” kits you see around. Not the finest encoder in the land, I’m sure, but it should do the job. Unfortunately, Mbed OS doesn’t have a driver for an encoder and the first few third-party libraries I found either worked via polling or wouldn’t compile with the latest Mbed. Of course, reading an encoder isn’t a mysterious process. How hard can it be to write the code yourself? How hard, indeed. I thought I’d share my code and the process of how I got there.

There are many ways you can read a rotary encoder. Some are probably better than my method. Also, these cheap mechanical encoders are terrible. If you were trying to do precision work, you should probably be looking at a different technology like an optical encoder. I mention this because it is nearly impossible to read one of these flawlessly.

So my goal was simple: I wanted something interrupt driven. Most of what I found required you to periodically call some function or set up a timer interrupt. Then they built a state machine to track the encoder. That’s fine, but it means you eat up a lot of processor just to check in on the encoder even if it isn’t moving. The STM32 CPU can easily interrupt with a pin changes, so that’s what I wanted.

The Catch

The problem is, of course, that mechanical switches bounce. So you have to filter that bounce either in hardware or software. I really didn’t want to put in any extra hardware more than a capacitor, so the software would have to handle it.

I also didn’t want to use any more interrupts than absolutely necessary. The Mbed system makes it easy to handle interrupts, but there is a bit of latency. Actually, after it was all over, I measured the latency and it isn’t that bad — I’ll talk about that a little later. Regardless, I had decided to try to use only a pair of interrupts.

Continue reading “A Rotary Encoder: How Hard Can It Be?”

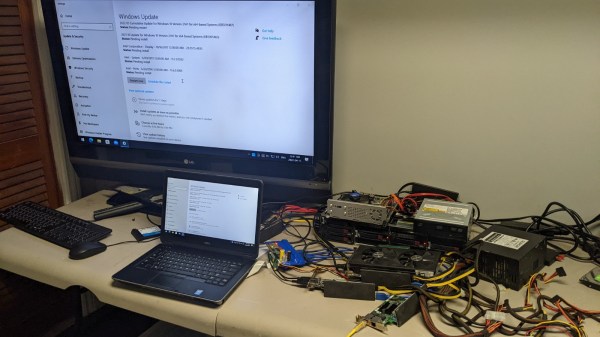
Picture of the setup described in the article, with PCI-E cards strewn around the desk, all interconnected, and a powered-up laptop, a large TV screen behind the laptop

This Laptop Gets All The PCIe Devices

Did you ever feel like your laptop’s GPU was sub-optimal, or perhaps that your laptop could use a SAS controller? [Rob Rogers] felt like that too, so now he has the only Dell Latitude business-class laptop that’s paired with an AMD RX580 GPU – and more. Made possible because of a PCIe link he hijacked from the WiFi card, he managed to get a SAS controller, a USB 3.0 expansion card, the aforementioned GPU and a dual-port server network adapter, all in a single, desk-top setup, as the video demonstrates.

First off, we see a PCIe packet switch board based on a PLX-made chip, wrapped in blue tape, splitting a single PCIe x1 link into eight. The traditional USB 3.0 cables carry the downstream x1 links to the four PCIe cards connected, all laid out on [Rob]’s desk. [Rob] demonstrates that all of the cards indeed function correctly – the SAS controller connected to a server backplane with whole 22 TB of storage in it, a few devices plugged into a USB 3.0 card, an Ethernet cable with an active link in the network card, and wrapping up the video showing 3DMark results of the RX580 clearly paired with the laptop’s mobile CPU. There’s four more spots on the PCIe switch card, so if you wanted to connect a few NVMe SSDs without the costly USB enclosures that usually entails, you absolutely could!

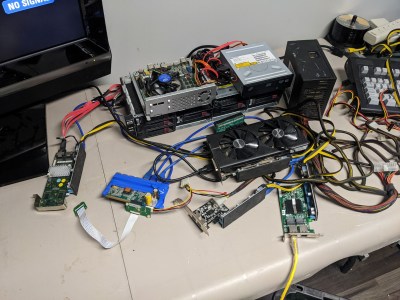
The setup on the desk, laptop-less, still interconnected and with the mini pci-e adapter visibleNow, there’s a reason why we don’t see more of such hacks. This seems to be a Latitude E5440 and the card is plugged into a mini-PCIe slot, which means the entire contraption is bound by a single PCI-E Gen2 x1 link, heavily offsetting the gains you’d get from an external GPU when, say, gaming. However, when it comes to the types and amount of peripherals, this is unbeatable – if you want to add an external GPU, high-speed networking and a SAS controller to the same computer that you usually lug around, there isn’t really a dock station you can buy for that!
Our collection of cool PCIe hacks has been growing, with hackers adding external GPUs through ExpressCard and mini PCIe alike, fitting PCIe slots where the factory refused to provide one, and extending the onboard M.2 slots for full-size PCIe cards. Nowadays, with these packet switches, it’s easy as ever to outfit any PCIe capable device with a whole slew of features – as this Raspberry Pi Computer Module motherboard with eleven PCIe slots demonstrates. Wonder how PCIe works, and why all of that is possible? We’ve written an entire article on that!

Continue reading “This Laptop Gets All The PCIe Devices”

Commodore C64: The Most Popular Home Computer Ever Turns 40

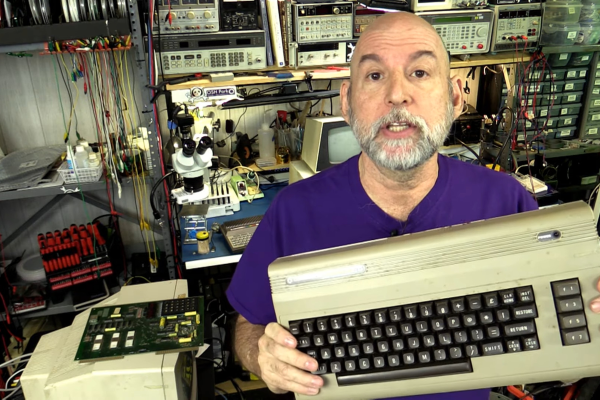
This year marks the anniversary of the most popular selling home computer ever, the Commodore 64, which made its debut in 1982. Note that I am saying “home computer” and not personal computer (PC) because back then the term PC was not yet in use for home computer users.

Some of you have probably not heard of Commodore, which is kind of sad, though there is a simple reason why — Commodore is no longer around to maintain its legacy. If one were to watch a documentary about the 1980s they may see a picture of an Apple computer or its founders but most likely would not see a picture of a Commodore computer in spite of selling tens of millions of units.

To understand the success of the C64 I would first back up and talk about the fabled era of home computers which starts with understanding the microprocessor of the day, the venerable 6502. Check out the video and follow along below.

Continue reading “Commodore C64: The Most Popular Home Computer Ever Turns 40”

Gaskets, Can They Be 3D Printed?

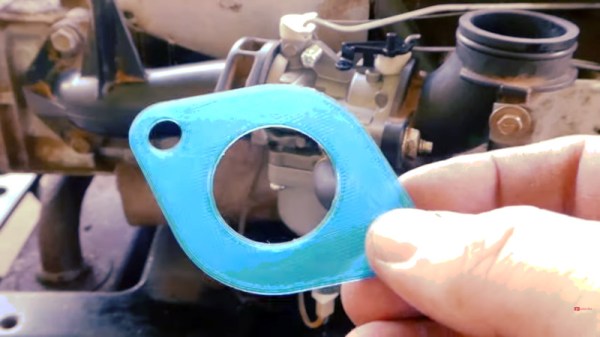
Anyone who’s owned an older engine, whether it be in a car, motorcycle, or garden machine, will at some time have been faced with the need for a gasket. Even when the gasket is readily available there may be an imperative to fix the engine rather than wait for the part to arrive, so it’s common to make your own replacements. Simple ones are easy to cut from thin card, but if you’ve ever tried to do this with a really complex one you’ll know the pain of getting it right. This is the problem tackled in a video from [the_eddies], who has explored the manufacture of replacement gaskets by 3D printing.

The advantages of CAD and easy manufacture are obvious, but perhaps many common plastics might not perform well in hot or oily environments. For that reason he settles on TPU filament, and gives it a test in a bath of 2-stroke fuel mix to see how well it resists degradation. It passes, as it does also when used with a carburetor, though we’d be curious to see the results of a long-term test. We’ve placed the video below the break, so reach your own conclusions.

Gaskets have featured here before, and if you’re interested then there are other machines which can be used to make them.

Continue reading “Gaskets, Can They Be 3D Printed?”

Developing Your Own Digital Film

In the olden days, you would have a roll of film that you could take to your local drug store and have them develop it. But a serious photographer would likely develop their own photos to maintain complete creative control. While photo editing software has largely replaced the darkroom of old, the images are still held on physical media, and that means there’s room for improvement and customization. In an article for photofocus, [Joseph Nuzzo] shows how you can make your own CFexpress card — the latest and greatest in the world of digital camera storage tech — for less than $100 USD.

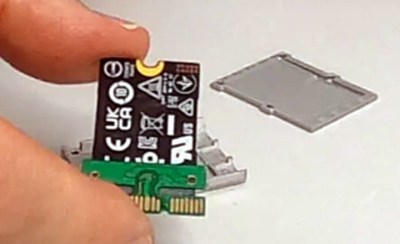
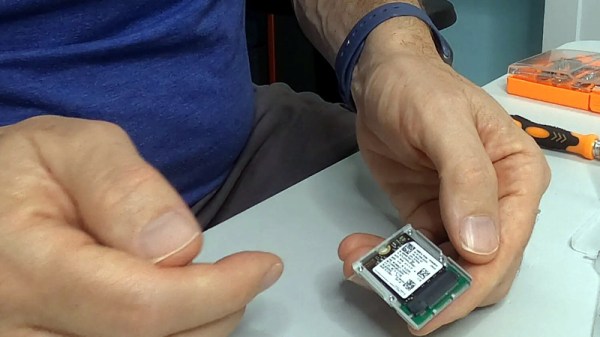
The idea here is pretty simple, as CFexpress uses PCIe with a different connector. Essentially all you have to do is get a M.2 2230 NVMe drive and put it into an adapter. In this case [Joseph] is using a turn-key model from Sintech, but we’ve shown in the past how you can roll your own.

Now you might not give it much thought normally, but NVMe devices get pretty hot. This usually isn’t problem inside a large computer case, where they often have large amounts of air blowing over them. But inside a camera you need to dissipate that heat, so thermal compound is a must. With everything screwed together, you have your own card that’s faster and cheaper than commercial offerings.

It’s no secret that there’s a lot of love for NVMe. It’s easy, fast, and adaptable. Since the M.2 slot format includes SATA and PCIe, there’s a likely chance there is a PCIe bus in many cameras. The PCIe bus on the Pi has been convenient for hacking, and we wonder what sort of hacks are out there for cameras.

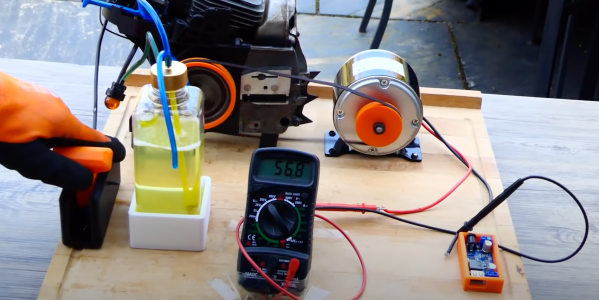
the full charger with gas tank and engine

Charge Your Apple With Apples

When you think of ethanol, you might think of it as a type of alcohol, not alcohol itself. However, in reality, it is the primary ingredient in adult beverages. Which means humans have gotten quite good at making it, as we’ve been doing for a long time. With this in mind, [Sam Barker] decided to make ethanol out of apples to power a small engine to charge his phone.

The steps for making pure ethanol is quite similar to making alcoholic cider. A friend of [Sam’s] had an orchard and a surplus of apples, so [Sam] boiled them down and stored the mush in jugs. He added activated dry yeast to start the fermentation process. A dry lock allowed the CO2 gas that was being created to escape. Over a few weeks, the yeast converted all the sugar into ethanol and gas. In the meantime, [Sam] sourced a chainsaw and adapted the engine to run on ethanol, as ethanol needs to run richer than gasoline. The video below the break tells the story.

Continue reading “Charge Your Apple With Apples”

Micromachining With A Laser

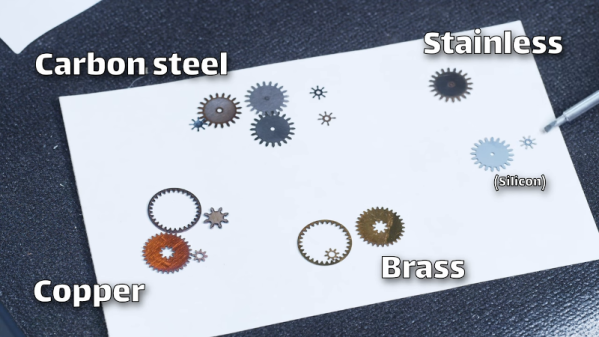
[Breaking Taps] has a nice pulsed fiber laser and decided to try it to micromachine with silicon. You can see the results in the video below. Silicon absorbs the IR of the laser well, although the physical properties of silicon leave something to be desired. He also is still refining the process for steel, copper, and brass which might be a bit more practical.

The laser has very short duration pulses, but the pulses have a great deal of energy. This was experimental so some of the tests didn’t work very well, but some — like the gears — look great.

Continue reading “Micromachining With A Laser”