Hacking A Sonoff WiFi Switch

The ESP8266 platform has become so popular that it isn’t just being used in hobby and one-off projects anymore. Companies like Sonoff are basing entire home automation product lines around the inexpensive WiFi card. What this means for most of us is that there’s now an easily hackable and readily available product on the market that’s easily reprogrammed and used with tools that we’ve known about for years now, as [Dan] shows in his latest project.

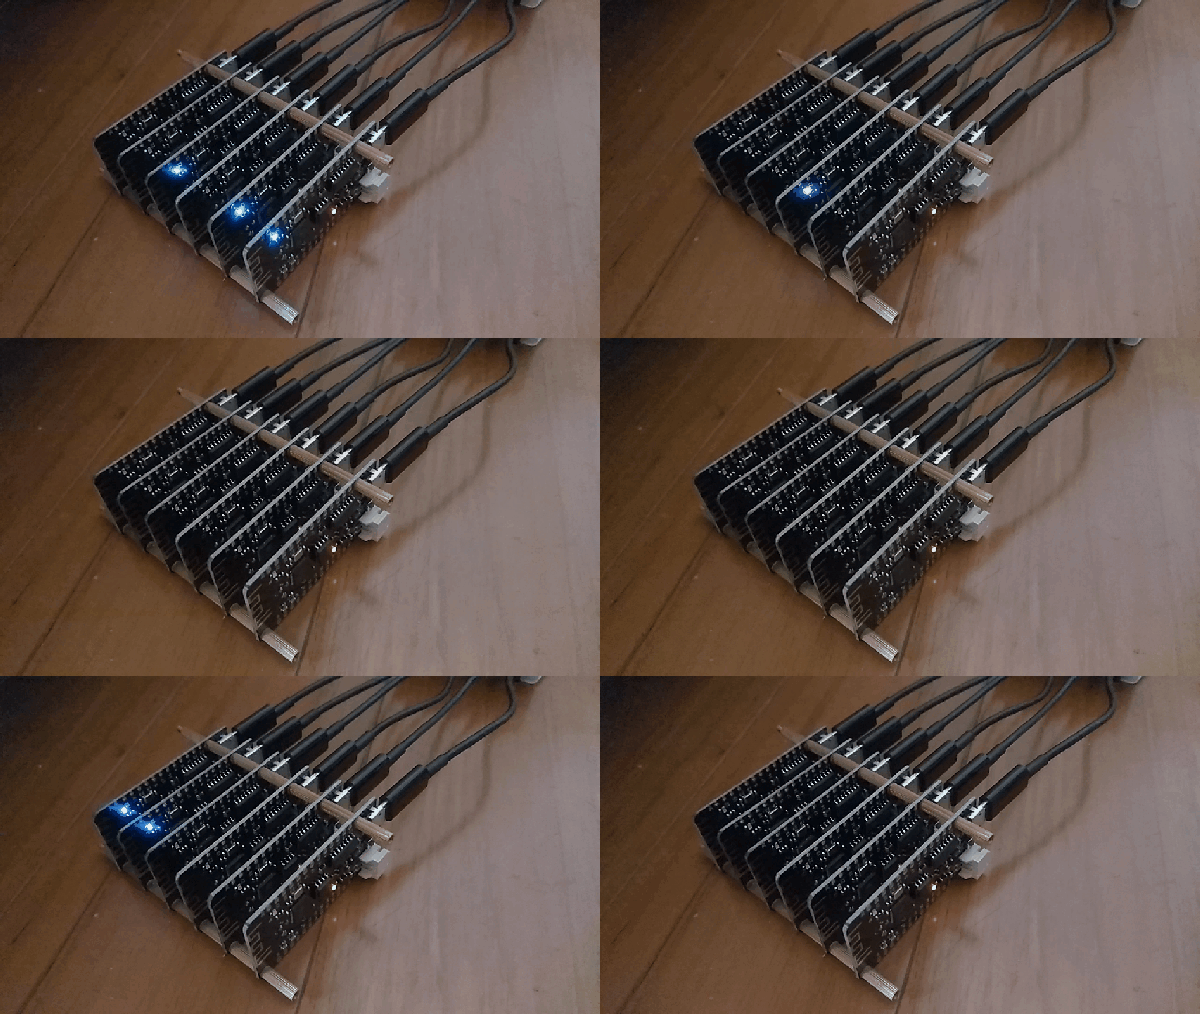
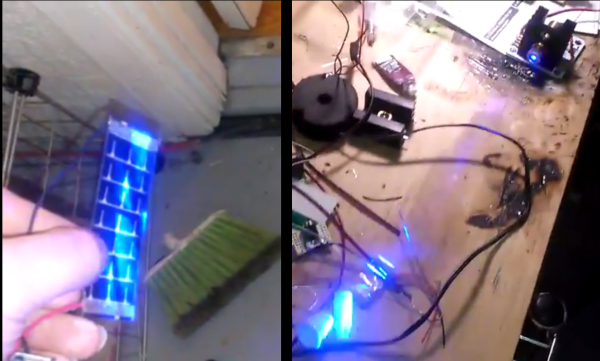
[Dan] has an aquaponics setup in his home, and needs some automation to run the lights. Reaching for a Sonoff was an easy way to get this done, but the out-of-the-box device can only be programmed in the simplest of ways. To get more control over the unit, he wired a USB-to-Serial UART to the female headers on the board and got to programming it.

The upgraded devices are fully programmable and customizable now, and this would be a great hack for anyone looking to get more out of a Sonoff switch. A lot of the work is already done, like building a safe enclosure, wiring it, and getting it to look halfway decent. All that needs to be done is a little bit of programming. Of course, if you’d like to roll out your own home automation setup from scratch that can do everything from opening the garage door to alerting you when your dog barks, that’s doable too. You’ll just need a little more hardware.

Making Software Defined Radio Portable

While most smartphones can receive at least some radio, transmitting radio signals is an entirely different matter. But, if you have an Android phone and a few antennas (and a ham radio license) it turns out that it is possible to get a respectable software-defined radio on your handset.

[Adrian] set this up to be fully portable as well, so he is running both the transceiver and the Android phone from a rechargeable battery bank. The transceiver is also an interesting miniaturized version of the LimeSDR, the Lime SDR Mini, a crowdfunded Open Source radio platform intended for applications where space is at a premium. It operates on the 10 MHz to 3.5 GHz bands, has two channels, and has a decent price tag too at under $100.

For someone looking for an SDR project or who needs something very portable and self-contained, this could be a great option. The code, firmware, and board layout files are all also open source, which is always a great feature. If you’re new to SDR though, there’s a classic project that will get you off the ground for even less effort.

Continue reading “Making Software Defined Radio Portable”

Router Rebooter Eliminates Hassles

Some low-end or older routers might get you a decent WiFi network in your house or apartment, but often these cheaply made devices are plagued with subtle software problems that cause the router itself to become unresponsive after a few days of operating. One solution is to just power cycle the router by hand whenever the Internet disappears, but a better solution is to build something that does that for you.

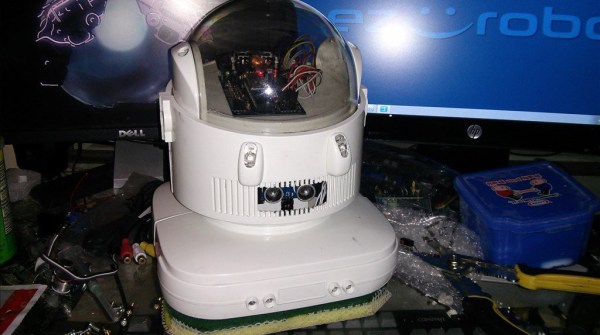
[Charlie] had this problem as the de facto IT person in his family, and didn’t want to keep getting bothered for such a simple problem. His solution involves a relay, an ESP8266, and a Wemos D1 mini. The device connects to the Internet through the router and occasionally sends out pings to another address. If it can’t ping the address successfully after a certain time period, the device power cycles the router by activating the relay.

Since this isn’t the newest idea out there, there are many ways to solve this problem if you are constantly annoyed by router issues, whether from your own router or from friends and family who treat you as their personal IT department. One solution doesn’t involve any extra hardware at all as long as you have a computer near your router/modem already, and others solve this problem when it happens to the modem rather than the router.

Continue reading “Router Rebooter Eliminates Hassles”

Using Lasagna To Make Cost-Saving Molds

Building a one-off prototype is usually pretty straightforward. Find some perfboard and start soldering, weld up some scrap metal, or break out the 3D printer. But if you’re going to do a production run of a product then things need to have a little more polish. In [Eric Strebel]’s case this means saving on weight and material by converting a solid molded part into something that is hollow, with the help of some lasagna.

What [Eric] walks us through in this video is how to build a weep mold. First, the solid part is cast in silicone. Using the cast, some “sheet clay” is applied to the inside which will eventually form the void for the new part’s walls. The clay needs to be flush with the top of the mold, though, and a trick to accomplish this task is to freeze the mold (next to the lasagna) which allows the clay to be scraped without deforming.

From there, the second half of the mold is poured in, using special channels that allow the resin to “weep” out of the mold (hence the name). This two-part process creates a much more efficient part with thin walls, rather than the expensive solid prototype part.

[Eric] is no stranger around these parts, either. He’s an industrial designer with many tips and tricks of the profession, including a method for building a machining tool out of a drill press and a vise as well as some tips for how to get the most out of a low-volume production run of a product you might be producing.

Continue reading “Using Lasagna To Make Cost-Saving Molds”

Quantum Computing Hardware Teardown

Although quantum computing is still in its infancy, enough progress is being made for it to look a little more promising than other “revolutionary” technologies, like fusion power or flying cars. IBM, Intel, and Google all either operate or are producing double-digit qubit computers right now, and there are plans for even larger quantum computers in the future. With this amount of inertia, our quantum computing revolution seems almost certain.

There’s still a lot of work to be done, though, before all of our encryption is rendered moot by these new devices. Since nothing is easy (or intuitive) at the quantum level, progress has been considerably slower than it was during the transistor revolution of the previous century. These computers work because of two phenomena: superposition and entanglement. A quantum bit, or qubit, works because unlike a transistor it can exist in multiple states at once, rather than just “zero” or “one”. These states are difficult to determine because in general a qubit is built using a single atom. Adding to the complexity, quantum computers must utilize quantum entanglement too, whereby a pair of particles are linked. This is the only way for any hardware to “observe” the state of the computer without affecting any qubits themselves. In fact, the observations often don’t yet have the highest accuracy themselves.

There are some other challenges with the hardware as well. All quantum computers that exist today must be cooled to a temperature very close to absolute zero in order to take advantage of superconductivity. Whether this is because of a reduction in thermal noise, as is the case with universal quantum computers based on ion traps or other technology, or because it is possible to take advantage of other interesting characteristics of superconductivity like the D-Wave computers do, all of them must be cooled to a critical temperature. A further challenge is that even at these low temperatures, the qubits still interact with each other and their read/write devices in unpredictable ways that get more unpredictable as the number of qubits scales up.

So, once the physics and the refrigeration are sorted out, let’s take a look at how a few of the quantum computing technologies actually manipulate these quantum curiosities to come up with working, programmable computers. Continue reading “Quantum Computing Hardware Teardown”

Inexpensive Display Jumps To Life

If you’ve ever been to a local fair or amusement park, chances are you’ve seen an illusion known as Pepper’s Ghost. To perform the illusion, essentially all that’s needed is a thin sheet of plastic or one-way mirror and a light source. Get it right, and you’ll have apparitions popping up in all kinds of interesting places. With just the right software, though, one of those places could be in your own 3D display.

Using just a tablet and a sheet of plastic rolled into a cone, a three-person team was able to create a 3D display using the Pepper’s Ghost illusion. Using special software that the team developed, an image is altered so that when it reflects off of the plastic cone the image appears as a 3D rendering of the original picture. The rendering is perspective-correct and offers a novel way to interact with a 3D model without needing expensive equipment or special glasses.

If you do have some fancy equipment sitting around, like a computer monitor and some plexiglass, similar 3D displays have been made which utilize similar effects. Right now the team that developed this one haven’t made their code open yet, but have promised to release it soon so that others can build their own displays.

Thanks to [bmsleight] for the tip!

Local Infrastructure: The Devil Is In The Details

About two months ago I rode my bike to work like any other day, but on the way home a construction project seemed to have spontaneously started at one of the bridges that I pass over. Three lanes had merged into one which, for a federal highway, seemed like a poorly planned traffic pattern for a such a major construction project. As it happens, about an hour after I biked across this bridge that morning both outside sections of the bridge fell into the water. There was no other physical damage that seemed to explain why parts of a bridge on U.S. 1 would suddenly collapse.

The intriguing thing about this bridge collapse was that the outer retaining wall and about half of the sidewalk on both the northbound side and the southbound side had fallen into the water at the same time. This likely wasn’t caused by something like a boat impact, car accident, or an overweight truck. Indeed, Florida Department of Transportation (FDOT) investigated the incident and found that two post tension wires that held these sections of the bridge together had failed, making it unsafe for pedestrians and bicyclists but also for any boaters below. Continue reading “Local Infrastructure: The Devil Is In The Details”