Leprosy is a bacterial disease that affects the skin, nerves, eyes, and mucosal surfaces of the upper respiratory tract. It is transmitted via droplets and causes skin lesions and loss of sensation in these regions. Also known as Hansen’s disease after the 19th century scientist who discovered its bacterial origin, leprosy has been around since ancient times, and those afflicted have been stigmatized and outcast for just as long. For years, people were sent to live the rest of their days in leper colonies to avoid infecting others.
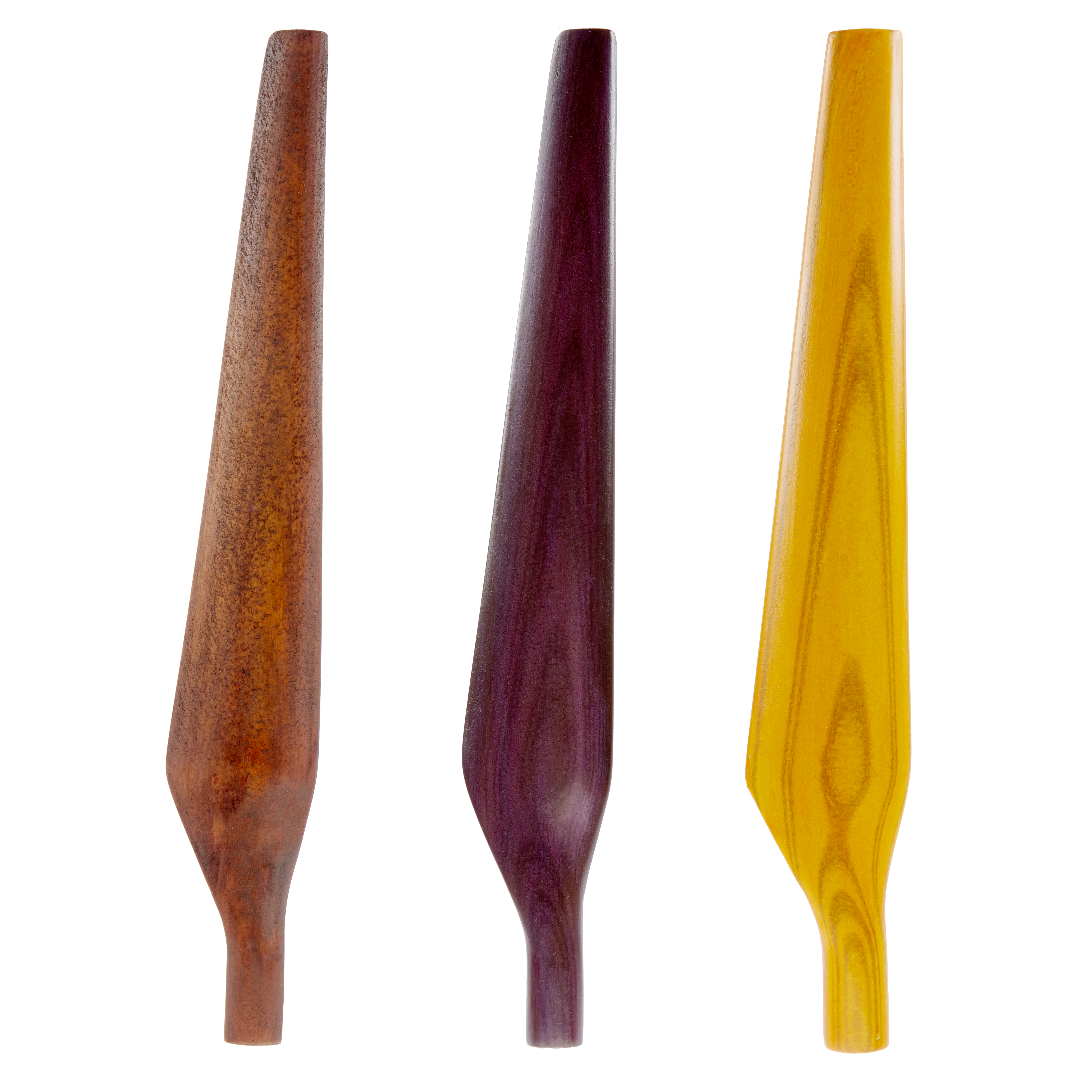
Until Alice Ball came along, the only thing that could be done for leprosy — injecting oil from the seeds of an Eastern evergreen tree — didn’t really do all that much to help. Eastern medicine has been using oil from the chaulmoogra tree since the 1300s to treat various maladies, including leprosy.
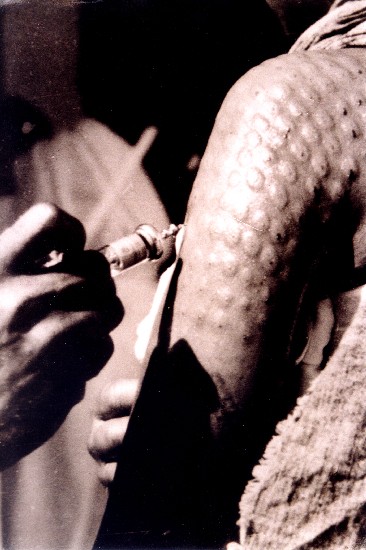
The problem is that although it somewhat effective, chaulmoogra oil is difficult to get it into the body. Ingesting it makes most people vomit. The stuff is too sticky to be applied topically to the skin, and injecting it causes the oil to clump in abscesses that make the patients’ skin look like bubble wrap.
In 1866, the Hawaiian government passed a law to quarantine people living with leprosy on the tiny island of Moloka’i. Every so often, a ferry left for the island and delivered these people to their eventual death. Most patients don’t die of leprosy, but from secondary infection or disease. By 1915, there were 1,100 people living on Moloka’i from all over the United States, and they were running out of room. Something had to be done.
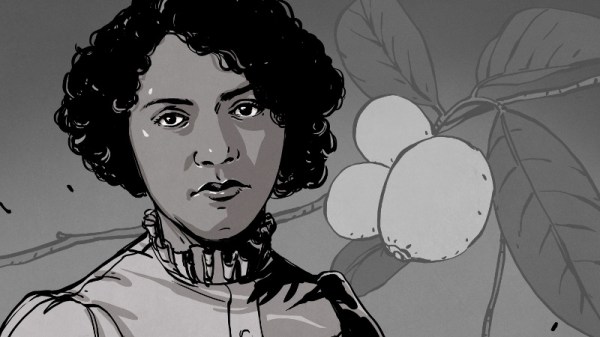
Professor Alice Ball hacked the chemistry of chaulmoogra oil and made it less viscous so it could be easily injected. As a result, it was much more effective and remained the ideal treatment until the 1940s when sulfate antibiotics were discovered. So why haven’t you heard of Alice before? She died before she could publish her work, and then it was stolen by the president of her university. Now, over a century later, Alice is starting to get the recognition she deserves.