It used to be pretty keen to stuff a radio receiver into an Altoid’s tin, or to whip up a tiny crystal receiver from a razor blade and a pencil stub. But Harvard researchers have far surpassed those achievements in miniaturization with a nano-scale FM receiver built from a hacked diamond.
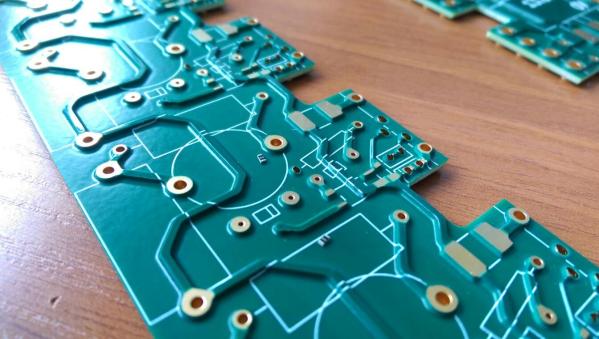
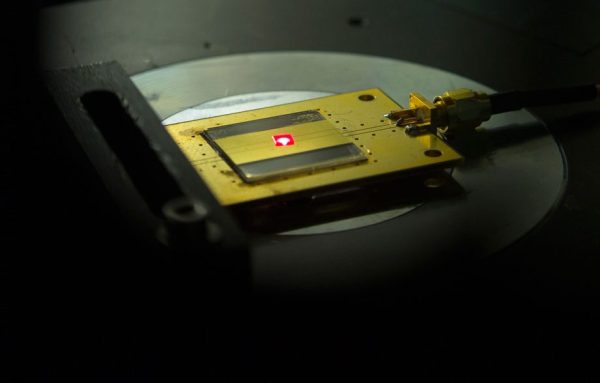
As with all such research, the experiments in [Marko Lončar]’s lab are nowhere near as simple as the press release makes things sound. While it’s true that a two-atom cell is the minimal BOM for a detector, the device heard belting out a seasonal favorite from [Andy Williams] in the video below uses billions of nitrogen-vacancy (N-V) centers. N-V centers replace carbon atoms in the diamond crystal with nitrogen atoms; this causes a “vacancy” in the crystal lattice and lends photoluminescent properties to the diamond that are sensitive to microwaves. When pumped by a green laser, incident FM radio waves in the 2.8 GHz range are transduced into AM fluorescent signals that can be detected with a photodiode and amplifier.
The full paper has all the details, shows that the radio can survive extreme pressure and temperature regimes, and describes potential applications for the system. It’s far from a home-gamer’s hack at this point, but it’s a neat trick and one to watch for future exploitation. In the meantime, here’s an accidental FM radio with a pretty small footprint.