If you have more than a few bank cards, door-entry keycodes, or other small numeric passwords to remember, it eventually gets to be a hassle. The worst, for me, is a bank card for a business account that I use once in a blue moon. I probably used it eight times in five years, and then they gave me a new card with a new PIN. Sigh.
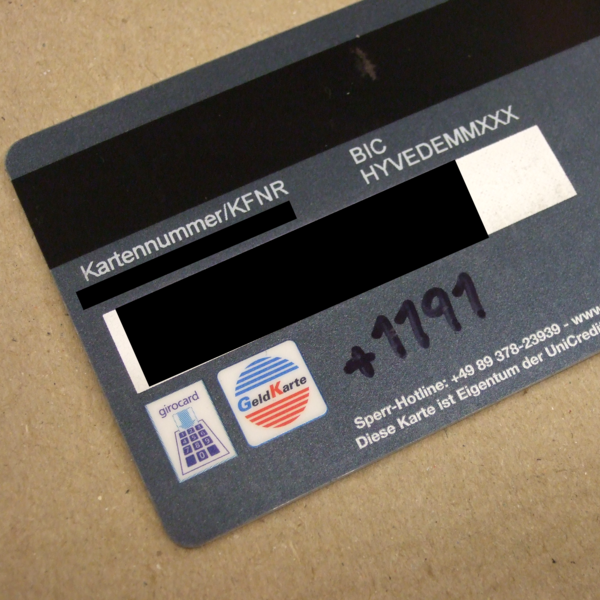
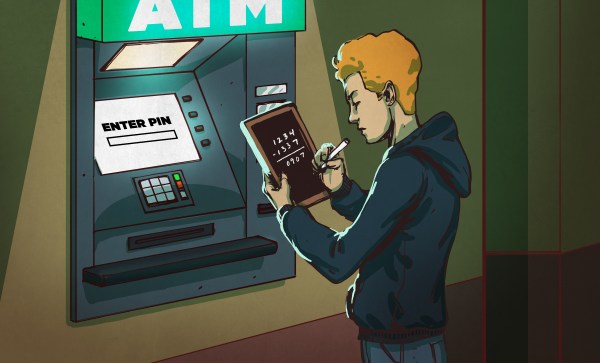
How would a normal person cope with a proliferation of PINs? They’d write down the numbers on a piece of paper and keep it in their wallet. We all know how that ends, right? A lost wallet and multiple empty bank accounts. How would a hacker handle it? Write each number down on the card itself, but encrypted, naturally, with the only unbreakable encryption scheme there is out there: the one-time pad (OTP).
The OTP is an odd duck among encryption methods. They’re meant to be decrypted in your head, but as long as the secret key remains safe, they’re rock solid. If you’ve ever tried to code up the s-boxes and all that adding, shifting, and mixing that goes on with a normal encryption method, OTPs are refreshingly simple. The tradeoff is a “long” key, but an OTP is absolutely perfect for encrypting your PINs.
The first part of this article appears to be the friendly “life-hack” pablum that you’ll get elsewhere, but don’t despair, it’s also a back-door introduction to the OTP. The second half dives into the one-time pad with some deep crypto intuition, some friendly math, and hopefully a convincing argument that writing down your encrypted PINs is the right thing to do. Along the way, I list the three things you can do wrong when implementing an OTP. (And none of them will shock you!) But in the end, my PIN encryption solution will break one of the three, and remain nonetheless sound. Curious yet? Read on.