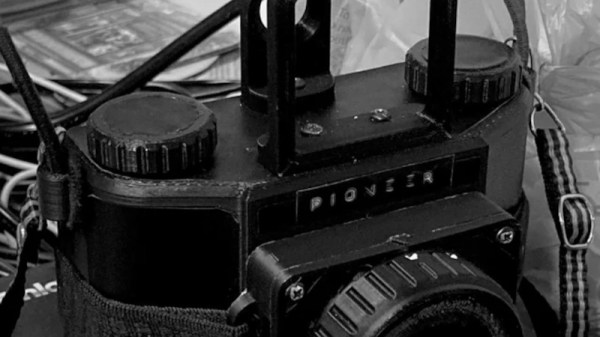
Film photography may now be something so outdated as to be unknown to our younger readers, but as an analogue medium it has enjoyed a steady enthusiast revival. There is still a bonanza of second-hand cameras from the days when it was king to be found, but for some photographers it’s preferable to experiment with their own designs. Among them is Reddit user [elelcoolbeenz], who has produced their own medium format camera for 120 roll film.
The camera has a plastic 3D printed body and a single meniscus lens, and perhaps most interestingly, a 3D printed shutter too. It’s heavily reminiscent of the Holga and Lomo plastic cameras that have carved a niche for themselves, and it gives the same photographic effects from its dubious quality optics.
There’s a snag of course, that the STLs are not yet available We say not yet, because this comes with a detailed explanation in that further work is required on the shutter and a more commonly available lens is found rather than a one-off. We still think it’s worthy of featuring at this stage though, because it serves to illustrate that building a camera is not impossible. We’d love to see more of them, though we expect few of them to go to the lengths this aluminium one did.
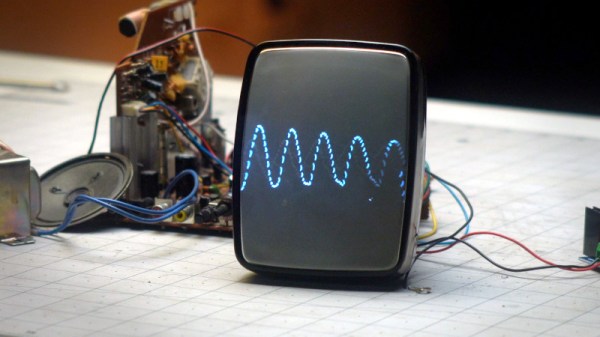
It has been a recurring feature of consumer audio gear since the first magic eye tube blinked into life, to have some kind of visualization of the sound being played. Most recently this has meant an LED array or an OLED screen, but [Thomas] has gone one better than this with a CRT television converted to perform as a rudimentary oscilloscope.
The last generation of commonly available monochrome televisions were small 5″ CRT models made in China. They never received digital tuners, so as digital TV has become the norm they are now useless to most people. Thus they can often be found for pennies on the second-hand market.
[Thomas]’s hack involves gutting such a TV and retaining its circuitry, but disconnecting the line driver from the deflection yoke. This would normally leave a vertical line on the screen as it would then be moved only by the frame driver at 50 Hz for PAL or 60 Hz for NTSC. By connecting an audio loudspeaker amplifier to the line deflection yoke he gets that low quality oscilloscope. It would be of limited use as an instrument, but few others will have such a cool audio visualizer. He’s viewing the screen in a portrait orientation, we’d be tempted to rotate the yoke for a landscape view.
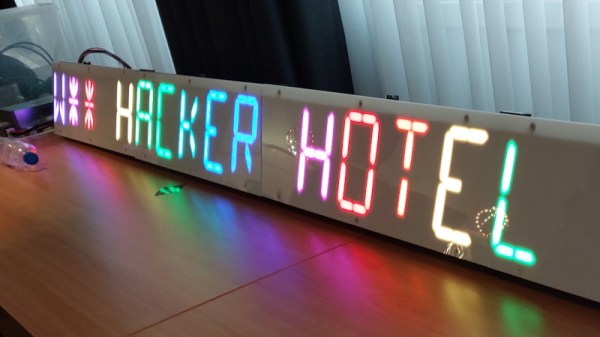
After three years, it’s odd to think back to those few weeks before the COVID-19 pandemic morphed from something on the news into an immediate and ever-present threat which kept us isolating for so long. For me, some of the last moments of normality were a trip to the Netherlands for Hacker Hotel, a hacker event in the comfort of a resort hotel. Now three years later and after two cancelled events, Hacker Hotel is back, and I made the same journey to Garderen to hang out for a weekend with a bunch of hacker friends over some good Dutch beer and a lot of bitterballen. Continue reading “Hacker Hotel 2023: Back Again!”→
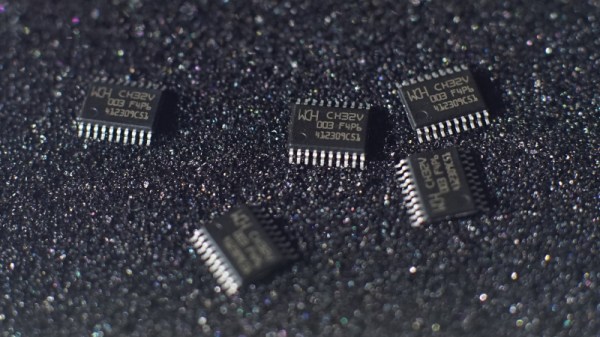
We’re in an exciting time for cheap microcontrollers, as with both the rise of RISC-V and the split between ARM and its Chinese subsidiary, a heap of super-cheap and very capable parts are coming to market. Sometimes these cheap chips come with the catch of being difficult to program though, but for one of them the ever-dependable [CNLohr] has brought together his own open-source toolchain. The part in question is the WCH CH32V003, which is a ten-cent RISC-V part that has an impressive array of capabilities. As always though, there’s a snag, in that we’re also told that while supplies are improving this part can be hard to find. The repository is ready for when you can get them again though, and currently also contains some demo work including addressable LED driver code.
As an alternative there’s a comparable and slightly cheaper ARM-based part, the Puya PY32. It’s reckoned to be the cheapest of the flash-based microcontrollers, and like the WCH part is bearing down on the crop of one-time-programmable chips such as the famous and considerably less powerful 3-cent Padauk. This end of the market is certainly heating up a little, and from our point of view this can only mean some exciting projects ahead.
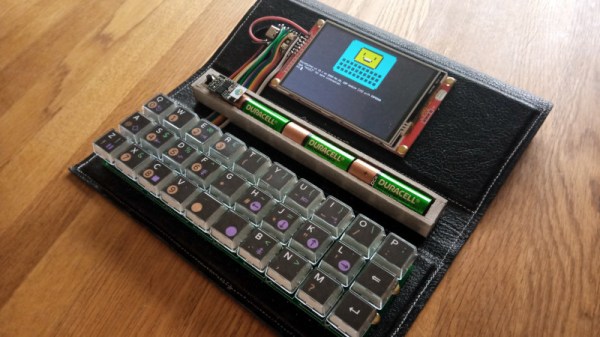
The humble desktop serial terminal may have long disappeared from the world of corporate IT, but there are still plenty of moments when professionals and enthusiasts alike need to hook up to a serial port. Many of us use a serial port on our laptops or other mobile devices, but [Neil Crawforth] has gone one better than that with the VT2040. It’s an old-style serial terminal in a super-handy portable format, and as one might guess from the name, it has an RP2040 microcontroller at its heart.
Attached to the chip is a rather nice keyboard, and an ILI9488 480×320 LCD display. The software is modular, providing a handy set of re-usable libraries for the different functions including a PIO-based serial port. His main application seems to be talking to an ESP8266, but we’re guessing with a MAX232 or other level shifter chip it could drive a more traditional port. Everything can be found in the project’s GitHub repository, allowing anyone to join the fun.
We all know the basics of how metal casting works, a metal is heated up to melting point and the resulting liquid metal is poured into a mold. When the metal sets, it assumes the shape of the mold. It’s a straightforward way to reliably replicate a metal item many times over, and the basics are the same whether the metal is a low-temperature alloy in a silicone mould or a crucible of molten steel poured into a sand mould.
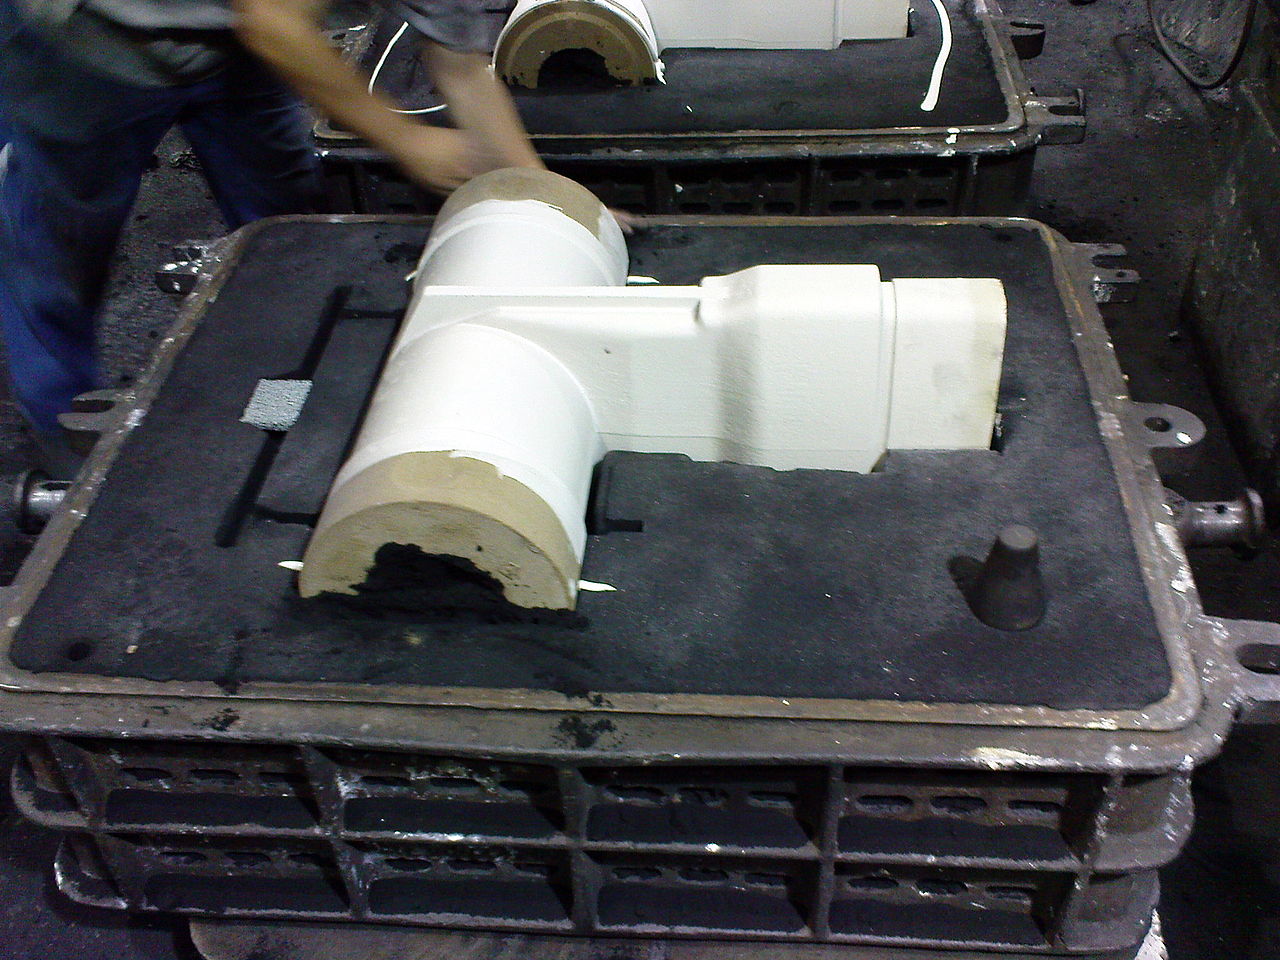
A sand mould being formed around a pattern. Lukas Stavek, CC BY-SA 3.0 .
What we all understood as casting in our conversation was sand casting. Sand is packed around a pattern of the piece to be cast, and then the pattern is removed leaving a cavity in its shape which becomes the mould. There are refinements to this process and the mould is frequently formed in two halves, but it’s something that’s even practical to do in a hackerspace level setting.
A refinement of sand casting is so-called lost-wax casting, in which a hollow wax model of the piece to be cast is packed around with sand, and when the metal is poured onto the top of it the wax melts and the wax is melted out before pouring the metal in to take its place. A variation on this appears here from time to time, so-called lost-PLA casting, where the wax model is replaced with a PLA 3D print.
Where our confusion crept in was with die casting. We could recognise a die-cast piece, but just what is die-casting, and how is a die-casting made? The answer there lies in mass-production, because a snag with sand casting is that a sand mould can be labour intensive to produce. Much better to come up with a quick-turnaround process that re-uses the same mould over and over, and save all that time!
Enter the die-casting, to metalwork what injection moulding is to polymers. The die is a mould made out of metal, usually with liquid cooling, and the casting is done not by pouring but by forcing the molten metal into the mould under pressure. The whole process becomes much quicker, meaning that it can become a piece of process machinery spitting out castings rather than a labour-intensive individual task. The metals used for die-casting are the lower temperature ones such as aluminium, zinc, and their alloys, but you will find die-castings in all conceivable places.
It’s obvious that Hackaday editors are not experienced foundrymen even if some of us grew up around metalwork, but we know that among our readers lie genuine experts in all sorts of fields. If that’s you and you operate a die-casting machine, please take a moment to tell us about it, we really would like to know more!
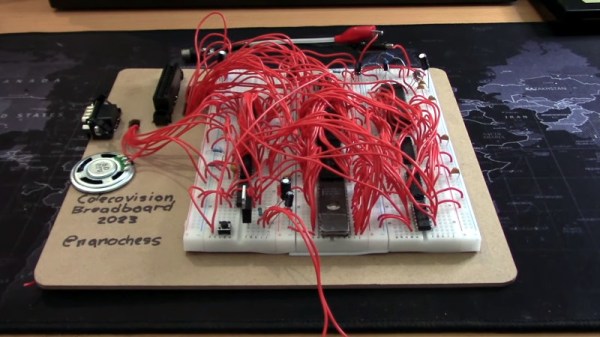
The Colecovision console from the early 1980s is probably not the most memorable platform of its era, but it retains a retrocomputing following to this day. The original hardware can be a bit pricey in 2023, so [nanochess] has built one of his own on a breadboard. It’s fully functional from original Colecovision cartridges, and we see it in the video below the break running Frogger.
Behind the mess of wires is a surprisingly simple circuit with only a few logic chips beyond the Z80 processor, the various memory and EPROM chips, and the video and sound chips. We’re told the complexity is considerably reduced by the use of a Texas Instruments TMS9118 video controller instead of a 9918.
Had we been building it we would probably have taken the less brave step of using color coded wires for the various signals, because we remember the fun and games associated with wiring old-style 8-bit computers by hand only too well. But we have to admit that it reminds us of a lost youth working out Z80 address decoder schematics, so it’s very pleasing to see one built today.