Straight Talk On 3D Printing Footwear At Home

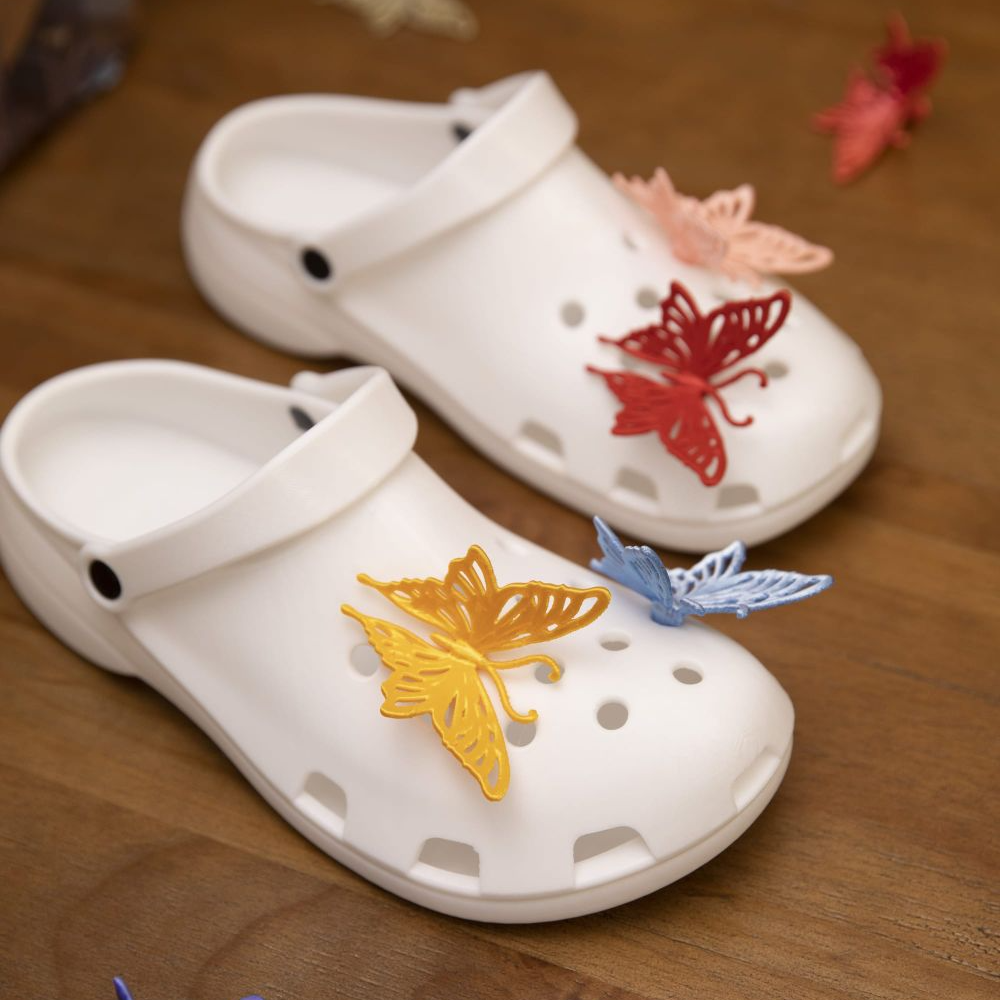
Printed footwear is an intriguing idea, but as far as projects go it is somewhat more complex than it first appears. This guide to 3D printing your own clogs not only provides a solid process, but also acts as a list of the challenges and pitfalls involved. After all, a piece of footwear is actually a fairly large object. Failed prints can be costly and time-consuming, so a guide like this is a valuable resource.

First of all, a 3D printer that can handle multi-material printing is called for. The footwear itself will be printed in TPU 90A as a sweet spot for hardness, but the print will require supports and those supports will need to peel away cleanly. The solution is a shoe printed in TPU with a rigid support structure of PLA. Using two different materials in the same print with anything remotely resembling efficiency calls for either a dual-nozzle print head, or a multi-toolhead printer.
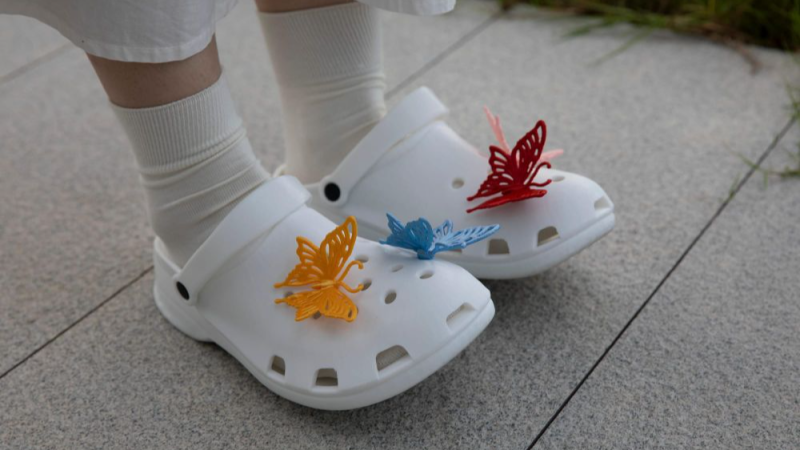
3D printing one’s own clogs can be rewarding, if not necessarily cost-effective.

Here we want to take a moment and say that while the guide itself suggests PETG is also a suitable support structure, we suspect this might only be true for the exact filament formulations used in the guide. The safer approach is to use PLA. Why? As we’ve seen in other tests, PETG has been observed to stick extremely well to flex filaments in general, whereas PLA doesn’t really want to stick to anything other than PLA. The exact formulations of TPU and PETG used in the guide might be compatible with one another, but in general we recommend sticking to PLA as a rigid support for flexible filament.

Assuming a capable printer and suitable materials are nailed down, one also needs to worry about keeping the TPU dry. It is very sensitive to moisture, which directly affects print quality. You’ll also need to dial in the settings — a gyroid-patterned infill of 15% provides the right amount of “squish”, which is most effectively fine-tuned by changing the infill pattern rather than the density.

Is it worth the time and effort and filament cost to print one’s own pair of slip-ons versus simply buying a pair of Crocs®? Maybe not, but it can still be rewarding and this guide will help minimize any failed prints in the process. And if you do get a nice print but the TPU is sticking a little too well to the build plate, reach for the isopropyl alcohol.
3D-Printed Skin Gives Robots The Sensation Of Touch

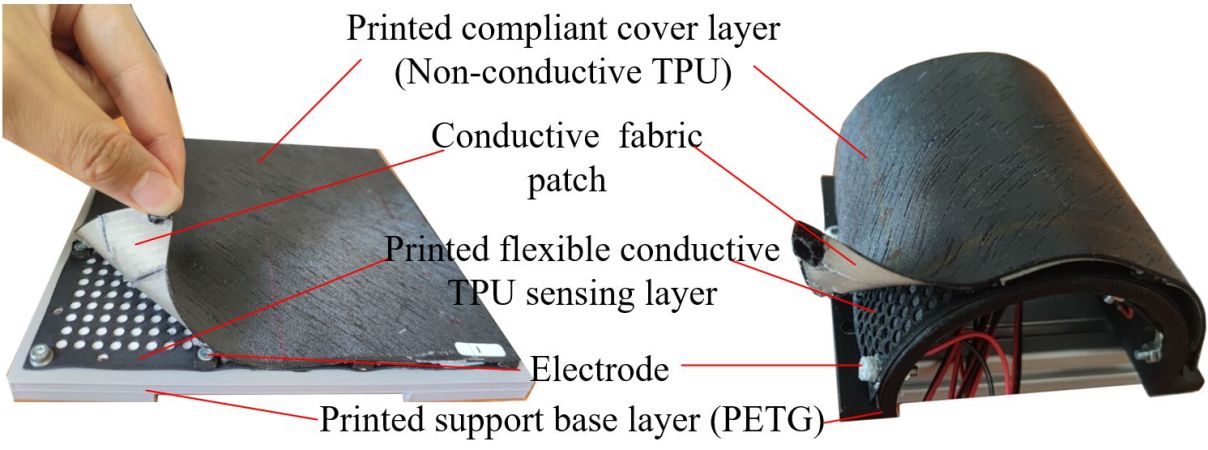
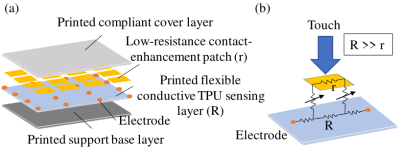
Schematic diagram of the touch-sensitive skin. (Credit: Haofeng Chen et al., ArXiv, 2026)

Hypoesthesia, more commonly referred to as numbness, is one of the more distressing ailments that can affect us humans, primarily because it reminds us of just how much we rely on our sensation of touch in daily life. From experiencing the world around us, handling objects, noticing when you just bumped into that side table again and the comforting hug of a fellow human being, touch is perhaps the most important of our senses.

In that regard the recently published research by [Haofeng Chen] et al. on giving robots a skin that can experience touch seems rather important as it would give especially humanoid robots a more natural way to interact with their environment, using feedback from touch. Continue reading “3D-Printed Skin Gives Robots The Sensation Of Touch”

A 1990s Homebrew OS With GUI And Web Browser, In AM29000 Machine Code

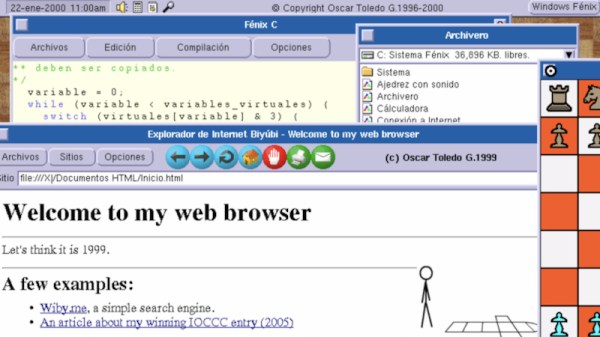
The AM29000 series of processors were AMD’s entry into the world of super-fast next-generation silicon of the late 1980s. It was a time when ARM was still a niche architecture in a British educational computer, the 68000 series was still a major player, and it was by no means certain that the x86 would maintain its position. It therefore wasn’t an unreasonable choice for someone building a high performance computer at the time, which is what [Oscar Toledo G.] and his father did. If that wasn’t enough, he went on to write an operating system for it in AM29000 assembly, complete with a GUI, a C compiler, and an up-to-date web browser for the late 1990s. The story makes for an engaging read.

It’s written across two parts, with the first looking at the computer and the early software development, and the second at the C compiler and web browser. It’s a tale of epic mastery of the machine, and something we remember ourselves, piecing together knowledge in a time before the Internet placed it all at our fingertips. Tales such as hand porting — we can’t really say compiling — C code into AM29000 machine code are completely next-level. You have to read these two write-ups, and there’s even an in-browser emulator should you want to try it.

Meanwhile, in case you think something is a little familiar here, he’s the same person who brought us a Transputer in the browser.

An Electronic Explanation Of 1960s Fuzz Boxes

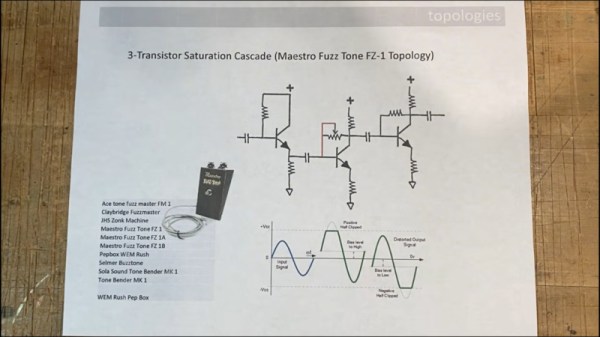
It’s likely that even those of us who have never picked up a guitar in our lives will recognize the sound of an electric guitar with a fuzz box effects pedal. The raspy distorted sound has been at the heart of so many very well known recordings. Behind it is a distortion circuit, or as [Bill Jehle’s Mad Scientist Guitar Lab] is here to tell us, eight different circuit topologies.

The result is a fascinating trip through the evolution of rock music through the 1960s, as he examines circuits from simple diode clippers through to frequency doublers and phase shifters. He’s provided a playlist as an accompaniment so you can even have an immediate listen to each sound. It’ll mess up our YouTube recommendations, but worth it for the informative journey.

It’s also a window into a lost period in electronics where all they practically had was the transistor, so each device had to put in the maximum work for a living. Designing circuits like these called for intimate knowledge of the device characteristics, and just how they could be safely exceeded. The video is below the break, and well worth a watch.

If clever transistor music circuits interest you, you’ll love the flawed devices that gave the Roland 808 its sound.

Continue reading “An Electronic Explanation Of 1960s Fuzz Boxes”

At Last, A Gameboy Advance With Decent Audio

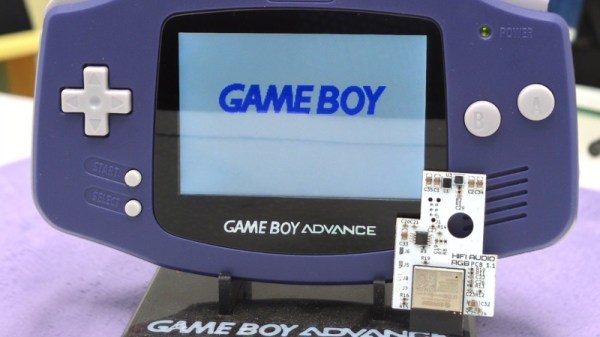
Many pieces of consumer electronics are build down to a price, and the corners cut show up in their performance. The Gameboy Advance from Nintendo is no exception: its audio is a PWM stream that sounds awful through the included amplifier. [Cajun Panda] has a fix though, in the form of a replacement audio chain.

It takes the form of a PCB that hooks into the pads of the removed GBA audio chip, and provides a much cleaner audio path with filtering and EQ and a class D audio amplifier. In addition there’s an audio codec and an ESP32 for Bluetooth connectivity, enabled by a long press of a GBA button and configured via a web interface on the ESP. Best of all there is no case modification, this is designed to remain as stock as possible.

Everything can be found in a GitHub repository should you wish to make your own, so if you want to bring your GBA audio up to scratch you know where to go. If you want to make it even better don’t forget, you can always upgrade the screen.

Tech In Plain Sight: Vacuum Blood Collection

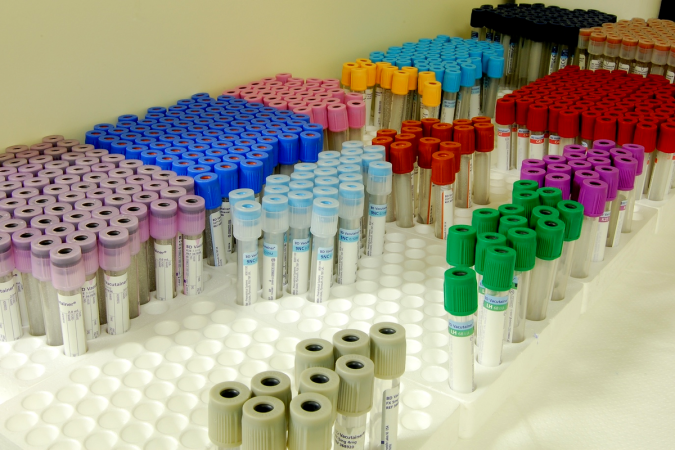
If you’re blessed enough that you haven’t had blood drawn in a while, you might not have thought much about the process. You might imagine that a needle goes in, a syringe is drawn back, and the venous blood is thusly collected. Indeed, it can be done that way.

However, there is an altogether niftier and more efficient method of fast blood collection for pathology testing. It’s all about using vacuum and smart design to ease the work of phlebotomists, while maintaining a sterile and safe environment.

Continue reading “Tech In Plain Sight: Vacuum Blood Collection”

Combining Photogrammetry Utilities Into A Simple GUI Tool

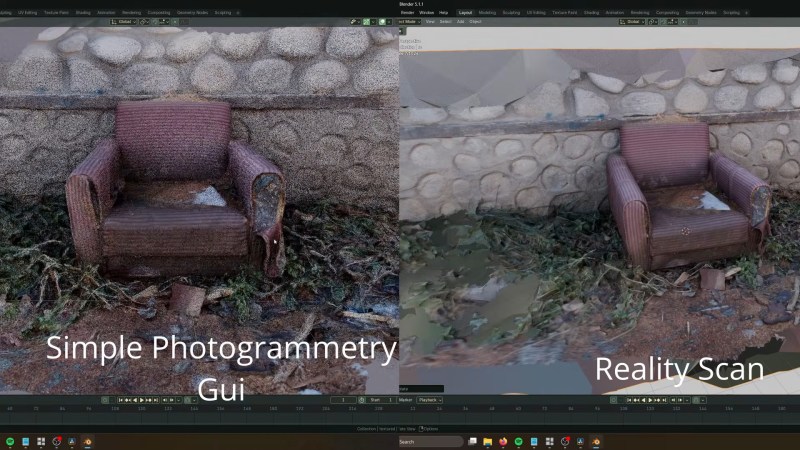
One of the fun aspects of open source software is that you can often find so many libraries and tools that implement the functionality you need, but ease of use for e.g. artists is often not a priority. This is where [Edin Spiegel] ‘s annoyances with photogrammetry tools led him down to the path of creating the Simple Photogrammetry GUI project, which is basically what it says on the tin.

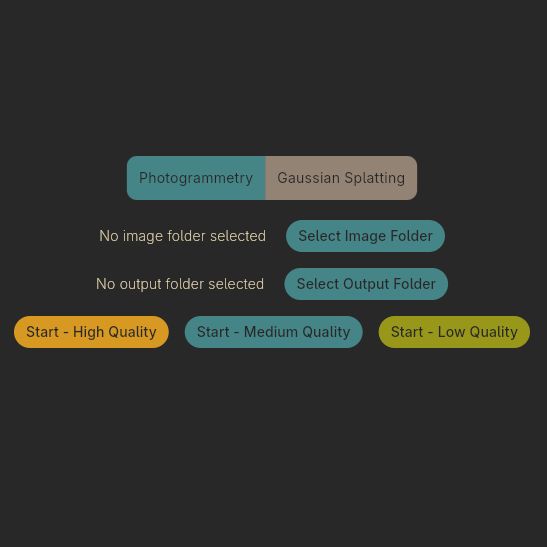
In an associated video its development and use is demonstrated, combining tools like Colmap, OpenMVS, mvs-texturing, pymeshlab, brush and PoissonRecon to implement both photogrammetry and gaussian splatting to turn those photos into a not too shabby mesh along with realistic textures.

The GUI uses the Flutter GUI kit, so Linux support is still somewhat sketchy, but should work in this new release of this GUI wrapper. The author is asking for people to test this GUI and report any issues found so that they can be addressed.

From a quick glance at the project and the comments to the video it seems quite useful for anyone who wants to get started quickly with photogrammetry. One niggle is perhaps that it relies on processing using CUDA, with a much slower fallback to CPU processing if you do not happen to have an Nvidia-blessed GPU installed. Of course this is one of those universal issues in a world where theoretically everyone should be using OpenCL already.

In addition to the build instructions you can also download an AppImage for Linux and compiled binaries for Windows to theoretically get started as fast as your internet connection allows. Interestingly, the AppImage is well over a GB in size, whereas the Windows ZIP file is just 207 MB for the v1.1.5 release, so take that into account.

Continue reading “Combining Photogrammetry Utilities Into A Simple GUI Tool”