Saltwater is plentiful, but no good for drinking. Desalinization is the obvious solution, but a big problem isn’t taking the salt out, it’s where all that leftover salt goes. Excess salt accumulates, crystallizes, collects, and clogs a system. Dealing with this means maintenance, which means higher costs, which ultimately limits scalability.
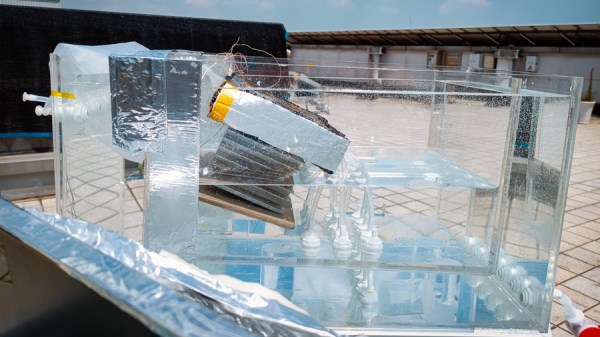
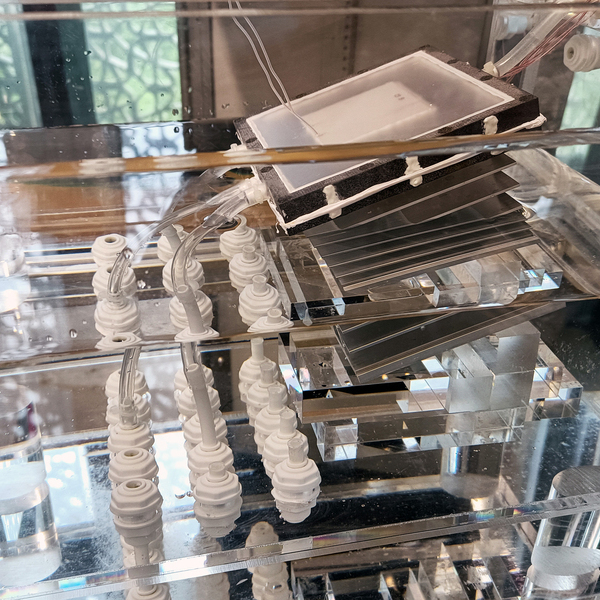 The good news is that engineers at MIT and in China have succeeded in creating a desalination system that avoids this problem by intrinsically flushing accumulated salt as it is created, keeping the system clean. And what’s more, the whole thing is both scalable and entirely passive. The required energy all comes from gravity and the sun’s heat.
To do this, the device is constructed in such a way that it mimics the thermohaline circulation of the ocean on a small scale. This is a process in which temperature and density differentials drive a constant circulation and exchange. In the team’s system, this ultimately flushes concentrations of salt out of the system before it has a chance to collect.
The entirely passive nature of the device, its scalability, and the fact that it could desalinate water without accumulating salt for years means an extremely low cost to operate. The operating principle makes sense, but of course, it is careful engineering that shows it is actually possible. We have seen projects leveraging the passive heating and circulation of water before, but this is a whole new angle on letting the sun do the work.