If science fiction taught us anything, it’s that voice control was going to be the human-machine interface of the future. [Dennis] has now whipped up a tutorial that lets you add a voice control module to any of your own projects.
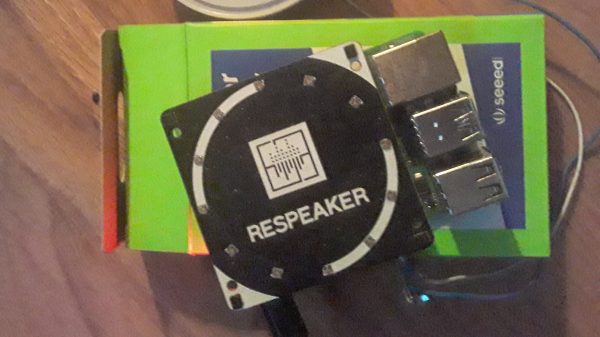
The voice control module uses a Raspberry Pi 4 as the brains of the operation, paired with a Seeed Studio ReSpeaker 4-microphone array. The Pi provides a good amount of processing power to crunch through the audio, while the mic array captures high-quality audio from any direction, which is key to reliable performance. Rhasspy is used as the software element, which is responsible for processing audio in a variety of languages to determine what the user is asking for. Based on the voice commands received, Rhasspy can then run just about anything you could possibly require, from sending MQTT smart home commands to running external programs.
If you’ve always dreamed of whipping up your own version of Jarvis from Iron Man, or you just want a non-cloud solution to turn your lights on and off, [Dennis’s] tutorial is a great place to start. Video after the break.
Continue reading “Hackaday Prize 2023: A DIY Voice-Control Module”