We say it often, but it’s worth repeating: this is the Golden Age of making and hacking. Between powerful free and open source software, low-cost PCB production, and high resolution 3D printers that can fit on your desk, a dedicated individual has everything they need to make their dream gadget a reality. If you ever needed a reminder of this fact, just take a look at the ZSWatch.
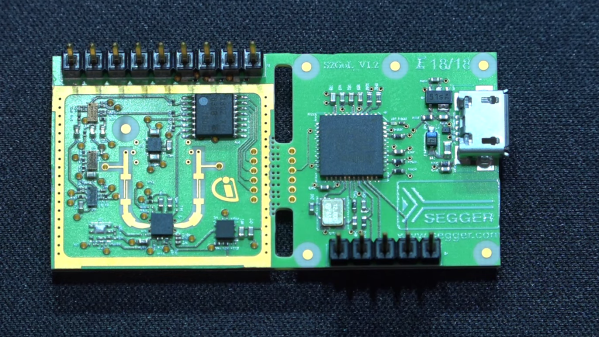
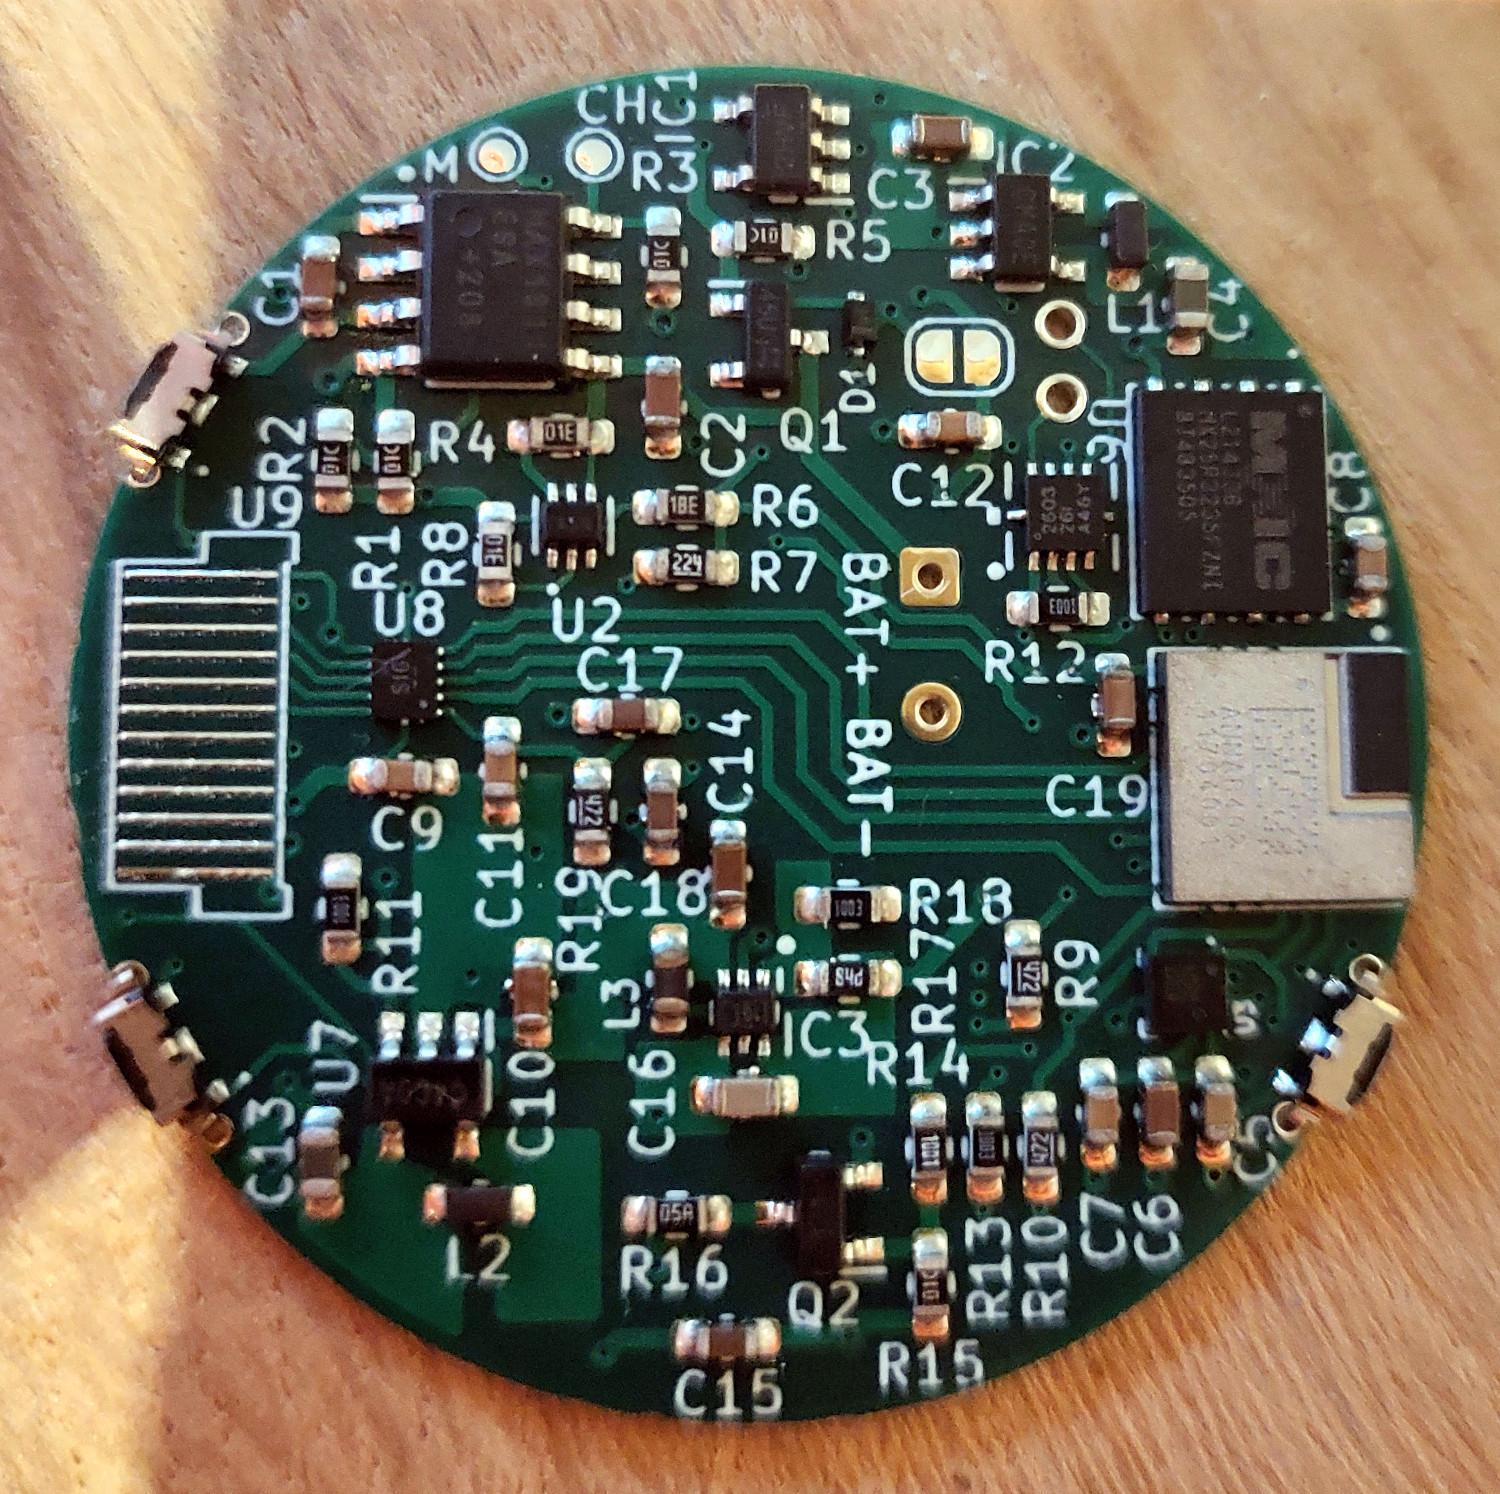
 When creator [Jakob Krantz] says he built this MIT-licensed smart watch from scratch, he means it. He designed the 4-layer main board, measuring just 36 mm across, entirely in KiCad. He wrote every line of the firmware, and even designed the 3D printable case himself. This isn’t some wearable development kit he got off of AliExpress and modified — it’s all built from the ground up, and all made available to anyone who might want to spin up their own version.
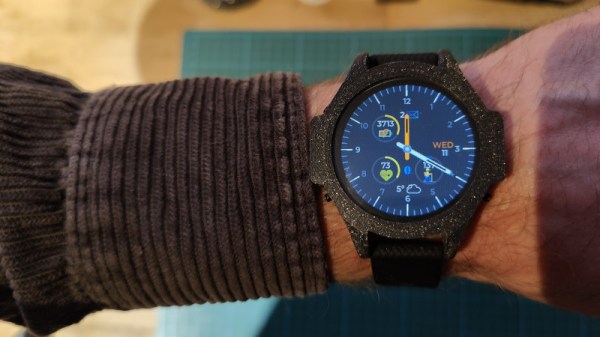
The star of the show is the nRF52833 SoC, which is paired with a circular 1.28″ 240×240 IPS TFT display. The screen doesn’t support touch, so there’s three physical buttons on the watch for navigation. Onboard sensors include a LIS2DS12 MEMS accelerometer and a MAX30101EFD capable of measuring heartrate and blood oxygen levels, and there’s even a tiny vibration motor for haptic feedback. Everything’s powered by a 220 mAh Li-Po battery that [Jakob] says is good for about two days — afterwards you can drop the watch into its matching docking station to get charged back up.
As for the software side of things, the watch tethers to a Android application over Bluetooth for Internet access and provides the expected functions such as displaying the weather, showing notifications, and controlling music playback. Oh, and it can tell the time as well. The firmware was made with extensibility in mind, and [Jakob] has provided both a sample application and some basic documentation for would-be ZSWatch developers.
While an unquestionably impressive accomplishment in its current form, [Jakob] says he’s already started work on a second version of the watch. The new V2 hardware will implement an updated SoC, touch screen, and an improved charging/programming connector. He’s also looking to replace the 3D printed case for something CNC milled for a more professional look.
The ZSWatch actually reminds us quite a bit of the Open-SmartWatch project we covered back in 2021, in that the final result looks so polished that the average person would never even take it for being DIY. We can’t say that about all the smartwatches we’ve seen over the years, but there’s no question that the state-of-the-art is moving forward for this kind of thing in the hobbyist space.