The list of requirements for hosting one of our weekly Hack Chats is pretty short: you’ve got to be knowledgeable, passionate, and above all else, willing to put those two quantities on display for a group of like-minded strangers. Beyond that, we’re not too picky. From industry insider to weekend hobbyist, high school dropout to double doctorate, if you’ve got something interesting to talk about, we’re ready to listen.
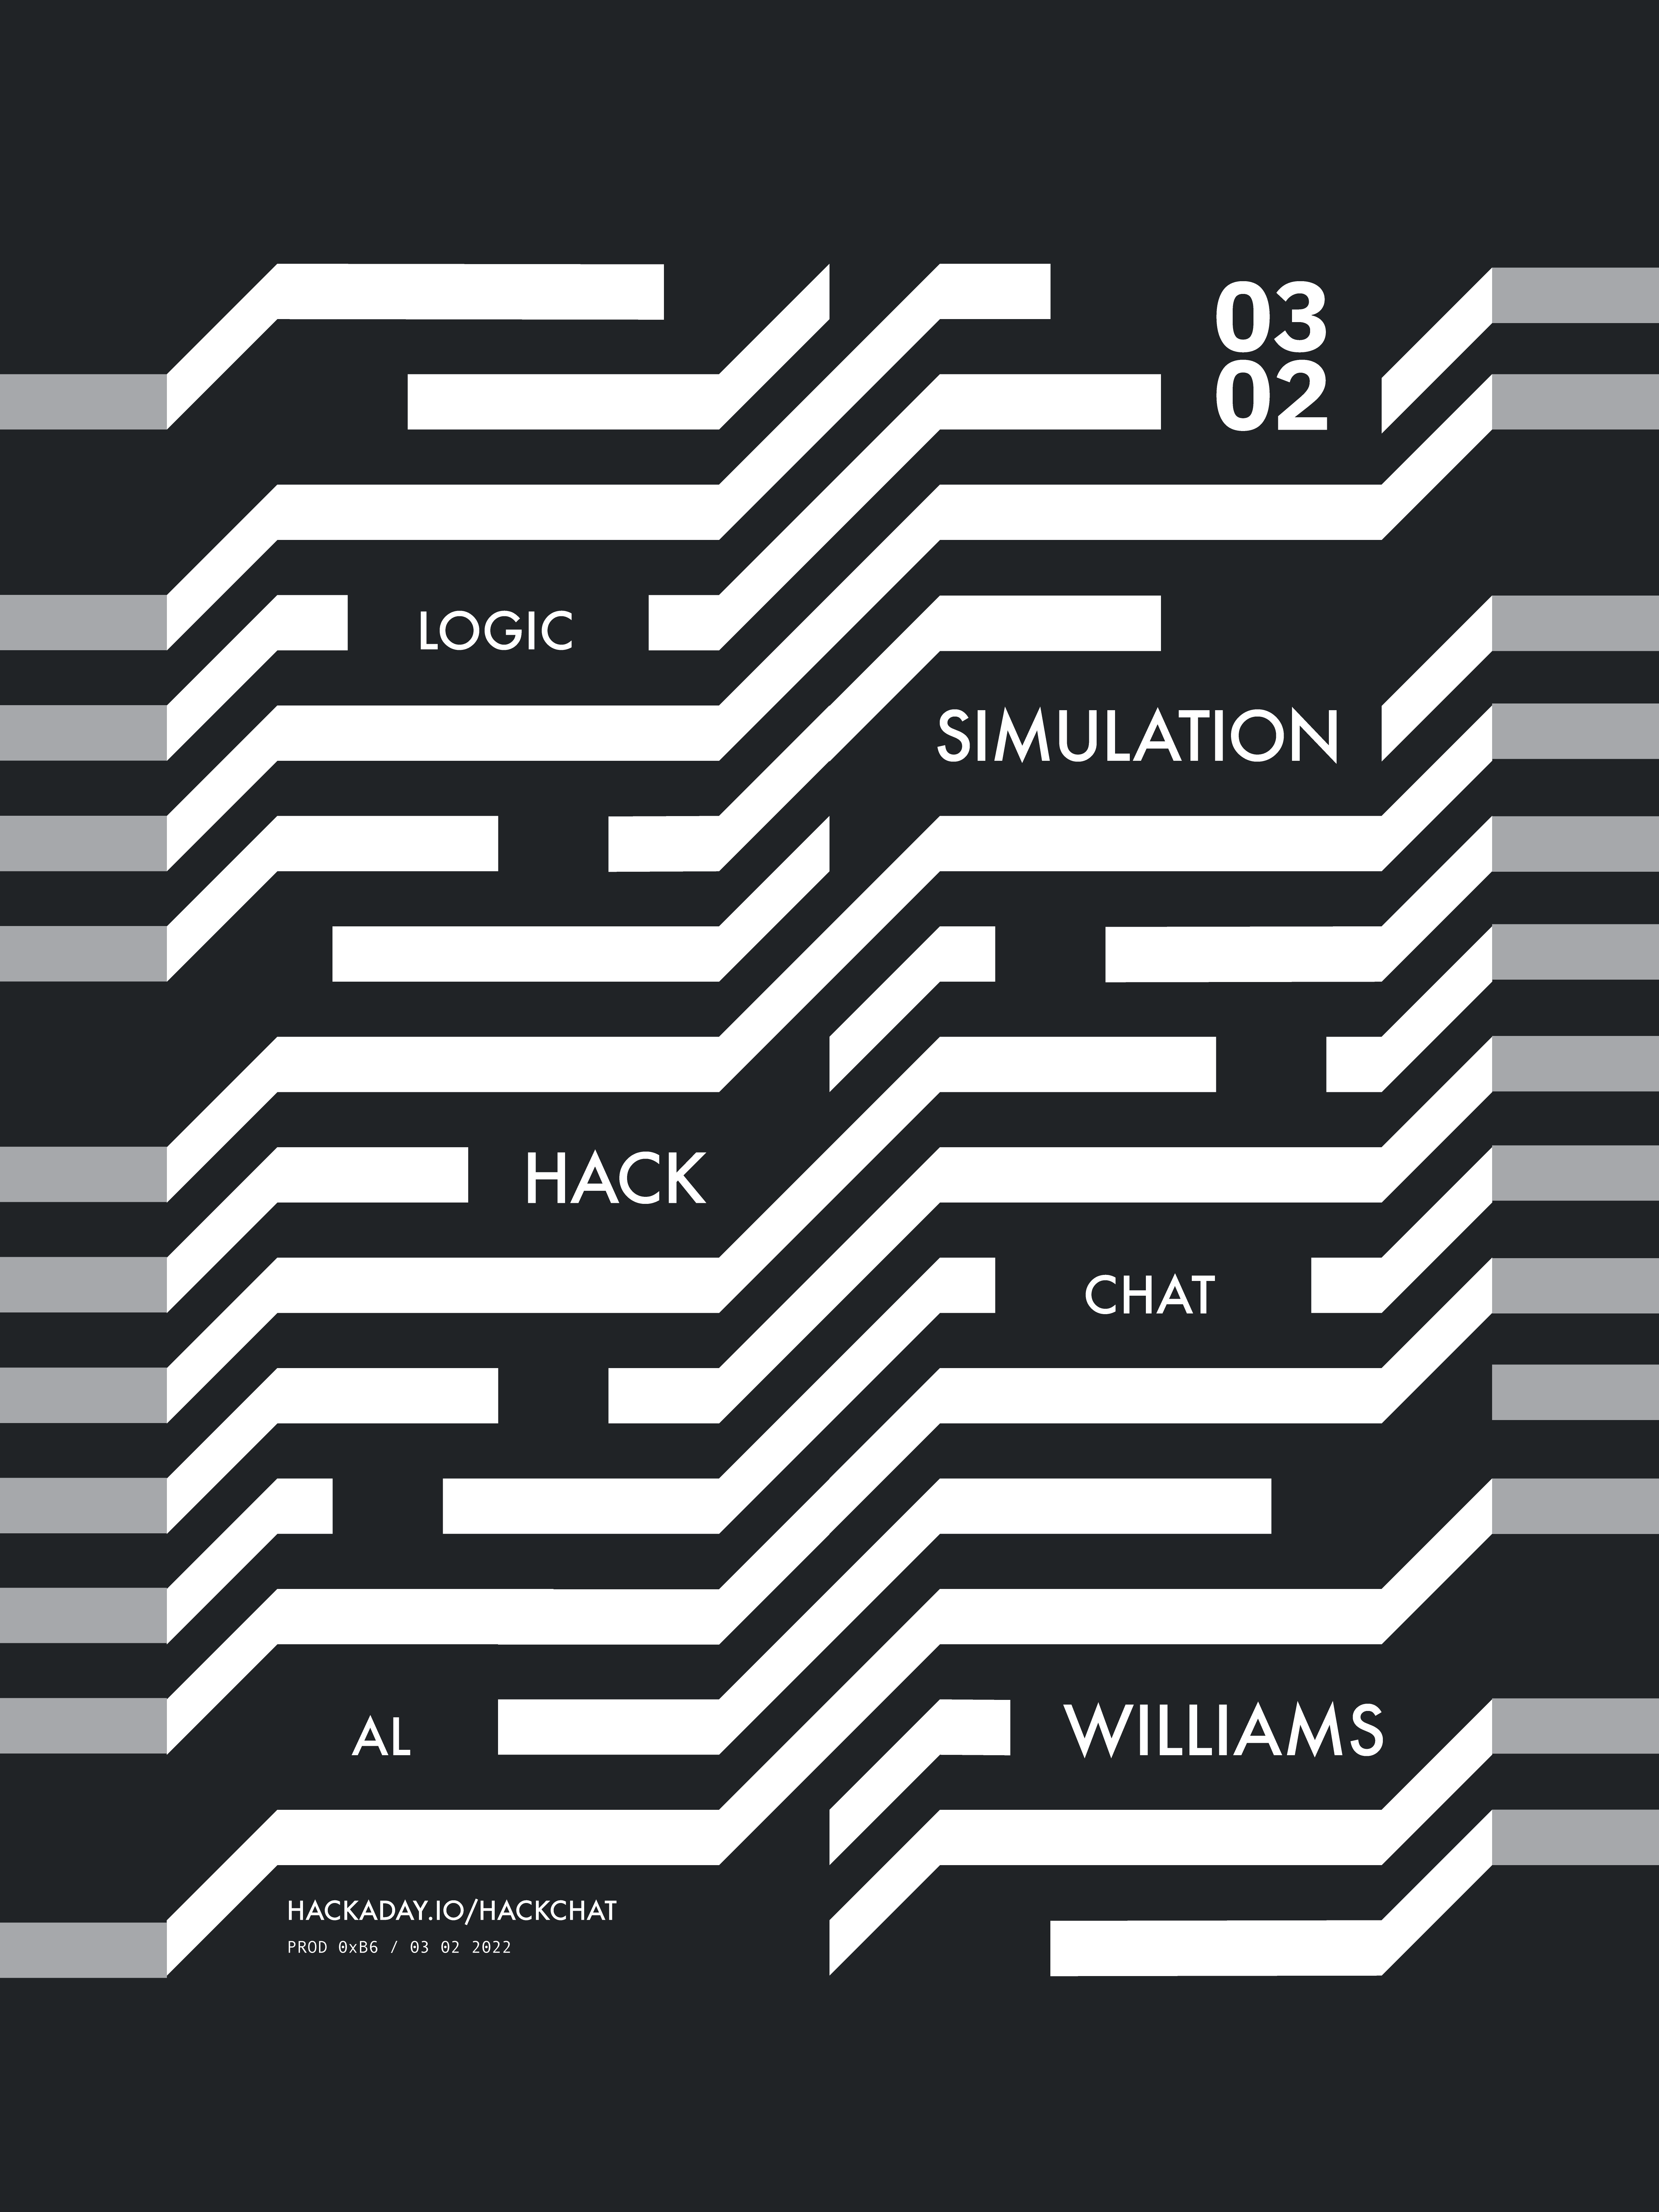
But in casting a such a wide net, we occasionally forget that we’ve got a considerable collection of potential hosts within our own worldwide roster of contributors. Among this cast of characters, few can boast the same incredible body of knowledge as Al Williams, who was able to pencil in some time this week to host the Logic Simulation Hack Chat.
 Or at least, that was the idea. In reality the Chat covered a wide range of topics, and was peppered with fascinating anecdotes pulled from Al’s decades of experience in the field. Though to be fair, we expected no less. He was building hardware before many of us were born, and can take credit for designs that have been at the bottom of the ocean as well as launched into orbit. He’s been writing about it just as long too, with articles of his appearing in iconic print magazines such as Dr. Dobb’s Journal.
Al has seen and done so much that he still surprises us with the occasional nugget, and we’ve been working with him for years. It was only a week or two back that he started a story with “Back when I used to manage a gas pipeline…” in the middle of a conversation about utility metering.
Of course, that’s not to say some technical discussion didn’t sneak in there from time to time. Sure Al’s recollection of how they used to literally crawl over the schematics for the 68000 back at Motorola might stick out as a particular high point, but he also explains his personal preference for vendor-specific software tools over their more generic open source counterparts. He also draws comparisons between hardware description languages (HDLs) like Verilog and parametric CAD tools such as OpenSCAD in the way that they help model complex relationships in ways that can’t be easily done by more traditional means.
At one point the conversation lingers on the design and production of application-specific integrated circuits (ASICs), and how they compare to field-programmable gate arrays (FPGAs). Traditionally ASICs have been out of reach for the hobbyist, but with the recent collaboration between Google and SkyWater Technology to create an open source process design kit (PDK), they’re now within the capabilities of a dedicated individual. Matt Venn spoke on the topic during Remoticon 2021, and it’s good to see more folks in the community openly discussing the possibilities of custom silicon designed by hackers.
From there, things start really getting wild. From dreaming of virtual reality circuit simulators that let you fly amongst your creations like in Tron, to salivating over high-end technologies such as reflective memory, this Chat really runs the gamut. But then, that’s sort of why we hold them in the first place. Whether you actively participate or are just along for the ride, the Hack Chat gives everyone in the community a chance to gather around a virtual water cooler with fascinating characters that you won’t find anywhere else.
The Hack Chat is a weekly online chat session hosted by leading experts from all corners of the hardware hacking universe. It’s a great way for hackers connect in a fun and informal way, but if you can’t make it live, these overview posts as well as the transcripts posted to Hackaday.io make sure you don’t miss out.