[Ted Yapo] shared a method of easily and conveniently soldering to aluminum, which depends on a little prep work to end up only slightly more complex than soldering to copper. A typical way to make a reliable electrical connection to aluminum is to use a screw and a wire, but [Ted] shows that it can also be done with the help of an abrasive and mineral oil.
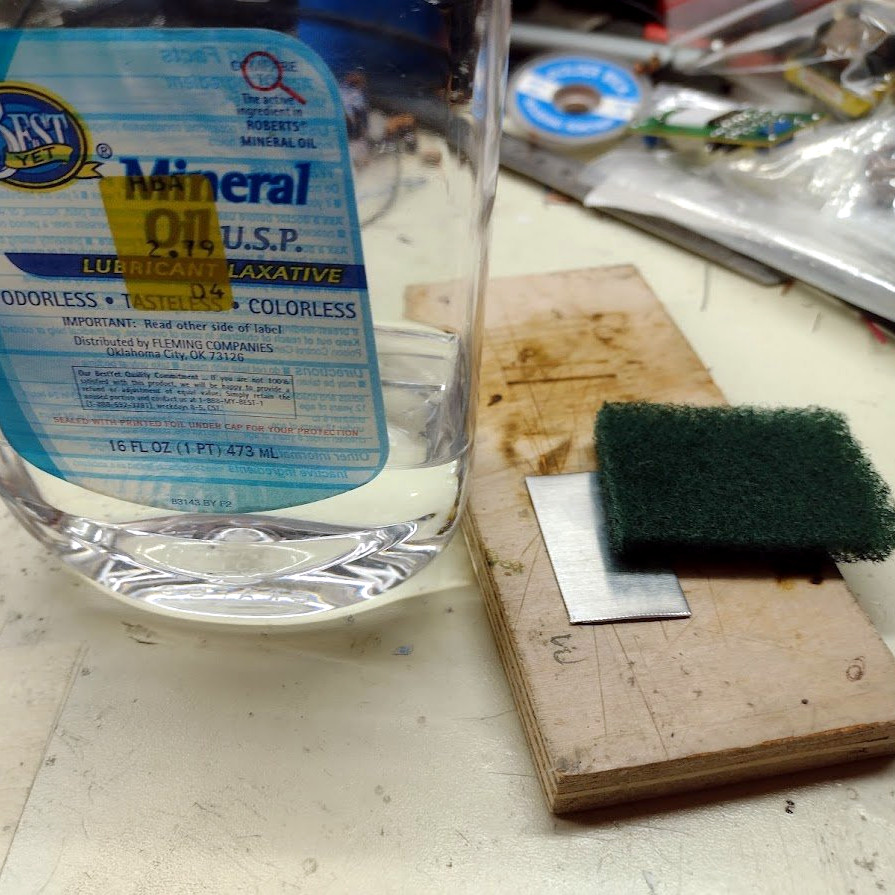 Aluminum doesn’t solder well, and that’s because of the oxide layer that rapidly forms on the surface. [Ted]’s solution is to scour the aluminum with some mineral oil. The goal is to scrape away the oxide layer on the aluminum’s surface, while the mineral oil’s coating action prevents a new oxide layer from immediately re-forming.
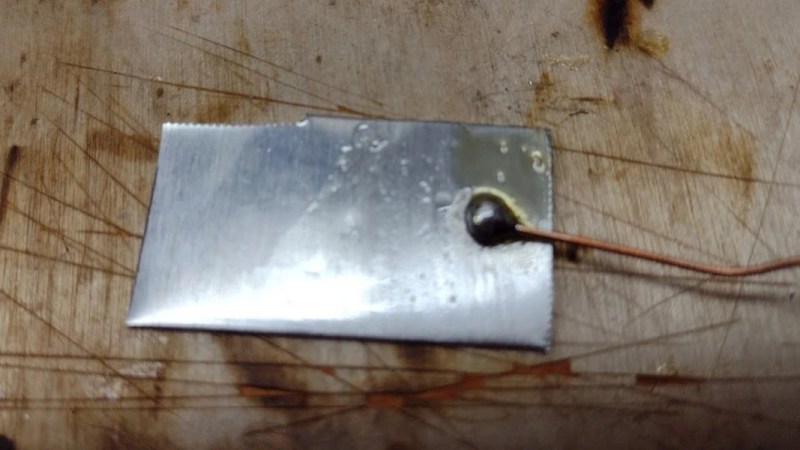
After this prep, [Ted] uses a hot soldering iron and a blob of solder, heating it until it sticks. A fair bit of heat is usually needed, because aluminum is a great heat conductor and tends to be lot thicker than a typical copper ground plane. But once the aluminum is successfully tinned, just about anything can be soldered to it in a familiar way.
[Ted] does caution that mineral oil can ignite around 260 °C (500 °F), so a plan should be in place when using this method, just in case the small amount of oil catches fire.
This looks like a simple technique worth remembering, and it seems easier than soldering by chemically depositing copper onto aluminum.