Film cameras are capable of great resolution, and for a long time were superior in this regard to their digital successors. However, it’s now possible to store digital copies of analog images in superior detail, so [Jan] built a rig to scan their photos for the last time.
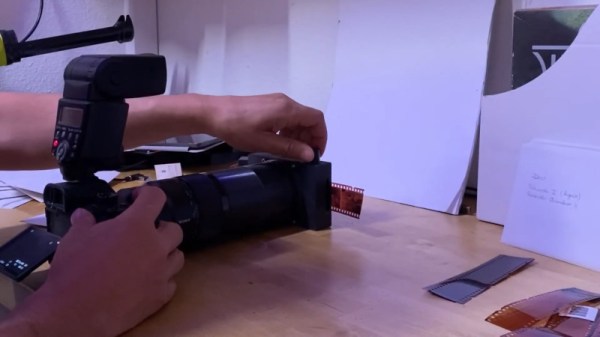
The general idea is to take a high enough resolution scan of film negatives or slides, such that there is no need to rescan the images when technology moves forward. To achieve this, [Jan] decided to employ a DSLR to photograph the materials in question. To do this quickly and accurately, with minimal fuss, special lens hoods were 3D printed to hold slides in perfect register in front of the lens. With a flash to provide even light, the results are excellent. Film negatives proved harder, requiring a carefully designed transport mechanism to avoid damaging the fragile materials. With some perseverance, the final tool worked well.
It’s a tidy way of digitally archiving analog photos, and with the resolution of modern cameras, one needn’t worry about lost resolution. We’ve seen mechanised builds for handling other formats too, such as this 8mm scanner. Video after the break.