Air pollution isn’t just about the unsightly haze in major cities. It can also pose a major health risk, particularly to those with vulnerable respiratory systems. A major part of hazardous pollution is particulate matter, tiny solid particles suspended in the air. Particulate pollution levels are of great interest to health authorities worldwide, and [niriho] decided to build a monitoring rig of their own.
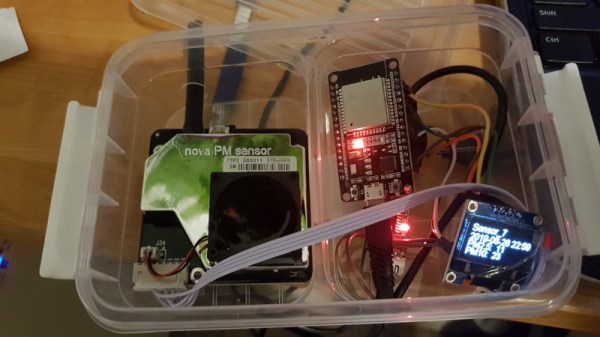
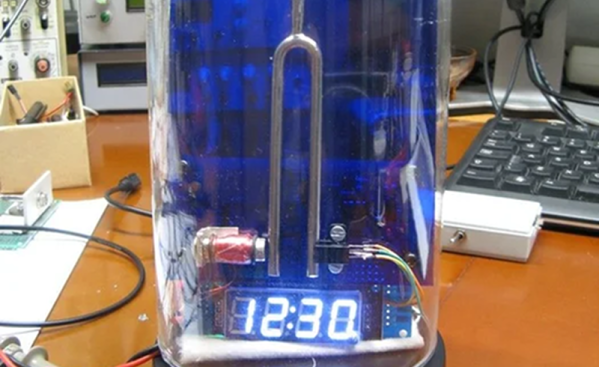
Particulate matter is measured by an SDS011 particulate matter sensor. This device contains a laser, and detects light scattered by airborne particles in order to determine the level of particulate pollution in PM2.5 and PM10 ranges. The build makes use of an ESP32 as the brains of the operation, chosen for its onboard networking hardware. This makes remotely monitoring the system easy. Data is then uploaded to a Cacti instance, which handles logging and graphing of the data.
For those concerned about air quality, or those who are distrustful of official government numbers, this build is a great way to get a clear read on pollution in the local area. You might even consider becoming a part of a wider monitoring network!
 How does that line end up moving? Sometimes it’s just a matter of what intelligent people can accomplish in a long week. Back in May, during a three-day biohacker convention called Grindfest, someone said something along the lines of, “Wouldn’t it be cool if…” Anyone who has spent an hour in a maker space or hacker convention knows how those conversations go. Rather than ending with a laugh, things progressed at a fever pitch.