While the original name of what much of the world knows as the NES was the Nintendo Family Computer, or Famicom for short, it was very rarely used as a family computer. Sure, there was a basic cartridge and an add-on keyboard sold in Japan, but it was always a sideshow to the games.
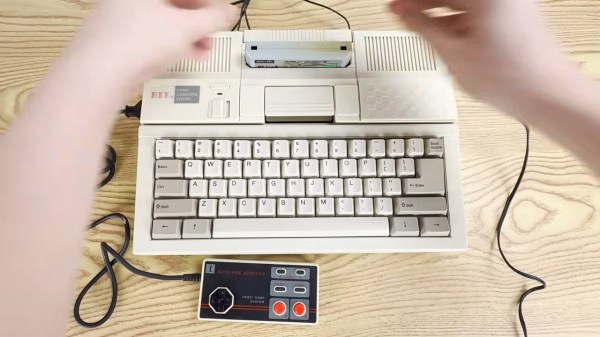
Nintendo recognized that when they brought their Entertainment System overseas. Most of the various famiclones — which date back to the mid-80s — are the same. BIT in Taiwan had a different idea: their Bit 79 would be a full home computer. Picture a C=64 that plays Nintendo games, and you might not be too far off. [Inkbox] tells the full story in his latest YouTube video, and it’s a must-watch for anyone interested in the history of 8-bit machines that are totally unknown in the West.
Continue reading “The Bit79 Was A Famicom Clone That Took The “Family Computer” Name Seriously”


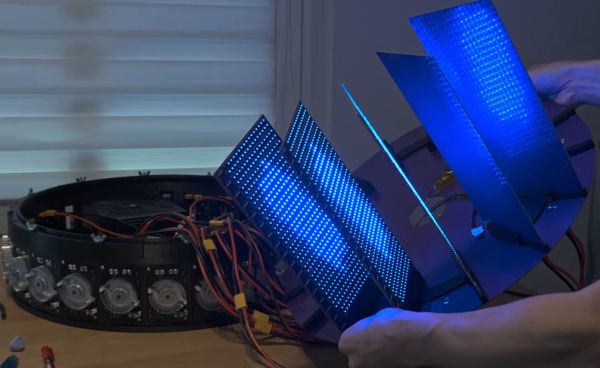
 What do you get when you take 8,192 CH570 MCUs, put them on custom PCBs, and write firmware for this interconnected gaggle of cores? In the case of [bitluni]’s project, you get