There are times when being seen to listen to music through headphones might get you into trouble. For these moments, reach for a handy solution: bone conduction speakers that discreetly pipe the music to your eardrums through the bone of your skull. [Samuel] wanted just such a covert music listening device, so created his own in a set of 3D-printed glasses.
He first tried using an Adafruit bone-conducting transducer but found that to be too bulky. What you see here is a smaller module that [Samuel] found on AliExpress (search for bone conduction module). The GD-02 is much smaller and thus more suitable for hiding in the arm of a pair of glasses. For the rest of the electronics he used a PCB and battery from a donated set of broken Bluetooth headphones, a space for which he was able to conceal easily in the 3D-printed frame of the glasses. The battery is in one arm and the board in the other, and he says the wiring was extremely fiddly.
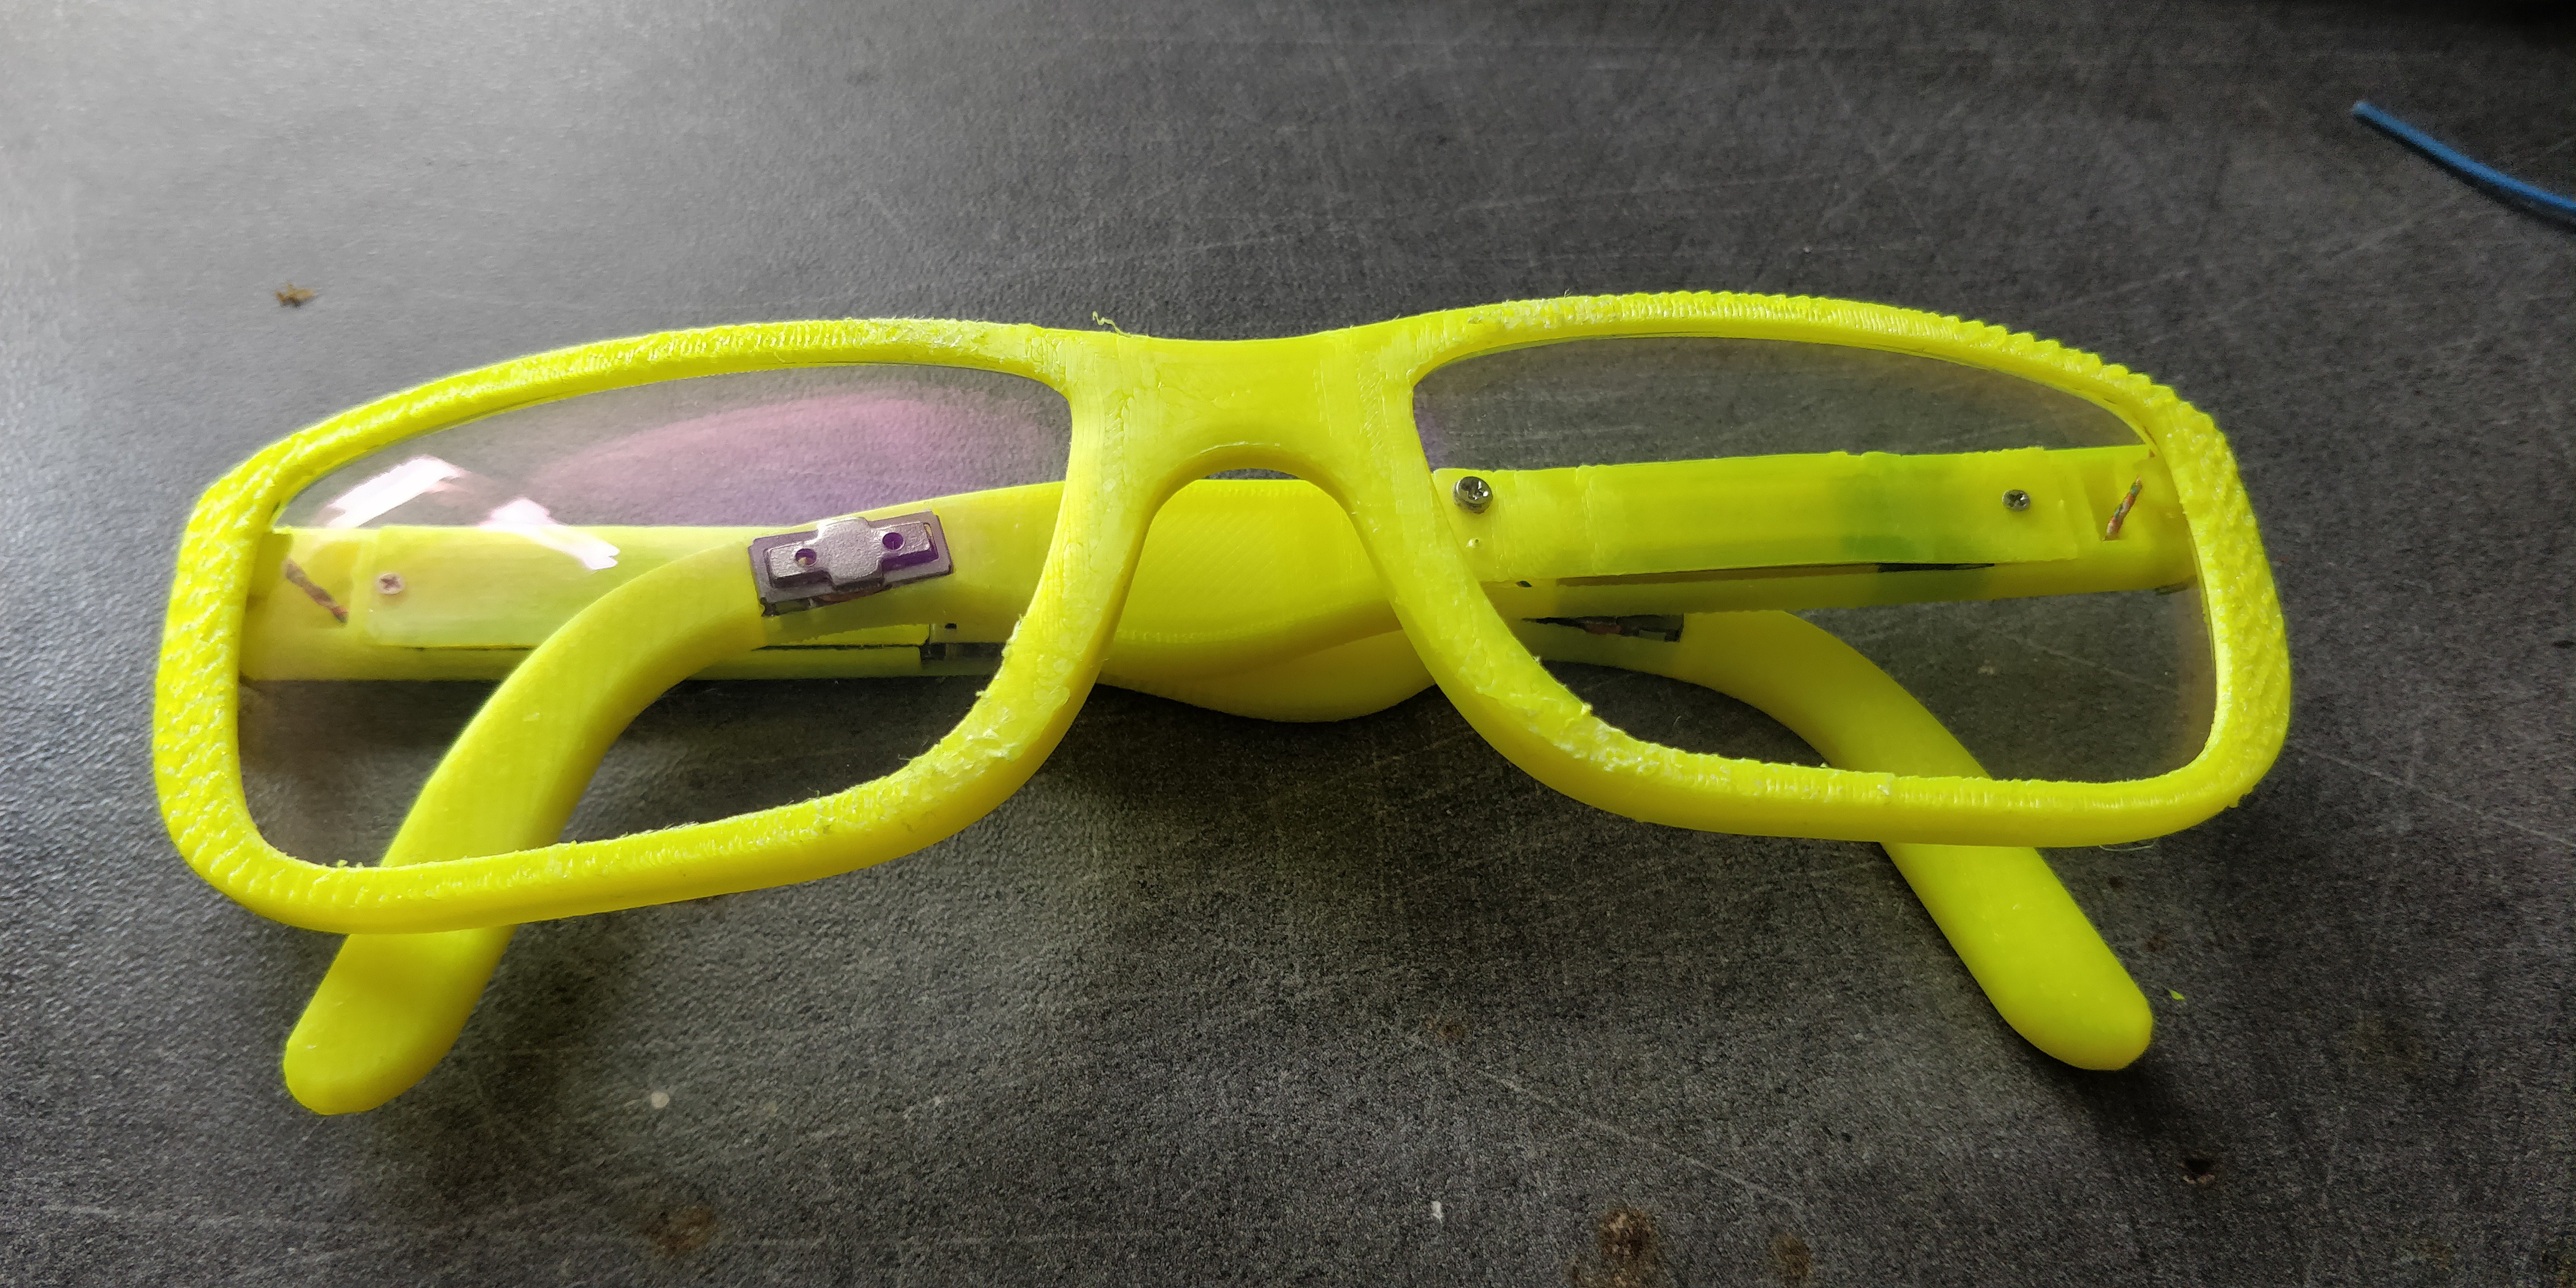
The result is a surprisingly svelte set of specs that you might not immediately think concealed some electronics. His choice of bright yellow filament might give the game away, but overall he’s done a great job. This certainly isn’t the first bone conduction project we’ve shown you, some of the others have used motors instead of bone conduction transducers.