Inductive charging is a technology that has promised a lot, but hasn’t quite delivered on the promise of never needing to plug in your phone again. The technology behind it is surprisingly simple though, and [Vinod.S] takes us through it all with an ATtiny13-based example.
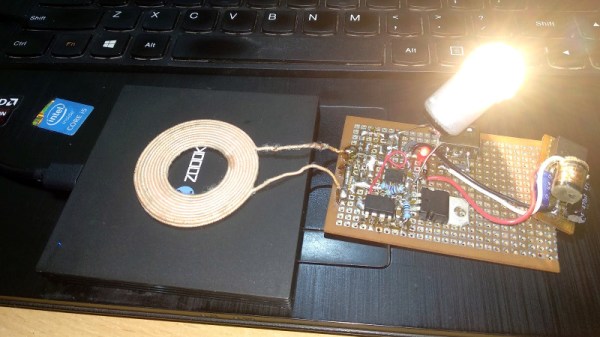
An inductive charger has to be clever in its operation, for if it were to operate continuously it would soon have more in common with an inductive hob and thus become a fire risk, so it has to be sure that a compatible device is resting upon it before it tries to transmit power. It achieves this by periodically sending out a pulse of power intended to wake any devices in contact with it, and the device responds with a serial data stream encoded onto the device’s field by modifying the resonance of the receiver tuned circuit. This is done by a pair of MOSFETs under the control of the ATtiny in [Vinod]’s device, resulting in a functioning inductive power receiver built on a piece of prototyping board and sporting a buck converter capable of supplying 5 volts suitable to charge a phone. You can find the code on GitHub and see it in action below the break.
This tech has made an appearance here before a few times, such as when a Qi charger was integrated into a Chromebook.
Continue reading “Implementing Qi Inductive Charging Yourself”