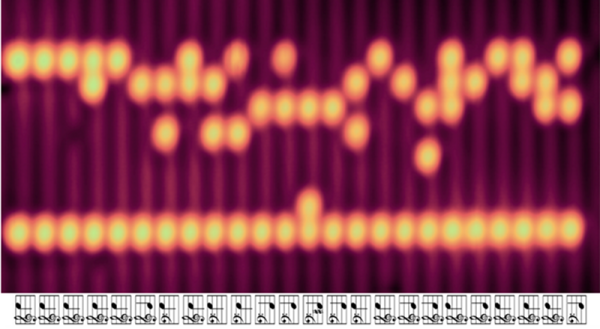
We don’t usually think of a microscope as an active instrument, but researchers in Canada have used a scanning tunneling microscope to remove or replace single hydrogen atoms from the surface of a hydrogen-passivated silicon wafer. If the scientific paper is too much to wade through, there’s an IEEE Spectrum article and a video that might run on the 6 o’clock news below.
As usual with these research projects, there is good news and there is bad news. The good news is that — in theory — a memory device made using hydrogen lithography could store 138 terabytes per square inch. That’s enough, apparently, to store the entire iTunes catalog on a quarter. The bad news? Well, right now this takes exotic lab equipment at very low temperatures and pressures.
Continue reading “Scanning Tunneling Microscope Packs The Bits”
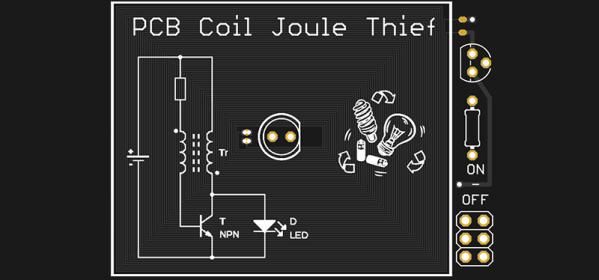
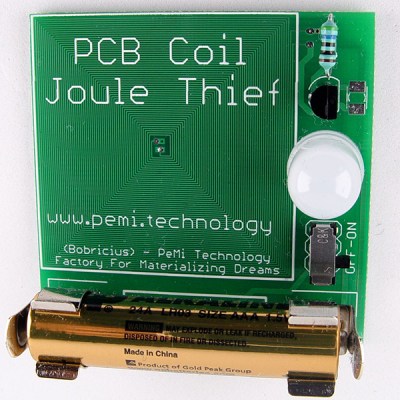 At the forefront of these experiments in PCB coil design is [bobricious], and already he’s made brushless and linear motors using only tiny copper traces on top of fiberglass. Now he’s experimenting with inductors. His latest entry to the Hackaday Prize


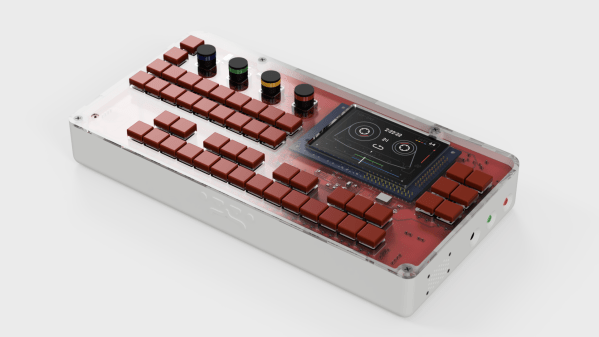
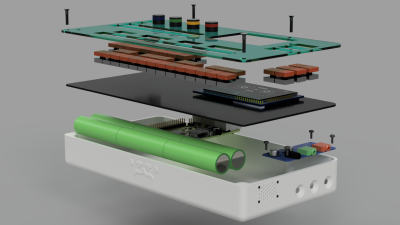 On the hardware side, the heart of the OTTO is a Raspberry Pi 3. The all-important audio interface is a Fe-Pi Audio Z V2, though a USB interface can be used. The 48 switches and four rotary encoders are wrangled by a pair of Arduino pro micros which pass the data on to the Pi. Data is related to the user through a 320×200 LCD.
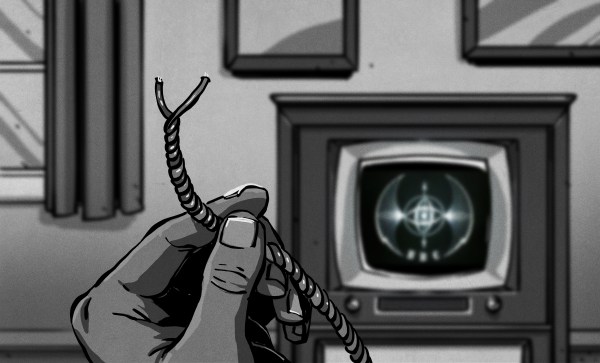
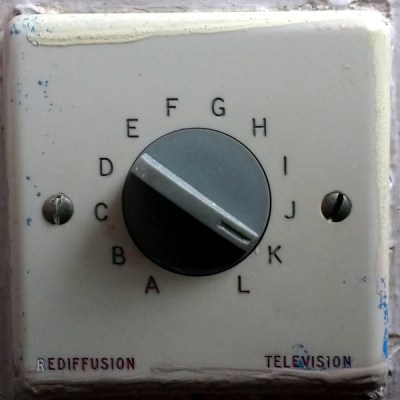 Housed on a standard-sized British electrical fascia was a 12-position rotary switch, marked with letters A through L. An unexpected thing to see in the 21st century and one probably unfamiliar to most people under about 40, I’d found something I’d not seen since my university days in the early 1990s: a Rediffusion selector switch.


