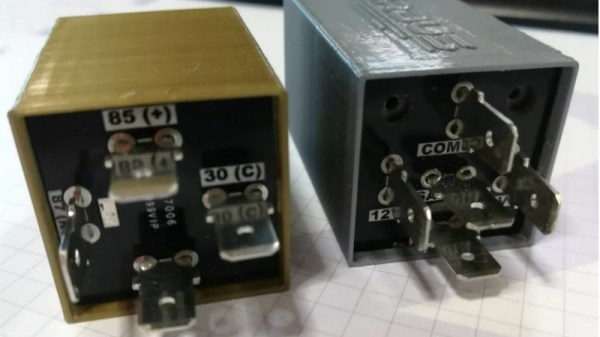
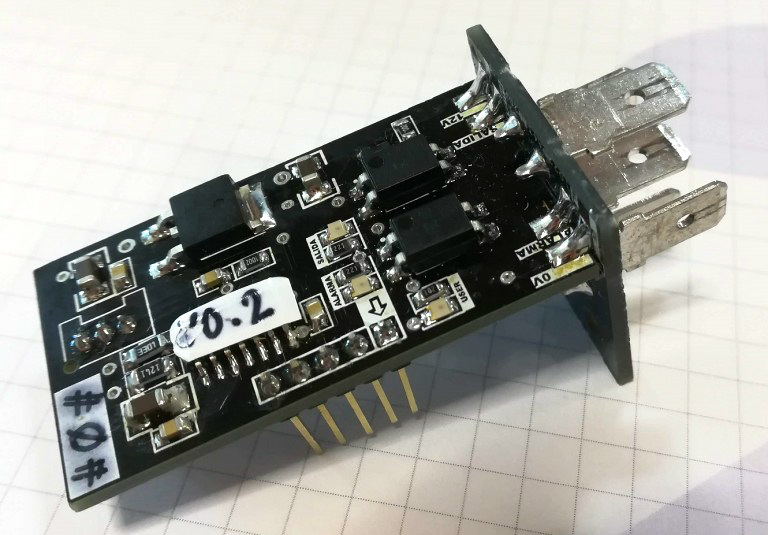
You would think that measuring a lot of sophisticated AC power parameters such as active and reactive power, RMS voltage and current, and line frequency would be a big job. As it turns out in so many cases, there’s a chip for that. The Microchip MCP39F511 can do all of that, but needs a little help from a few transformers. [Boris Landoni] has a two-part post that not only shows such a meter built with the chip but also has a very detailed description of the operation of the IC and how it works. The set-up takes two transformers. One to step the voltage down and another to measure the current.
Maybe it was just us, but we found the two schematics to be a little confusing. The schematic with two ICs on it is the actual board with the MCP39F511 (the other IC is a voltage regulator). The schematic with the transformer on it appears to have a single IC, U1, but that’s not really the case at all. U1 on that schematic is the entire circuit board from the first schematic. The “IC” pin numbers on the second schematic are the CN2 pins on the first schematic. The CN1 and CN2 on the two schematics are not related at all other than U1 is the actual board from the first schematic.


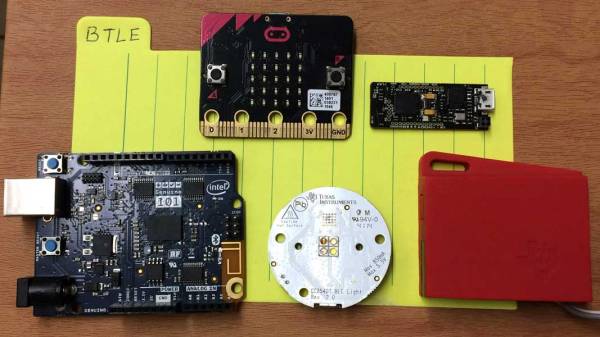
 Over the years, a number of gadgets with BLE have popped up such as the LightBlue Bean, BLE Beacons as well as quadcopters like the FlexBot that rely on BLE for communication. Android or iOS apps are the predominant method of talking to these wonderful gadgets though there are alternatives.