When moving into a new house, it’s important to arrange for the connection of basic utilities. Electricity, water, and gas are simple enough, and then it’s generally fairly easy to set up a connection to an ISP for your internet connection. A router plugs into a phone line, or maybe a fiber connection and lovely packets start flowing out of the wall. But if you’re connected to the internet through an ISP, how is the ISP connected? [Kenneth] answers this in the form of an amusing tale.
It was during the purchase of data centre rack space that [Kenneth]’s challenge was laid down by a friend. Rather then simply rely on the connection provided by the data centre, they would instead rely on forging their own connection to the ‘net, essentially becoming their own Internet Service Provider.
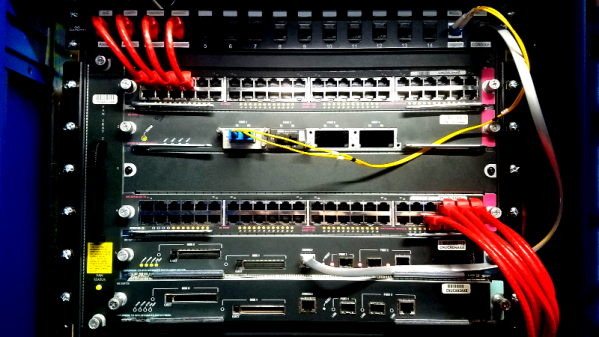
This is known as creating an Autonomous System. To do this involves several challenges, the first of which is understanding just how things work at this level of networking. [Kenneth] explains the vagaries of the Border Gateway Protocol, and why its neccessary to secure your own address space. There’s also an amusing discussion on the routing hardware required for such a feat and why [Kenneth]’s setup may fall over within the next two years or so.
It’s not for the faint hearted, and takes a fair bit of paperwork, but [Kenneth] has provided an excellent guide to the process if you really, really just need to own your own corner of the internet. That said, there are other networking tricks to cut your teeth on if you’d like a simpler challenge, like tunneling IP over ICMP.