It’s the middle of August, and that means all the hackers are back from DEF CON, safe in their hoodies, with memories of smoke-filled casinos, interesting talks, and, most importantly, crypto challenges.
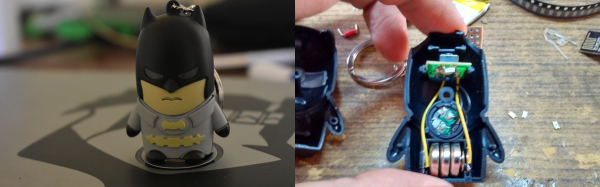
 This year was an ‘off’ year for DEF CON. There was an official badge, but it wasn’t electronic (which no one expected), and there was no crypto challenge (which no one saw coming). Nevertheless, there was already a vibrant community of badge builders, and the crypto nerds of DEF CON were satisfied by PCB locks from the Crypto and Privacy village, Benders, and Darknet phone dials this year.
How were these crypto challenges constructed? That’s the subject of this week’s Hack Chat. This Friday, we’re going to be sitting down with a member of DEF CON’s Crypto and Privacy village on how these curious codes are constructed, how a winner is determined, and the techniques used to solve these challenges.
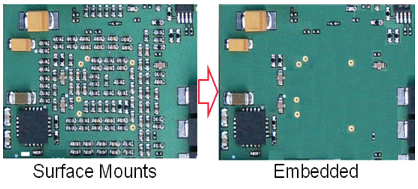
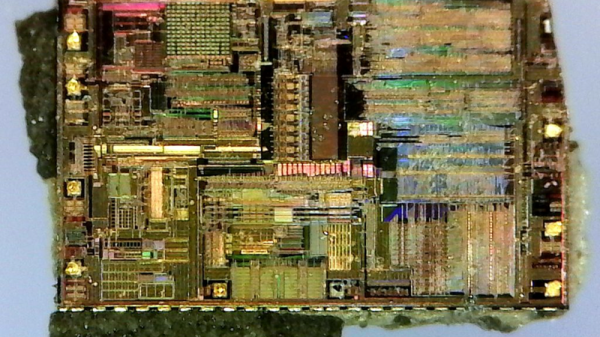
This week, we’ll be talking about how crypto challenges actually work, how to put crypto in firmware, on laser-engraved acrylic plates, and in silkscreen on a PCB. We’ll be talking about how crypto challenges are created, and how you solve them. Special attention will be paid to testing a crypto challenge; that is, how do you make sure it’s solvable when you already know how to solve it?
Although this Hack Chat is only going to last an hour, there’s no possible way we could cover all the tips, tricks, and techniques of creating a crypto challenge in that time. If you’d like some further reading, [L0sT] showed up at our 10th anniversary party to tell us he created the puzzles for DEF CON over the last few years.
Here’s How To Take Part:
 Our Hack Chats are live community events on the Hackaday.io Hack Chat group messaging. This Hack Chat will take place at noon Pacific time on Friday, August 11th. Don’t know when the Earth’s sun will be directly overhead? Here’s a time and date converter!
Log into Hackaday.io, visit that page, and look for the ‘Join this Project’ Button. Once you’re part of the project, the button will change to ‘Team Messaging’, which takes you directly to the Hack Chat.
You don’t have to wait until Friday; join whenever you want and you can see what the community is talking about.