“Starry Night” Dress Shines On The Experience Of Multiple Builds

[Dave Hrynkiw] wrote up some practical and useful detail around embedding electronics into clothing. It centers around his daughter’s “Starry Night” high school graduation dress, which is the culmination of a lot of experimentation in finding the best way to do things. His daughter accented the dress with LEDs to produce a twinkling starfield effect, and a laser-cut RGB pendant to match.

While [Dave] is the president of Solarbotics and pitches some products in the process of writing it all up, the post is full of genuinely useful tips that were all learned though practical use and experimentation. Imagine how awesome it must be growing up a child of a “local technology-hacking company” founder — akin to growing up as Willy Wonka’s progeny.

What advice does [Dave] have for making electronics an awesome part of garments? For example, the fact that regular hookup wire isn’t very well suited to embedding into clothing due to the need for high flexibility. There is also the concept of sequestering electronics into a separate Technology Layer — a must for anything that will be used more than once. The idea is to “build your technology so it can be isolated from the fashion aspect as much as possible. It makes building and maintenance of both the fashion and technology aspects much simpler.”

Slapping some LEDs and a battery pack into clothing might do the trick if all you care about is some bling, but if you want something that actually highlights and complements clothing while also being able to stand up to repeated use, this is a great read. A simple lighting effect that complements a design isn’t difficult, and there’s no need to reinvent the wheel or make the same mistakes others have encountered. Video is embedded below.

Continue reading ““Starry Night” Dress Shines On The Experience Of Multiple Builds”
Racing Roomba Packs The Power To Pop Wheelies

This is just good, clean fun. Well, maybe not clean since this souped-up racing Roomba appears to move too fast to actually clean anything anymore. But did they ever really clean very well in the first place?

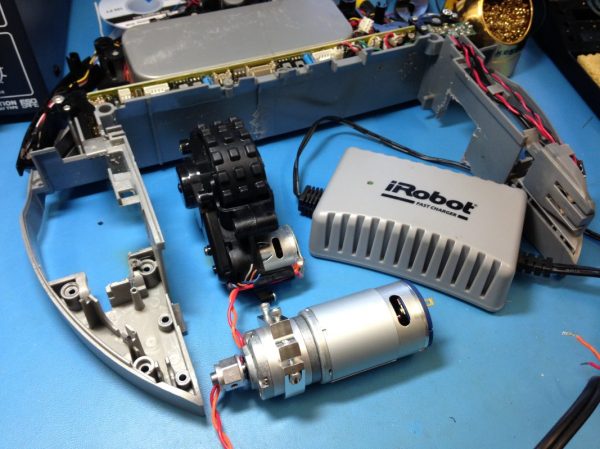
W6yAwJ[Roland Saekow] doesn’t offer much in the way of build details, but the starting point was a 10-year old Roomba Discovery. The stock motors were replaced with 600RPM planetary drive motors and a whopping 12A motor controller. The whole thing is powered off the standard Roomba 14.4V battery pack, but we suspect not for long. Those motors have got to suck down the juice pretty fast to be able to pop wheelies and pull hole shots like it does in the video below.

No word either on how it’s being controlled; our guess is RC, since it looks like the collision sensor grazes a chair leg slightly around the 0:33 mark, but doesn’t seem to change direction. It’d be cool if it could operate autonomously, though. We wonder how it would deal with the Virtual Walls at those speeds.

File this one under “Just for Fun” and maybe think about the possibilities for your defunct Roomba. If speed-vacuuming isn’t your thing, there are plenty of other Roomba hacks around here.

Continue reading “Racing Roomba Packs The Power To Pop Wheelies”

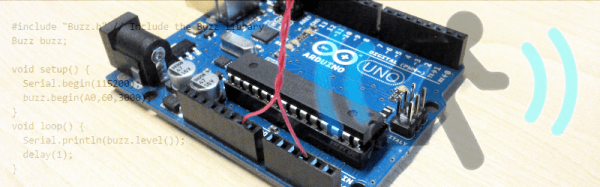
Hackaday Prize Entry: Magic Bit-Of-Wire Motion Detector Library For Arduino

We’re still not sure exactly how [connornishijima]’s motion detector works, though many readers offered plausible explanations in the comments the last time we covered it. It works well enough, though, and he’s gone and doubled down on the Arduino way and bundled it up nicely into a library.

In the previous article we covered [connor] demonstrating the motion detector. Something about the way the ADC circuit for the Arduino is wired up makes it work. The least likely theory so far involves life force, or more specifically, the Force… from Star Wars. The most likely theories are arguing between capacitance and electrostatic charge.

Either way, it was reliable enough a phenomenon that he put the promised time in and wrote a library. There’s even documentation on the GitHub. To initialize the library simply tell it which analog pin is hooked up, what the local AC frequency is (so its noise can be filtered out), and a final value that tells the Arduino how long to average values before reporting an event.

It seems to work well and might be fun to play with or wow the younger hackers in your life with your wizarding magics.

High-Voltage Fractals

Int 1777, Georg Lichtenberg found that discharging high voltage on an insulating surface covered with a powder, a fractal-like image appears, sometimes known as a lightning tree. Incidentally, this is a crude form of xerography, the principle that lets copiers and laser printers operate.

[PaulGetson] had a high voltage power source from his Jacob’s ladder experiments and decide to see if he could create Lichtenberg figures. Turns out, he could.

Continue reading “High-Voltage Fractals”

Likely Everything You Need To Know Before Adopting A Drill Press

Oh sure, the thought of owning a happy whirring drill press of your very own is exciting, but have you really thought about it? It’s a big responsibility to welcome any tool into the home, even seemingly simple ones like a drill press. Lubricants, spindle runout, chuck mounts, tramming, and more [Quinn Dunki], of no small fame, helps us understand what it needs for happy intergration into its new workshop.

[Quin] covers her own drill press adventure from the first moments it was borne into her garage from the back of a truck to its final installation. She chose one of the affordable models from Grizzly, a Washington based company that does minimal cursory quality control on import machinery before passing on the cost to the consumer.

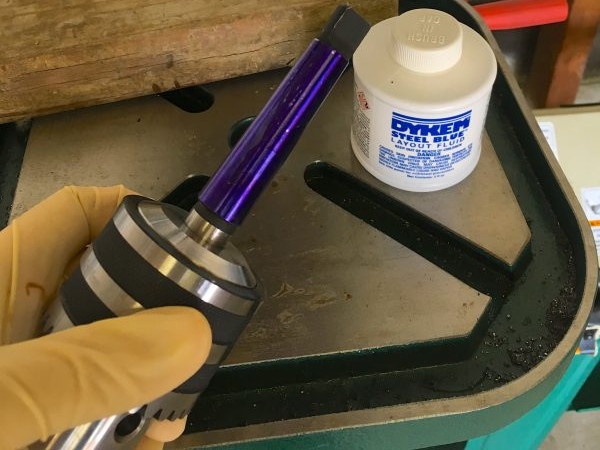
The first step after inspection and unpacking was to remove all the mysterious lubricants and protectants from the mill and replace them with quality alternatives. After the press is set-up she covers some problems that may be experience and their workarounds. For example, the Morse taper on the chuck had a few rough spots resulting in an incomplete fit. The chuck would work itself loose during heavier drilling operations. She works through the discovery and repair of this defect.

Full of useful tips like tramming the drill press and recommended maintenance, this is one of the best guides on this workshop staple that we’ve read.


Blowtorch SMD Reflow

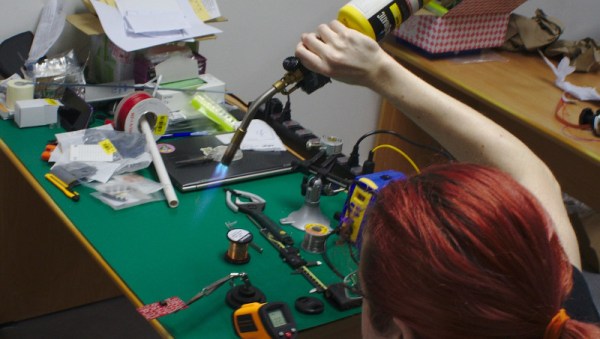
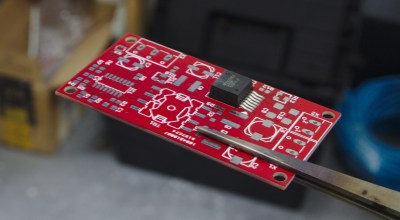
result[whitequark] has been experimenting with a blowtorch for SMD reflow. Having just moved 8,000 km [whitequark] was stuck without any of the usual reflow tools. They did however have a blowtorch handy, and gave it a go.
When [whitequark] mentioned attempts on Twitter, we figured the results would mostly involve charred PCBs, smoke-filled rooms, and a possible trip to the local hospital. But [whitequark] is more sensible than we are, and by carefully monitoring the temperature and gauging the distance was able to get pretty decent results.

[whitequark]’s made a couple of further attempts and has had varying results. Overall, I’m not sure it’s a technique that I’m interested in trying myself, but it goes to show that in a pinch, a hacker will always find a creative way to get the job done.

How To Make Your Weller Wireless

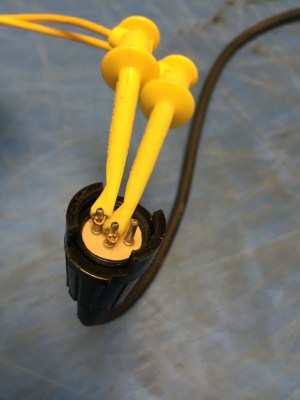
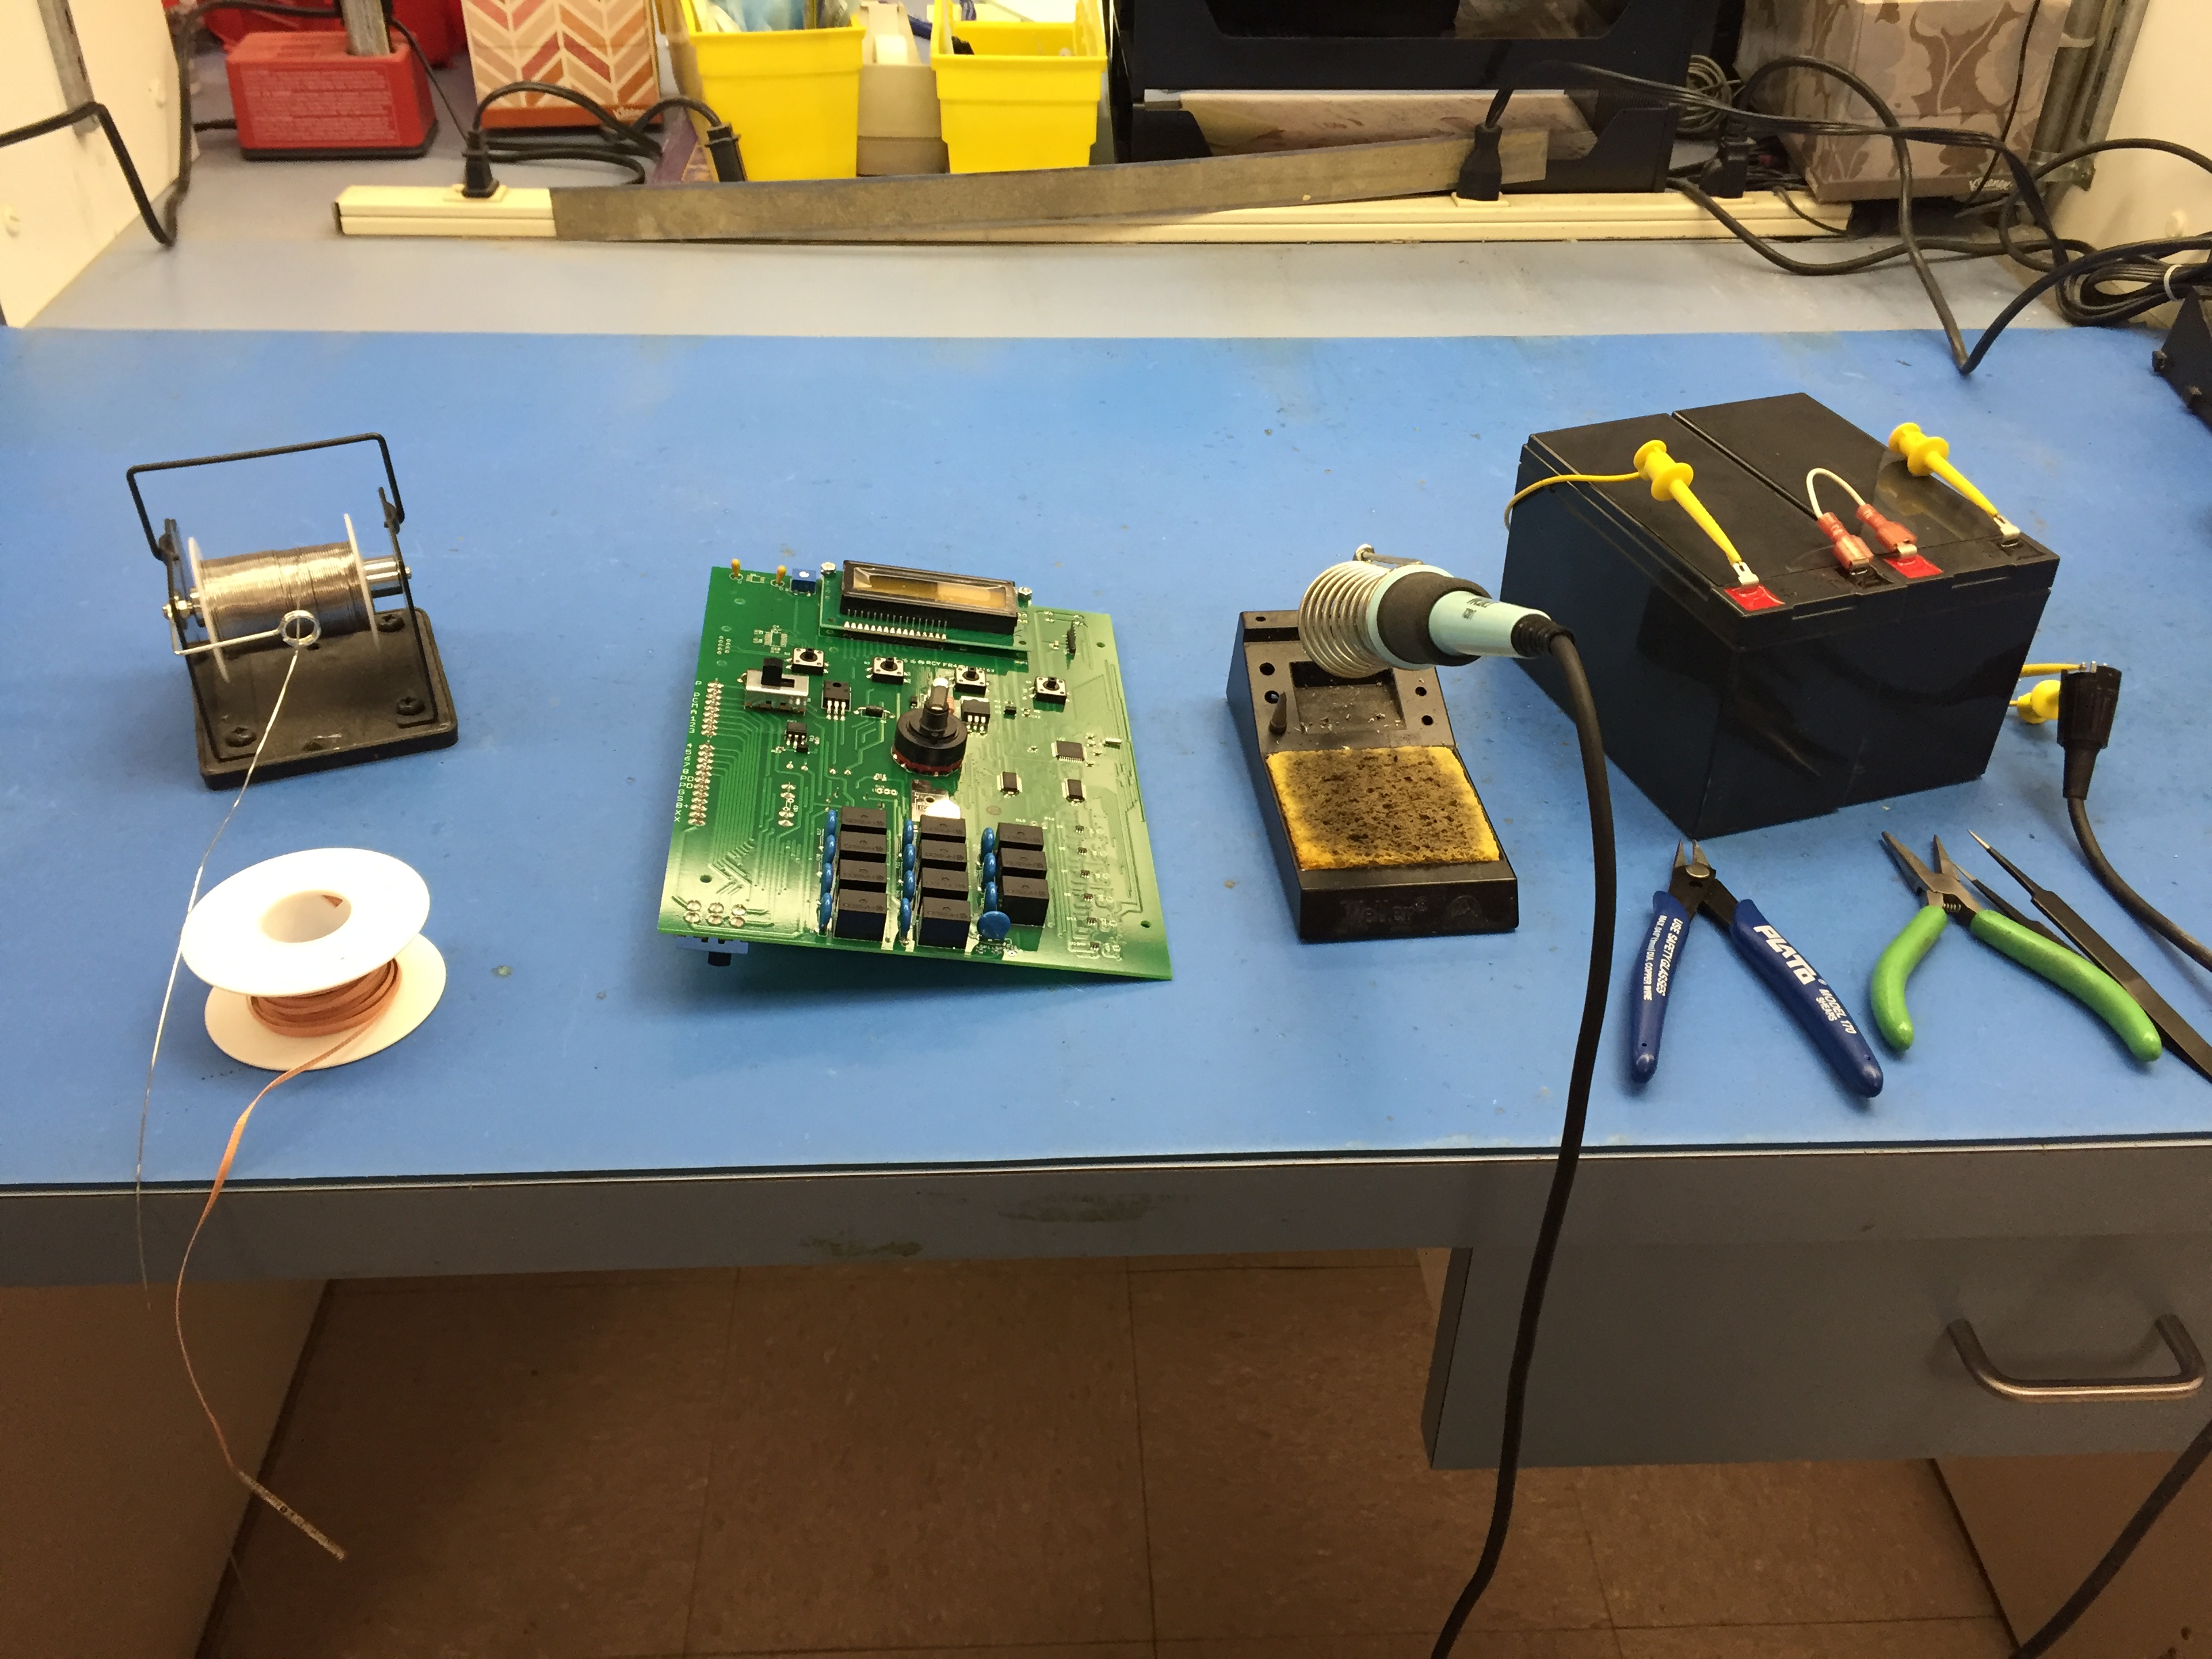
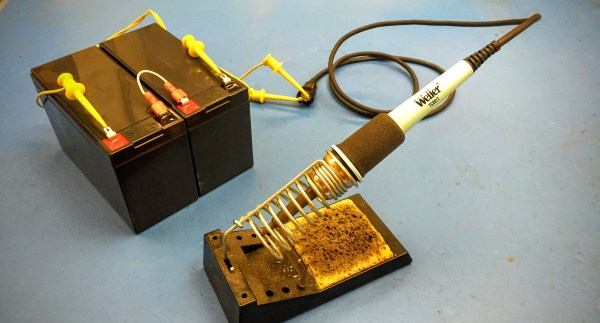
On occasion I have encountered portable soldering irons and my impressions of them have ranged from nearly usable to total rubbish. While using a popular butane powered model and pondering if it was really any better than a copper wire and a candle a thought occurred to me. A regular old Weller station runs on 24 volts AC and performs all of its temperature regulation in a magnetically activated thermostatic fashion and all of that goodness occurs within the hand piece itself. It stood to reason that it could perform just as well with a DC source.

In this instance we are ignoring the negative effects of switching DC current over AC current on mechanical contacts. After all we are “In the Trenches” wherever we might have need for such a device. Using a couple of gel cell 12 volt 7 amp hour batteries freshly removed from a UPS I strung them up, and there you have it, a totally battery operated  iron with performance equal to that of the one at my bench.

Connecting SMPS to the Weller Iron
Connecting Power to the Weller Iron

Right at 24 volts the iron Thermocycles at the same rate as it would be while using the bench top supply for it. Just sitting under no load it cycles about every ten seconds and there was no perceptible difference in heat capacity or performance. A fully charged pair of batteries will last all day. The on state current draw from a full charge (13.5 volts on each of the batteries) yielded about a 2 amp draw. As the voltage began to decrease the current off cycle would get shorter as one would expect, but no drop in heat transfer was noticed until the batteries were well depleted and that took most of a work day.

For this instance I used the hand piece from the venerable Weller WTCPT station. For ongoing use I would not recommend this due to the use of a mechanical contact within the unit and switching of DC can reduced the life of most mechanical switches. Currently I am awaiting the arrival of some cheap eBay Hakko handpieces; I am sure they are knockoffs, but fine to experiment with a simple PWM with a feedback loop controller as the basic Hakko design also utilizes a 24 volt source. An automatic shut off timer would also be handy to avoid premature battery abuse due to a forgetful operator.

IMG_2505