Land speed racing is one of the oldest forms of motorsport, and quite literally consists of going very, very fast in (ideally) a straight line. The higher the speed your car can attain, the better! It’s about the pure pursuit of top speed above all else, and building a car to compete is a calling for a dedicated few. If you’d like to join them, here’s how to go about it.
Faster, Faster, Faster!
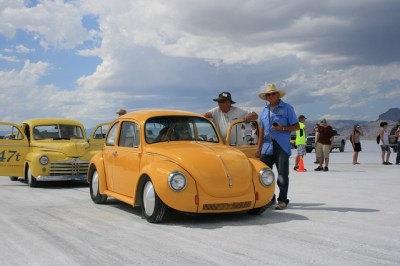
While taking the outright land speed record typically requires a jet-engined sled of singular design, there is plenty of land speed competition to be had in various classes for competitors fielding their own entries. There are vintage classes for older technology engines, still popular from the dawn of hotrodding, like Ford Flathead V8s and other contemporary motors. There are also classes split by engine displacement, number of cylinders, aerodynamic modifications, or the type of fuel used.
Racers often pick a record or set of records they wish to beat – for example, wanting to set the the fastest speed for a gasoline-powered, naturally-aspirated four cylinder – and build their car to that end. Alternatively, a racer might build a car with a large V8 engine, for example, to compete in one class, and then disable several cylinders on a later run to try and snatch records in lower classes as well. Continue reading “How To Get Into Cars: Land Speed Racing”