We have probably all seen the marketing blurbs on packaging and elsewhere promoting the amazing lifespan of LED lighting solutions. Theoretically you should be able to install a LED bulb in a fixture that used to hold that incandescent lightbulb which had to be replaced annually and have it last a decade or longer. Yet we seem to replace these LED bulbs much more often than that, with them suffering a range of issues. To get to the root cause of this, [The Doubtful Technician] decided to perform an autopsy on a couple of dead lightbulbs which he got from a variety of sources and brands.
One lamp is an Amazon-bought one from a seller who seems to have vanished, but was promised over 3 years of constant use. Other than the fun of blinding of oneself while testing, this one was easy to diagnose, with a dodgy solder joint on a resistor in a MELF package. The next one from Lowes was very dim, and required popping open with some gentle force, which revealed as likely culprit a shorted SMD resistor. Finally a more substantial (i.e. heavier) bulb was tested which had survived about 7 years in the basement until it and its siblings began to suddenly die. Some might consider this the normal lifespan, but what really failed in them?
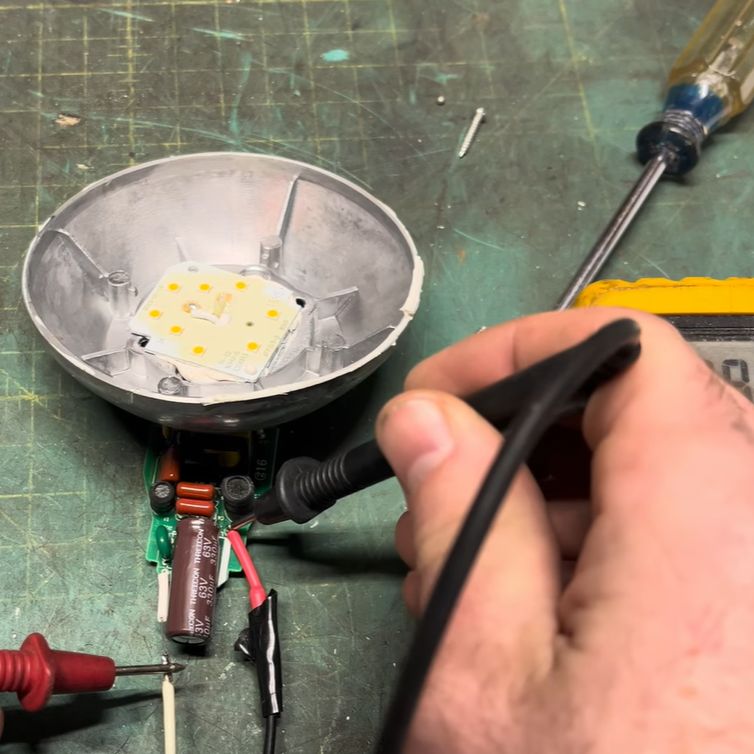
The electronics in this last bulb were the most impressive, with a full switch mode power supply (SMPS) that appears to have suffered a failure. Ultimately the pattern with these three bulbs was that while the LEDs themselves were still fine, it were things like the soldering joints and singular components on the LED driver PCB that had failed. Without an easy way to repair these issues, and with merely opening the average LED lightbulb being rather destructive, this seems like another area where what should be easy repairs are in fact not, and more e-waste is created.
Continue reading “Lies, Big Lies And LED Lightbulb Lifespan Promises”