By pretty much any metric you care to use, the inaugural East Coast RepRap Festival (ERRF) in 2018 was an incredible success. There was plenty to see, the venue was accommodating, and the ticket prices were exceptionally reasonable. But being a first-time event, there was an understandable amount of trepidation from both exhibitors and the attendees. Convincing people to travel hundreds of miles to an event with no track record can be a difficult thing, and if there was a phrase that would best describe the feel of that first ERRF, it would probably have been “cautious optimism”.
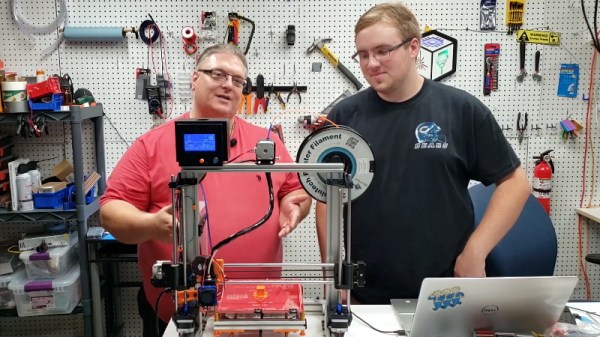
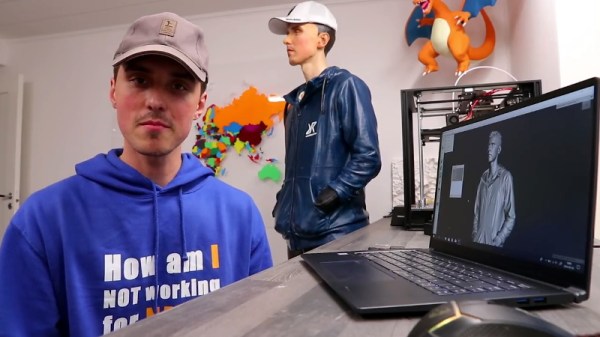
 But this year, now that they had some idea of what to expect, the 3D printing community descended on Bel Air, Maryland with a vengeance. In 2019, everything at ERRF was bigger and better. There were more people, more printers, and of course, more incredible prints. Activities like the 3D Printed Derby returned, and were joined by new attractions including full-body 3D scanning and a shooting gallery where attendees could try out the latest in printable NERF weaponry.
The official tally shows that attendance nearly doubled over last year, and with growth like that, we wouldn’t be surprised if the ERRF organizers consider relocating to a larger venue for 2020 or 2021. As far as problems go, growth so explosive that it requires you to rethink where you hold the event isn’t a bad one to have. The Midwest RepRap Festival, which served as the inspiration for ERRF, found they too needed to move into more spacious digs after a few years. Something to keep in mind the next time somebody tells you the bubble has burst on desktop 3D printing.
Trying to distill an event as large and vibrant as ERRF 2019 into a few articles is always difficult. Even after spending hours walking around the show floor, you would still stumble upon something you hadn’t seen previously. As such, this article is merely a taste of what was on hand. The East Coast RepRap Festival 2020 should absolutely be marked on your calendar for next year, but until then let’s take a look at just some of what made this year’s event such a smash.
Continue reading “East Coast RepRap Festival Comes Alive In Second Year” →

 One of the things [Mark] makes is


