If you’ve ever seen the back end of a military jet, you’ve likely seen variable area nozzles. They’re used to adjust the exhaust flow out of the rear of a jet engine during supersonic flight and while the afterburner is engaged. Commercial aircraft, with the exception of the Concorde, don’t need such fancy hardware since a static exhaust nozzle works well enough for the types of flying they’ll be doing. For much the same reasons, RC aircraft don’t need variable area nozzles either, but it doesn’t keep builders from wanting them.
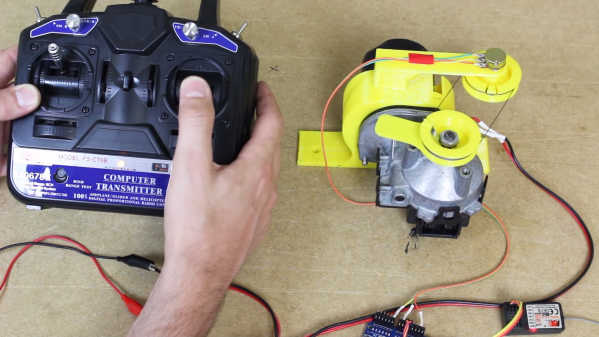
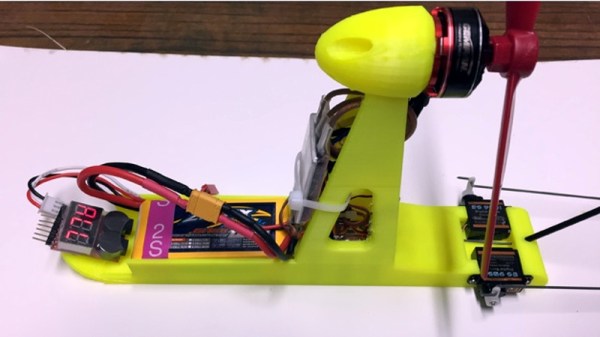
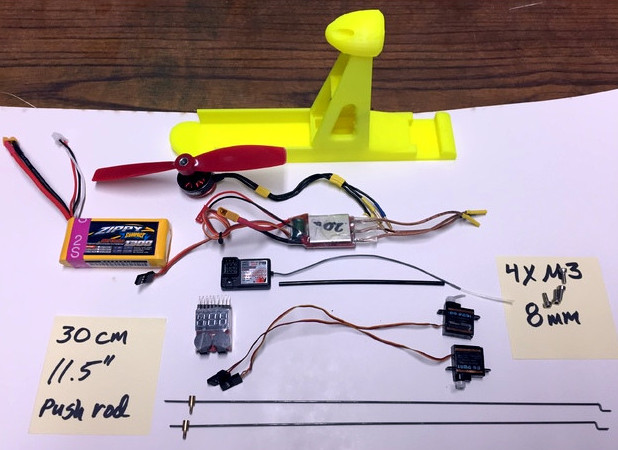
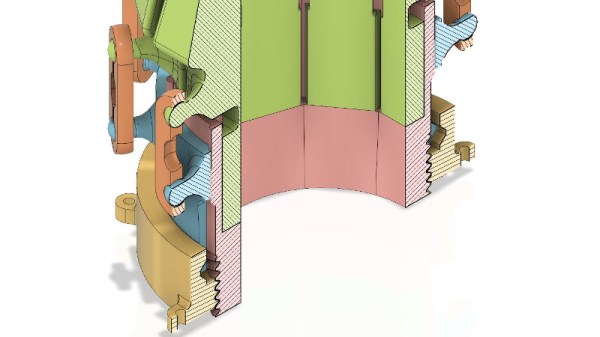
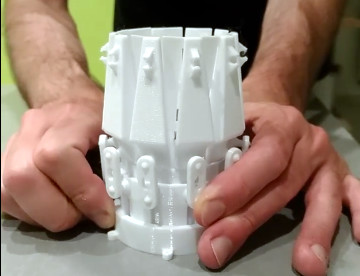 Which brings us to this utterly gorgeous design by [Marco Colucci]. Made up of 23 individual PETG parts, this variable area nozzle is able to reduce its diameter by 50% with just a twist of the rotating collar. When paired with a hobby servo, this mechanism will allow the operator to adjust the nozzle aperture with an extra channel on their RC transmitter. The nozzle hasn’t flown yet, but a test run is being planned with a 40mm Electric Ducted Fan (EDF) motor. But thanks to the parametric design, it shouldn’t be a problem to scale it up to larger motors.
But the big question: does it have an effect on the EDF’s performance? The answer is, of course, no. This doesn’t actually do anything. An EDF motor has no need for this sort of nozzle, and even if you tried to fit this on a scale jet engine, it would melt in seconds from the exhaust temperature. This is purely a decorative item, to give the plane a more accurate scale look. To that end, it looks fantastic and would definitely be impressive on the back of a large scale RC military fighter.
If anything, [Marco] says he expects performance to be worse with the nozzle fitted. Not only is it adding dead weight to the plane, but restricting the air coming out of the back of the fan isn’t going to do anything but reduce thrust. But on the bright side: if it’s flying slower, it will be easier to see how awesome your adjustable nozzles look.
This isn’t the first time somebody’s tried to make an electric RC plane look like it’s packing a proper turbine, but it certainly might be one of the slickest. Only way to top this is to build an actual jet engine for the thing.