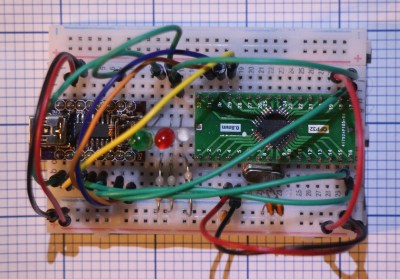
An Arduino Pro Micro With USB-C

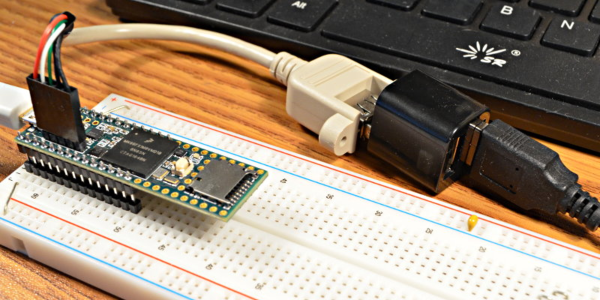
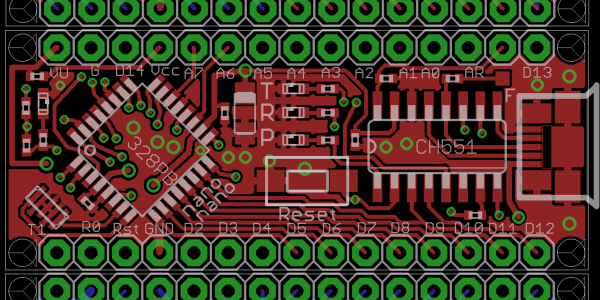
USB-C versus USB Micro connectors are turning into one of the holy wars of our time. Rather than be left on the wrong side of the divide [Stefan S] has come up with his own USB-C version of of an Arduino Pro Micro to avoid having to always find a different cable.

Home made Arduinos come in all shapes and sizes from the conventional to the adventurous, and from the pictures it seems that this one is firmly in the former camp. The USB-C is present in connector form alone as the device is only capable of talking at the much slower speed of the ATMEGA32U4 processor, but having the newer connector should at least make cabling more accessible.

This is one of the most practical Arduino clones we’ve ever seen, but one of our other favourites is also a bit impractical.

A Pocket QWERTY For Arduino And More

If you want to add a keypad to your Arduino project, the options are pretty limited. There’s that red and blue 4×4 membrane we’ve all seen in password-protected door lock projects, and the phone layout version that does pretty much all the same tricks. Isn’t it time for a full Arduino-compatible keyboard? [ELECTRONOOBS] thinks so.

This 41-button Arduino keyboard PCB is a stepping stone to his next project, a pair of two-way texting machines. (Which is nice, because we were totally going to suggest that). It’s based on that ubiquitous red/blue keypad, but it has a full QWERTY layout. There’s also a shift button that opens up special characters and uppercase, and the addition of return, ok, and send keys puts it over the top. The best part of this keyboard, hands down, is the soft, soundless buttons. Though you trade clicky feedback for comfort, it will be well worth it after a few dozen presses.

The keypad uses an onboard ATMega328P to scan the matrix for button presses, decode them, and send them via UART or I²C to an Arduino. [ELECTRONOOBS] has the PCB files available via Patreon for now, though they will be open in the future. The code is already available for download on his website.

Future plans include an LED to indicate when shift is pressed, and adding the special characters next to the numbers on the silkscreen (whoops!). Be sure to check out the build video after the break.

Want an Arduino-driven keyboard for longer hauls across the alphabet? Saddle up and ride this candy-colored mechanical unicorn.

Continue reading “A Pocket QWERTY For Arduino And More”

Force Sensitive Resistor Takes The Pain Out Of Bed Leveling

How do you know if your 3D printer bed is levelled? Oh, don’t worry – you’ll know. Without a level bed, filament won’t stick properly to the build surface and you’ll run into all sorts of other problems. Knowing how tricky it can be to get the bed just right, [Antzy] built a tool to help.

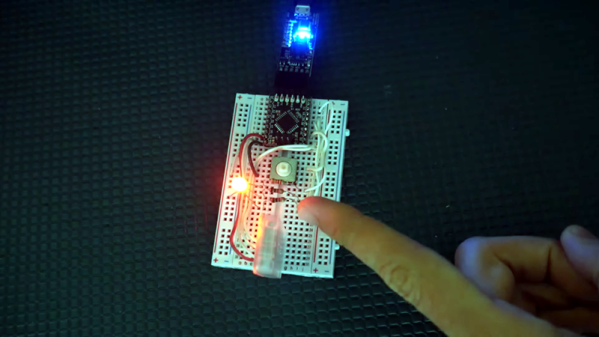
The device, which he calls the FS-Touch, is based around an Arduino Pro Micro fitted with a force sensitive resistor. This allows the distance between the bed and nozzle to be measured based on the force read by the resistor when placed in between the two.

Using the tool is simple. First, the bed is brought roughly into alignment using the typical paper method. Then, a reading is taken from one corner of the bed, and the measurement saved for reference. The other corners can then be set to the same level, with the aid of LEDs to guide the user in which direction to turn the adjustment knobs.

Measuring force in this way has the potential of being more repeatable than the somewhat difficult paper method. It promises to ease the task for users that may be struggling to get their bed in proper shape. Of course, automated bed levelling makes things even easier again. Video after the break.

Continue reading “Force Sensitive Resistor Takes The Pain Out Of Bed Leveling”

Voice Chess Uses Phone, Arduino, And An Electromagnet

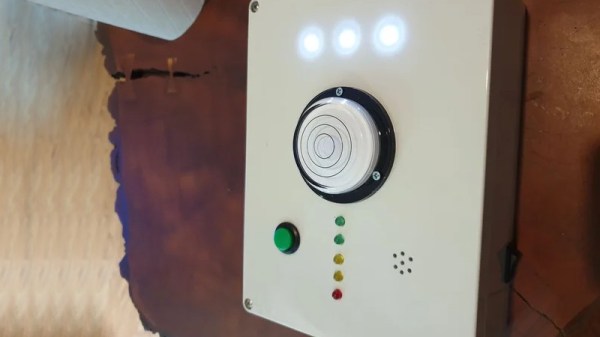
[Diyguypt] may be an altruist to provide the means for people who can’t manipulate chess pieces to play the game. Or he may just have his hands too busy with food and drink to play. Either way, his voice command chessboard appears to work, although it has a lot of moving parts both figuratively and literally. You can check out the video below to see how it works.

The speech part is handled by an Android phone and uses Google’s voice services, so if you don’t want Google listening to your latest opening gambit, you’ll want to pass this one up. The phone uses an app that talks to the Arduino via Bluetooth, which means the Arduino needs a Bluetooth module.

Continue reading “Voice Chess Uses Phone, Arduino, And An Electromagnet”

Your Arduino SAMD21 ADC Is Lying To You

One of the great things about the Arduino environment is that it covers a wide variety of hardware with a common interface. Importantly, this isn’t just about language, but also about abstracting away the gory details of the underlying silicon. The problem is, of course, that someone has to decode often cryptic datasheets to write that interface layer in the first place. In a recent blog post on omzlo.com, [Alain] explains how they found a bug in the Arduino SAMD21 analogRead() code which causes the output to be offset by between 25 mV and 57 mV. For a 12-bit ADC operating with a reference of 3.3 V, this represents a whopping error of up to 70 least-significant-bits!

Excerpt from the SAMD wiring_analog.c file in the Arduino Core repo.

While developing a shield that interfaces to 24 V systems, the development team noticed that the ADC readings on a SAMD21-based board were off by a consistent 35 mV; expanding their tests to a number of different analog pins and SAMD21 boards, they saw offsets between 25 mV and 57 mV. It seems like this offset was a known issue; Arduino actually provides code to calibrate the ADC on SAMD boards, which will “fix” the problem with software gain and offset factors, although this can reduce the range of the ADC slightly. Still, having to correct for this level of error on a microcontroller ADC in 2019 — or even 2015 when the code was written — seems really wrong.

After writing their own ADC read routine that produced errors of only between 1 mV and 5 mV (1 to 6 LSB), the team turned their attention to the Arduino code. That code disables the ADC between measurements, and when it is re-enabled for each measurement, the first result needs to be discarded. It turns out that the Arduino code doesn’t wait for the first, garbage, result to finish before starting the next one. That is enough to cause the observed offset issue.

It seems odd to us that such a bug would go unnoticed for so long, but we’ve all seen stranger things happen. There are instructions on the blog page on how to quickly test this bug. We didn’t have a SAMD21-based Arduino available for testing before press time, but if you’ve got one handy and can replicate these experiments to verify the results, definitely let us know in the comments section below.

If you don’t have an Arduino board with a SAMD21 uC, you can find out more about them here.

Arduino On MBed

Sometimes it seems like Arduino is everywhere. However, with a new glut of IoT processors, it must be quite a task to keep the Arduino core on all of them. Writing on the Arduino blog, [Martino Facchin], Arduino’s chief of firmware development, talks about the problem they faced supporting two new boards from Nordic.

The boards, the Nano 33 BLE and Nano 33 BLE Sense are based on an ARM Cortex M4 CPU from Nordic. The obvious answer, of course, is to port the Arduino core over from scratch. However, the team didn’t want to spend the time for just a couple of boards. They considered using the Nordic libraries to interact with the hardware, but since that is closed source, it didn’t really fit with Arduino’s sensitivities. However, in the end, they took a third approach which could be a very interesting development: they ported the Arduino core to the Mbed OS. There’s even an example of loading a sketch on top of Mbed available from [Jan Jongboom].

Continue reading “Arduino On MBed”

3D Printed Pen Plotter Is As Big As You Need It To Be

There’s nothing quite like building something to your own personal specifications. It’s why desktop 3D printers are such a powerful tool, and why this scalable plotter from the [Lost Projects Office] is so appealing. You just print out the end pieces and then pair it with rods of your desired length. If you’ve got some unusually large computer-controlled scribbling in mind, this is the project for you.

The design, which the team calls the Deep Ink Diver (d.i.d) is inspired by another plotter that [JuanGg] created. While the fundamentals are the same, d.i.d admittedly looks quite a bit more polished. In fact, if your 3D printed parts look good enough, this could probably pass for a commercial product.

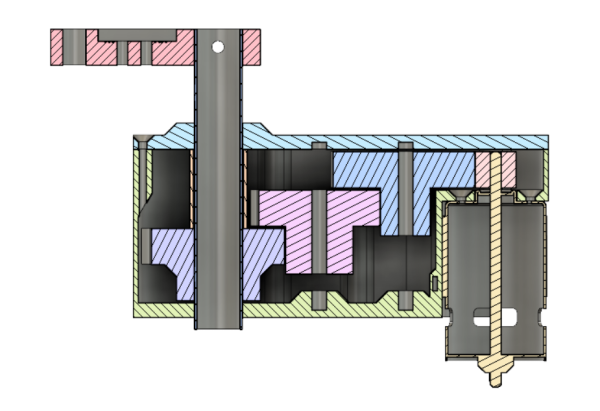
For the electronics, the plotter uses an Arduino Uno and a matching CNC Shield. Two NEMA 17 stepper motors are used for motion: one to spin the rod that advances the paper, and the other connected to a standard GT2 belt and pulley to move the pen back and forth.

We particularly like the way [Lost Projects Office] handled lifting the pen off the paper. In the original design a solenoid was used, which took a bit of extra circuitry to drive from the CNC Shield. But for the d.i.d, a standard SG90 servo is used to lift up the arm that the pen is attached to. A small piece of elastic puts tension on the assembly so it will drop back down when the servo releases.

If this plotter isn’t quite what you’re after, don’t worry. There’s more where that came from. We’ve seen a number of very interesting 3D printed plotters that are just begging for a spot in your OctoPrint queue.