[AJ] and [Joe], collectively the [Knight Rider Historians] are bringing back one of the most iconic vehicles of the 1980’s. Everyone remembers KITT driving into the F.L.A.G. truck. Even the Mythbusters re-enacted the stunt back in 2007. The duo managed to track down the original tractor and trailer from the show for restoration, and part of that process means uncovering the Hollywood hacks used to make the car-driving-into-trailer stunt work.

Back in the ’80s when a movie or TV show wrapped up, the props were often re-used in other productions or sold off. The 1975 Dorsey trailer used on Knight Rider was eventually purchased, stripped down, and painted white. It spent the last 30 years serving as a racing trailer. Carrying cars, and tools, and serving as a mobile shop at the track.
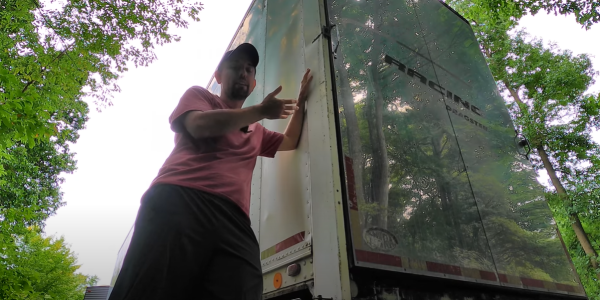
Unsurprisingly, most of the custom parts from Knight Rider are gone – but some hints remain. Specifically, [KRH] are trying to figure out how the drive-up door operated. Originally they assumed it was a hydraulic ram system that pulled the cables. However, above a dropped ceiling they found a welded hard mount and a 24-foot rail running down the trailer roof.
They believe the hard mount was for a winch, and the rail was used as a cable guide for two winch cables. A set of pulleys just behind the door directed these cables down to the ramp itself.