Here at Hackaday we cover news and interesting features for the hacker community, with an emphasis more on the hardware side. Nevertheless we also cover stories from time to time from the broader world of security. These usually involve vulnerabilities discovered through the patient work of software or hardware researchers, and are certainly what we’d call hacking. But what about those information security breaches that aren’t hacks like that at all? What happens when the person being breached simply gives you the information?
I’ve got one, and while it’s Not A Hack, it’s definitely something that we and those outside our community need to talk about. I’m talking about the depressingly common occurrence of organisations who should know better, gifting their letterhead to all and sundry in the form of freely editable Word documents. Continue reading “The Simplest Social Engineering Hack Of Them All”→
Bureaucracies generate paper, usually lots of paper. Anything you consider private — especially anything that could get you in trouble — should go in a “burn box” which is usually a locked trash can that is periodically emptied into an incinerator. However, what about a paper shredder? Who hasn’t seen a movie or TV show where the office furiously shreds papers as the FBI, SEC, or some other three-letter-agency is trying to crash the door down?
That might have been the scene in the late 1980s when Germany reunified. The East German Ministry of State Security — known as the Stasi — had records of unlawful activity and, probably, information about people of interest. The staff made a best effort to destroy these records, but they did not quite complete their task.
The collapsing East German government ordered documents destroyed, and many were pulped or burned. However, many of the documents were shredded by hand, stuffed into bags, and were awaiting final destruction. There were also some documents destroyed by the interim government in 1990. Today there are about 16,000 of these bags remaining, each with 2,500 to 3,000 pieces of pages in them.
Machine-shredded documents were too small to recover, but the hand-shredded documents should be possible to reconstruct. After all, they do it all the time in spy movies, right? With modern computers and vision systems, it should be a snap.
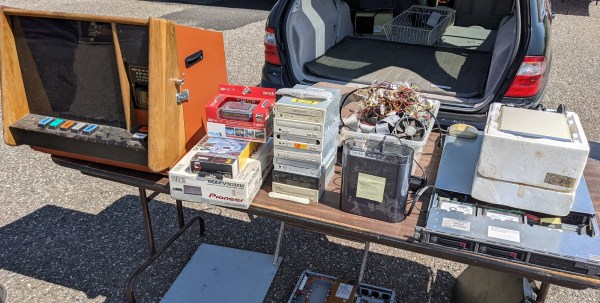
There was a time where you could regularly find local swap meets to pick up computer hardware, ham radios, and other tech gear at the sort of cut-rate prices so often produced by a sense of camaraderie. But with the rise of websites like Craigslist and eBay, meeting up in person to buy and sell used hardware started to fall out of style. The fact that the prices had to go up due to the considerable cost of shipping such large and heavy objects was an unfortunate side-effect, but it wasn’t enough to stem the tide.
It’s unlikely that we’ll ever truly return to those early days. But if you’re within driving distance of Wall, New Jersey, you can take a step back in time on Saturday and experience a proper swap meet in all its glory. Hosted by the Vintage Computer Federation, the modest $5 entry fee goes to help support their worthy goal of preserving vintage computing history. After the swap meet officially wraps up at 2 PM, a short walk will take you over to their permanent exhibit located within the sprawling InfoAge Science and History Museum.
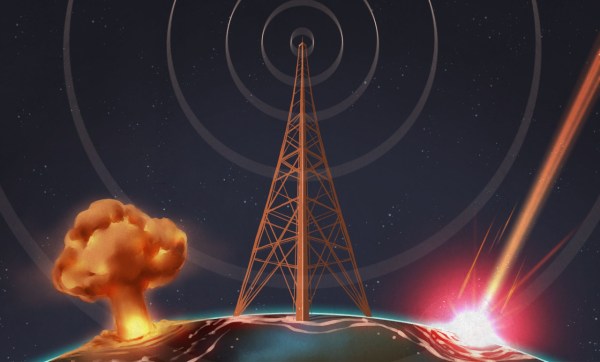
If you’ve been car shopping lately, or even if you’ve just been paying attention to the news, you’ll probably be at least somewhat familiar with the kerfuffle over AM radio. The idea is that in these days of podcasts and streaming music, plain-old amplitude modulated radio is becoming increasingly irrelevant as a medium of mass communication, to the point that automakers are dropping support for it from their infotainment systems.
The threat of federal legislation seems to have tapped the brakes on the anti-AM bandwagon, at least for now. One can debate the pros and cons, but the most interesting tidbit to fall out of this whole thing is one of the strongest arguments for keeping the ability to receive AM in cars: emergency communications. It turns out that about 75 stations, most of them in the AM band, cover about 90% of the US population. This makes AM such a vital tool during times of emergency that the federal government has embarked on a serious program to ensure its survivability in the face of disaster.
The future, as seen in the popular culture of half a century or more ago, was usually depicted as quite rosy. Technology would have rendered every possible convenience at our fingertips, and we’d all live in futuristic automated homes — no doubt while wearing silver clothing and dreaming about our next vacation on Mars.
Of course, it’s not quite worked out this way. A family from 1965 whisked here in a time machine would miss a few things such as a printed newspaper, the landline telephone, or receiving a handwritten letter; they would probably marvel at the possibilities of the Internet, but they’d recognise most of the familiar things around us. We still sit on a sofa in front of a television for relaxation even if the TV is now a large LCD that plays a streaming service, we still drive cars to the supermarket, and we still cook our food much the way they did. George Jetson has not yet even entered the building.
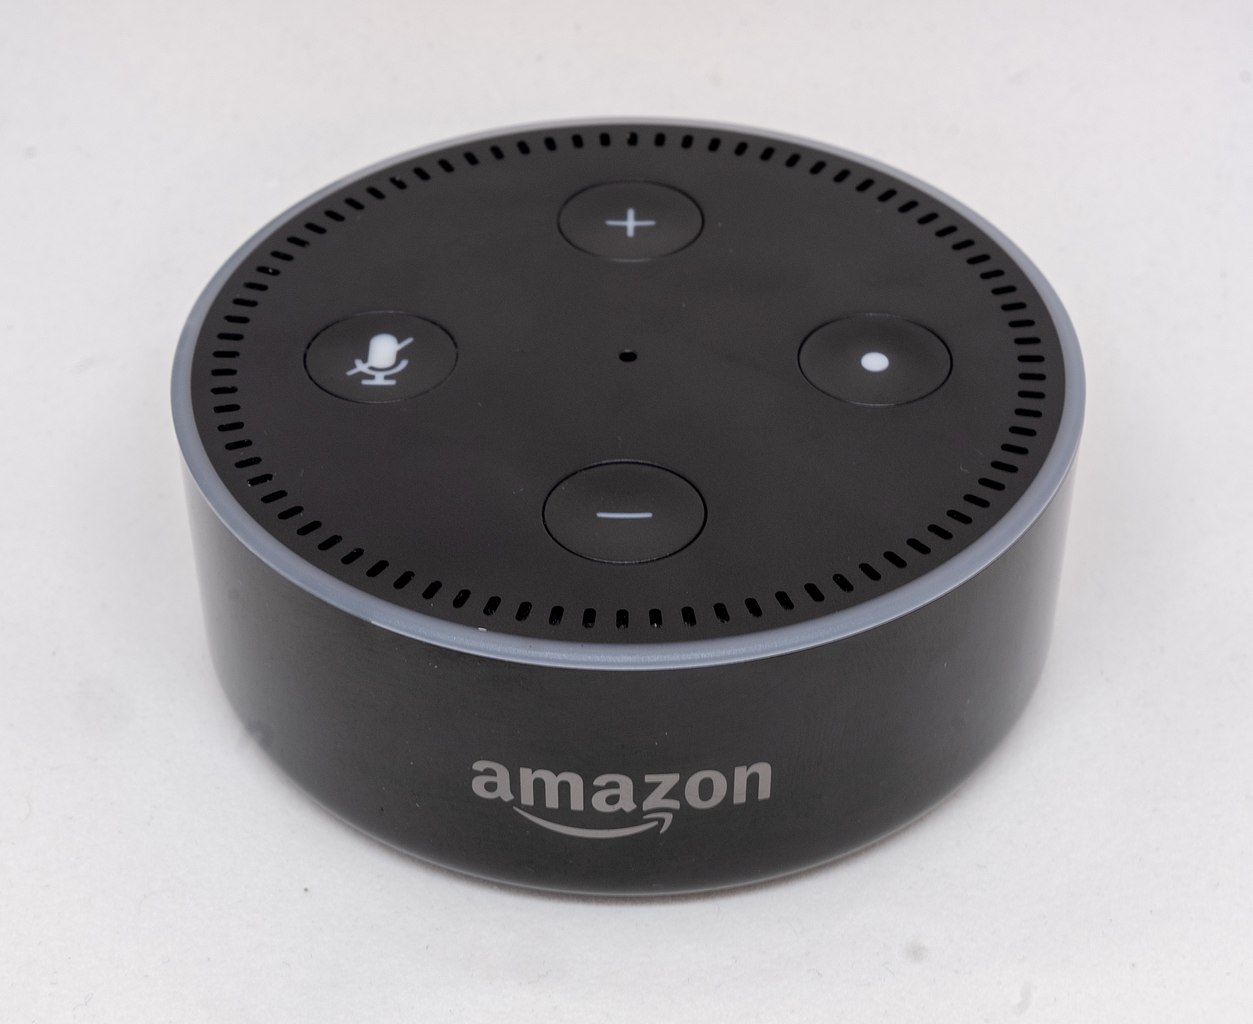
The Future is Here, and it Responds to “Alexa”
“Alexa, why haven’t you been a commercial success?” Gregory Varnum, CC BY-SA 4.0
There’s one aspect of the Jetsons future that has begun to happen though. It’s not the futuristic automation of projects such as Disneyland’s Monsanto house Of The Future, but instead it’s our current stuttering home automation efforts. We’re not having domestic robots in pinnies hand us rolled-up newspapers, but we’re installing smart lightbulbs and thermostats, and we’re voice-controlling them through a variety of home hub devices. The future is here, and it responds to “Alexa”.
But for all the success that Alexa and other devices like it have had in conquering the living rooms of gadget fans, they’ve done a poor job of generating a profit. It was supposed to be a gateway into Amazon services alongside their Fire devices, a convenient household companion that would help find all those little things for sale on Amazon’s website, and of course, enable you to buy them. Then, Alexa was supposed to move beyond your Echo and into other devices, as your appliances could come pre-equipped with Alexa-on-a-chip. Your microwave oven would no longer have a dial on the front, instead you would talk to it, it would recognise the food you’d brought from Amazon, and order more for you.
Instead of all that, Alexa has become an interface for connected home hardware, a way to turn on the light, view your Ring doorbell on models with screens, catch the weather forecast, and listen to music. It’s a novelty timepiece with that pod bay doors joke built-in, and worse that that for the retailer it remains by its very nature unseen. Amazon have got their shopping cart into your living room, but you’re not using it and it hardly reminds you that it’s part of the Amazon empire at all.
But it wasn’t supposed to be that way. The idea was that you might look up from your work and say “Alexa, order me a six-pack of beer!”, and while it might not come immediately, your six-pack would duly arrive. It was supposed to be a friendly gateway to commerce on the website that has everything, and now they can’t even persuade enough people to give it a celebrity voice for a few bucks.
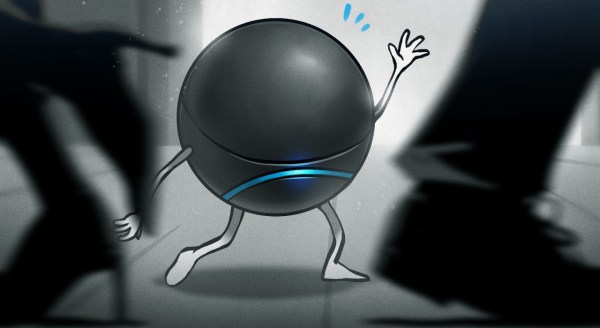
The Gadget You Love to Hate
In the first few days after the Echo’s UK launch, a member of my hackerspace installed his one in the space. He soon became exasperated as members learned that “Alexa, add butt plug to my wish list” would do just that. But it was in that joke we could see the problem with the whole idea of Alexa as an interface for commerce. He had locked down all purchasing options, but as it turns out, many people in San Diego hadn’t done the same thing. As the stories rolled in of kids spending hundreds of their parents’ hard-earned on toys, it would be a foolhardy owner who would leave left purchasing enabled. Worse still, while the public remained largely in ignorance the potential of the device for data gathering and unauthorized access hadn’t evaded researchers. It’s fair to say that our community has loved the idea of a device like the Echo, but many of us wouldn’t let one into our own homes under any circumstances.
So Alexa hasn’t been a success, but conversely it’s been a huge sales success in itself. The devices have sold like hot cakes, but since they’ve been sold at close to cost, they haven’t been the commercial bonanza they might have hoped for. But what can be learned from this, other than that the world isn’t ready for a voice activated shopping trolley?
Sadly for most Alexa users it seems that a device piping your actions back to a large company’s data centres is not enough of a concern for them. It’s an easy prediction that Alexa and other services like it will continue to evolve, with inevitable AI pixie dust sprinked on them. A bet could be on the killer app being not a personal assistant but a virtual friend with some connections across a group of people, perhaps a family or a group of friends. In due course we’ll also see locally hosted and open source equivalents appearing on yet-to-be-released hardware that will condense what takes a data centre of today’s GPUs into a single board computer. It’s not often that our community rejoices in being late to a technological party, but I for one want an Alexa equivalent that I control rather than one that invades my privacy for a third party.
I grew up in a small town with a small library. The next town over had what I thought at the time was a big library, but it was actually more like my town had a tiny library, and the next one over had an actual small library. When I left to go to University, I found out what a real library looked like, and I was mesmerized. Books! Lots of books, many of them written in the current decade. My grades probably suffered from the amount of time I spent in the library reading things that didn’t directly relate to my classes. But there was one thing I found that would turn out to be life-changing: A real computer magazine. Last month, Harry McCracken pointed out that the last two widely-distributed American consumer computer magazines ceased paper publication. It is the end of an era, although honestly, it is more like a comatose patient expiring than a shocking and sudden demise.
Dr. Dobb’s first issue was far from the slick commercial magazine it would become.
Actually, before I had gone to college, I did have a subscription to Kilobaud, and I still have some copies of those. No offense to Wayne Green, but Kilobaud wasn’t that inspiring. It was more an extension of his magazine “73”, and while I enjoyed it, it didn’t get me dreaming. Dr. Dobb’s Journal — the magazine I found in the stacks of my University’s library — was tangibly different. There was an undertone of changing the world. We weren’t sure why yet, but we knew that soon, everyone would have a computer. Maybe they’d balance their checkbook or store recipes. A few people already saw the potential of digital music reproduction, although, I must admit, it was so poor at the time, I couldn’t imagine who would ever care.
I say it was life-changing to discover the few issues of Dr. Dobb’s that were published back then because I would go on to contribute to Dr. Dobb’s throughout its storied history. I wrote the infamous DOS extender series, produced special issues, and, when it went mostly digital, was the embedded system blogger for them for more years than I care to admit. In fact, I have the dubious distinction of having the final blog posted; although the website has suffered enough bit rot, I’m not sure any of it has survived other than, maybe, on the Wayback machine. While I wasn’t with the magazine for its entire 38-year run, I read it for at least 35 and had some function there for about 24 of those.
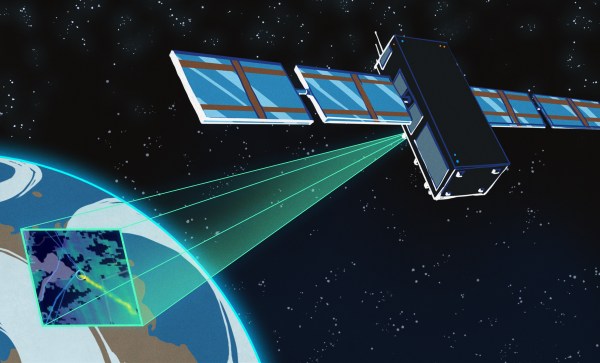
Much of the reporting around climate change focuses on carbon dioxide. It’s public enemy number one when it comes to gases that warm the atmosphere, as a primary byproduct of fossil fuel combustion.
It’s not the only greenhouse gas out there, though. Methane itself is a particularly potent pollutant, and one that is being emitted in altogether excessive amounts. Satellites are now on the hunt for methane emissions in an attempt to save the world from this odorless, colorless gas.