A few years ago [Xabier Zubizarreta] got it into his head that he wanted to put a modern digital image sensor into a classic Super 8 camera, but he didn’t want to ruin a gorgeous piece of vintage hardware in the process. After a bit of research, he discovered an export version of the Avrora camera made for the 1980 Summer Olympic Games in Moscow that could be had for cheap. Figuring nobody would miss a camera built with the utilitarian aesthetics you’d expect of a Soviet-era piece of consumer tech, he set off to cram a Raspberry Pi into its film compartment.
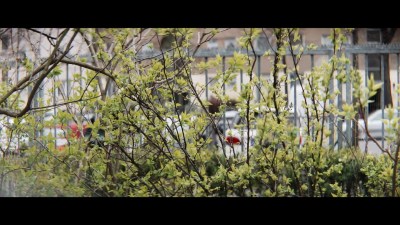
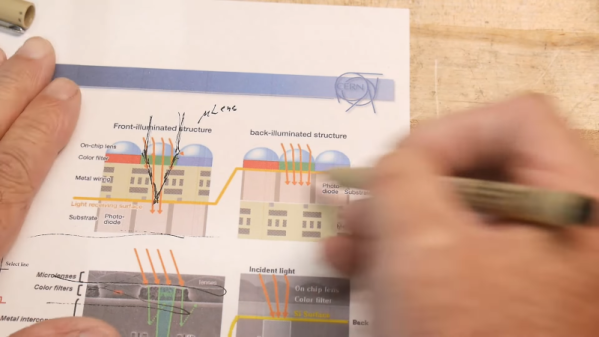
On the Hackaday.io page for this project, [Xabier] explains a bit about the optical properties that make this project challenging. Specifically, the miniature sensor used by the official Raspberry Pi camera module is far smaller than the 8 mm film the camera was designed for. So when the sensor placed at the appropriate focal length for the original film, the image will be cropped considerably. As you can see in the video below, this gives the impression of everything being filmed with a fairly tight zoom.
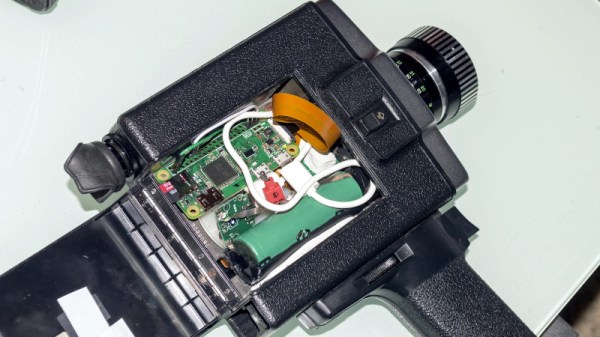
To perform this modification, [Xabier] first had to liberate the sensor of the Pi Camera from the original optics, and then carefully install it in proper position on the Avrora. To make sure he had it aligned, he watched a live feed from the camera while the epoxy holding the sensor down was curing. This allowed him to make slight adjustments before everything was solidified. With the sensor in place, he only had to stuff the Pi Zero and battery pack into the film compartment, and wire the original camera trigger to the GPIO pins so he could read it in software.
Considering the incredible amount of effort some photographers have put in to adapt their vintage cameras to digital, it’s refreshing to see such a straightforward approach. The resulting video might not be up to modern standards, but with projects like this, that’s sort of the point.
Continue reading “Soviet Super 8 Camera Hides Raspberry Pi Zero”