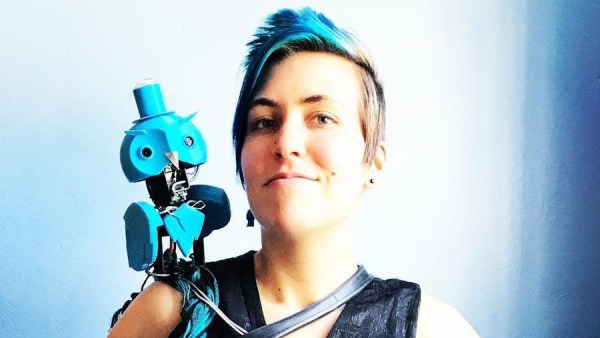
In European medieval folklore, a practitioner of magic may call for assistance from a familiar spirit who takes an animal form disguise. [Alex Glow] is our modern-day Merlin who invoked the magical incantations of 3D printing, Arduino, and Raspberry Pi to summon her familiar Archimedes: The AI Robot Owl.
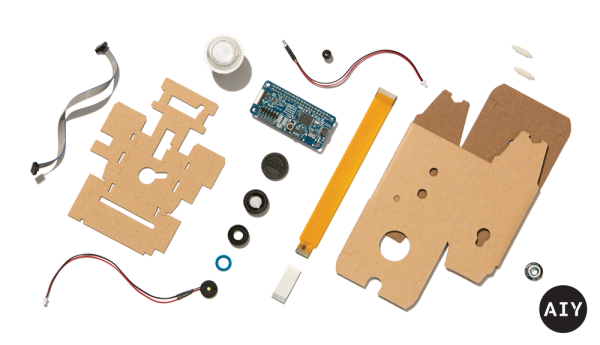
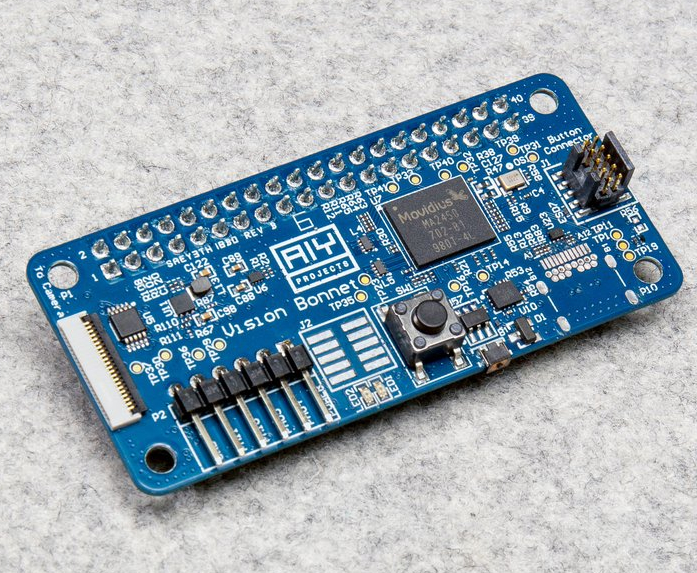
The key attraction in this build is Google’s AIY Vision kit. Specifically the vision processing unit that tremendously accelerates image classification tasks running on an attached Raspberry Pi Zero W. It no longer consumes several seconds to analyze each image, classification can now run several times per second, all performed locally. No connection to Google cloud required. (See our earlier coverage for more technical details.) The default demo application of a Google AIY Vision kit is a “joy detector” that looks for faces and attempts to determine if a face is happy or sad. We’ve previously seen this functionality mounted on a robot dog.
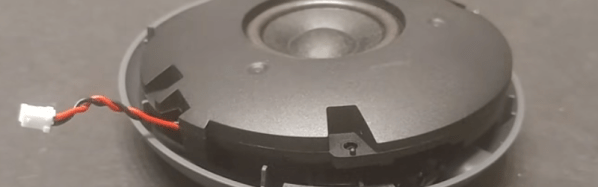
[Alex] aimed to go beyond the default app (and default box) to create Archimedes, who was to reward happy people with a sticker. As a moving robotic owl, Archimedes had far more crowd appeal than the vision kit’s default cardboard box. All the kit components have been integrated into Archimedes’ head. One eye is the expected Pi camera, the other eye is actually the kit’s piezo buzzer. The vision kit’s LED-illuminated button now tops the dapper owl’s hat.
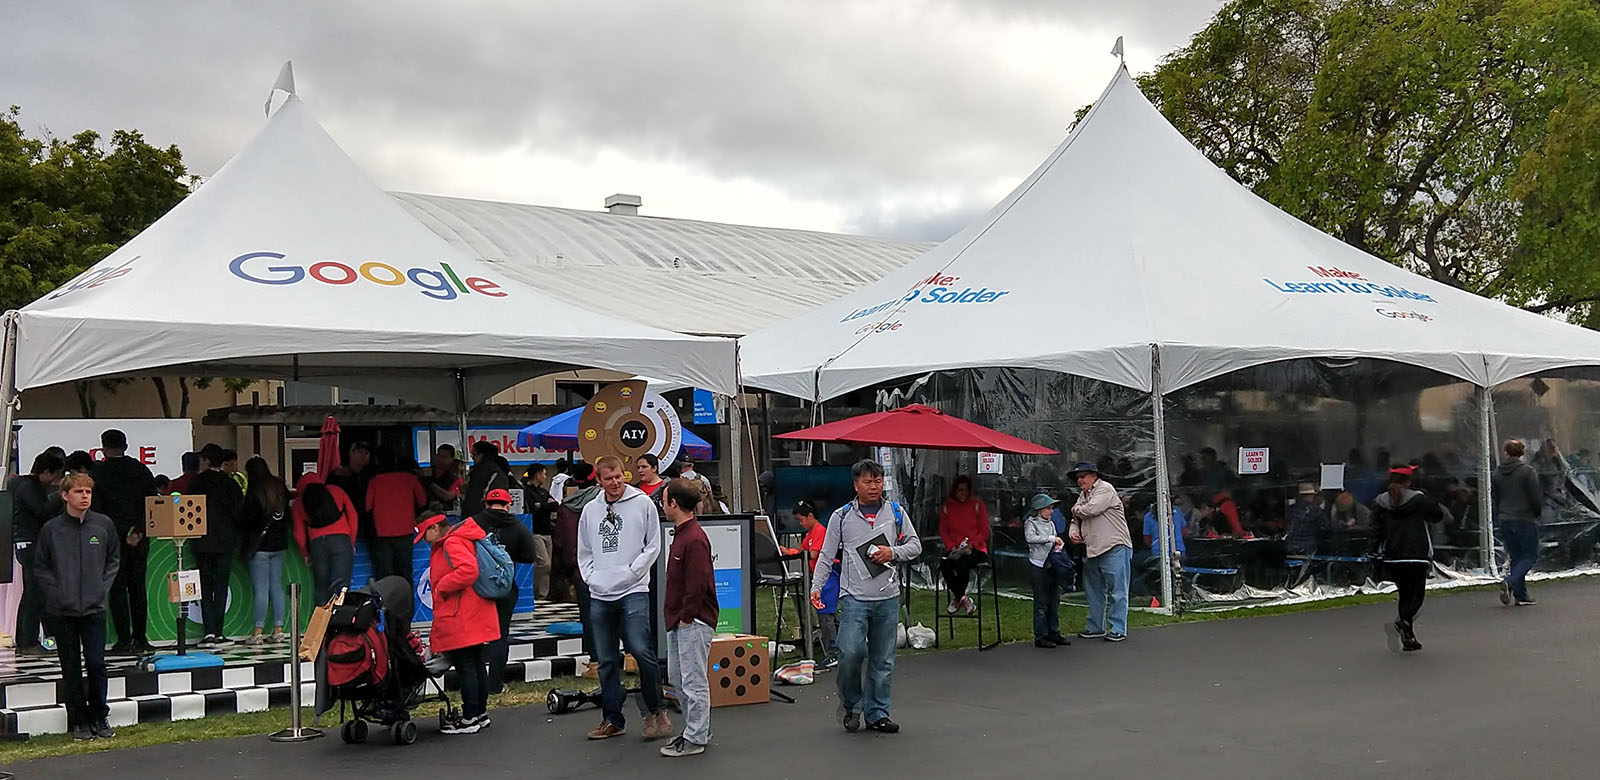
Archimedes was created to join in Google’s promotion efforts. Their presence at this Maker Faire consisted of two tents: one introductory “Learn to Solder” tent where people can create a blinky LED badge, and the other tent is focused on their line of AIY kits like this vision kit. Filled with demos of what the kits can do aside from really cool robot owls.
Hopefully these promotional efforts helped many AIY kits find new homes in the hands of creative makers. It’s pretty exciting that such a powerful and inexpensive neural net processor is now widely available, and we look forward to many more AI-powered hacks to come.