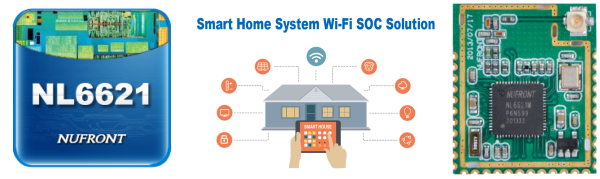
We’ve seen rumors floating around the Twittersphere about a new integrated microprocessor and WiFi SOC: the NL6621 from Nufront. Details are still scarce, but that doesn’t seem to be because the chip is vaporware: you could buy modules on Taobao.com and eBay right now for between two-and-a-half and three bucks, and Nufront’s website says they’ve produced a million modules since 2013.
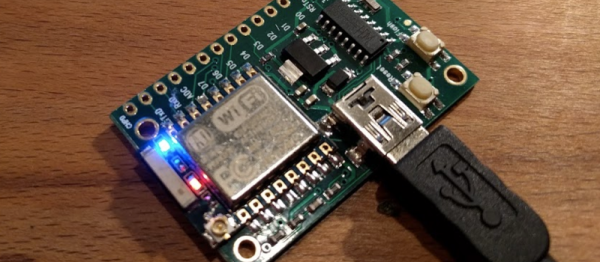
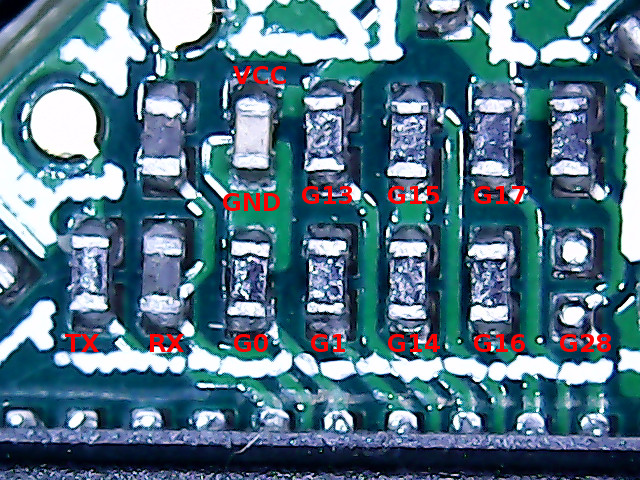
The NL6621 WiFi SOC is powered by a 160 MHz ARM Cortex-M3 with 448 KB of RAM, and everything else is integrated in the SOC. The module has 32 GPIOs, SPI, I2C, I2S digital audio, and most of the peripherals that you’d expect. They say they have a completely open source SDK, but we can’t find a link to it anywhere. An English-language forum has sprung up in anticipation of the next new thing, and they say that they’ve contacted Nufront about the SDK, so that’s probably as good a place as any to lurk around if you’re interested. With an ARM core, it shouldn’t be long before someone gets GCC working on these things anyway.
It’s also worth noting that we’ve announced ESP8266 killers before, and it hasn’t come to pass. The mixture of community and official support that (eventually) came out of Espressif seems to be the main factor determining the ESP8266’s success, and we don’t see that yet with the NL6621. So take the question mark in the title seriously, but if this turns out to be the next big thing, remember where you heard it first, ok?
Thanks [David Hunt] for the tip!


 draw the schematic and layout. Using the