Things rarely go well when humans mix with wildlife. The problems are exacerbated in the suburbs, where bears dine on bird feeders and garbage cans, raccoons take up residence in attics, and coyotes make off with the family cat. And in the suburbs, nuisance wildlife can be an intractable problem because the options for dealing with it are so limited.
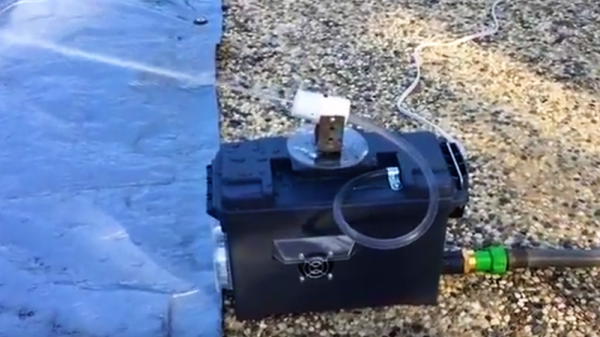
Not to be dissuaded in the battle to protect his roses, [dlf.myyta] built this motion-activated sentry gun to apply some watery aversion therapy to marauding deer. Shown in action below against a bipedal co-conspirator, the sentry gun has pretty much what you’d expect under the hood — Raspberry Pi, NoIR camera, a servo for aiming and a solenoid valve to control the water. OpenCV takes care of locating the intruders and swiveling the nozzle to center mass; since the deer are somewhat constrained by a fence, there’s no need to control the nozzle’s elevation. Everything is housed nicely in a plastic ammo can for portability and waterproofing. Any target that stands still for more than three seconds gets a hosing; we assume this is effective, but alas, no snuff films were provided.
We’re not sure if [dlf.myyta]’s code can discern friend from foe, and in this litigious world, hosing the neighbor’s kid could be a catastrophe. Perhaps version 2.0 can include image recognition for target verification.
Continue reading “Auto-Tracking Sentry Gun Gives Deer A Super Soaking”