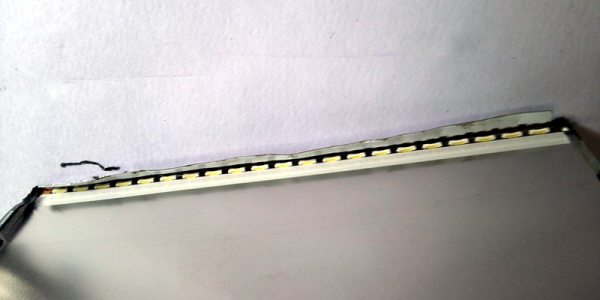
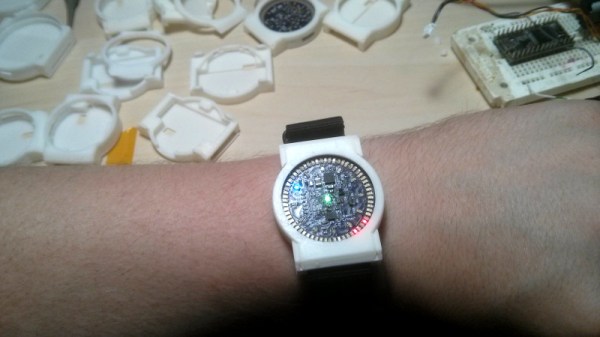
When [Felix Rusu], maker of the popular Moteino boards which started life as wireless Arduino compatibles, says he’s made a wireless ring light for his SMD microscope, we redirect our keystrokes to have a look. Of course, it’s a bit of wordplay on his part. What he’s done is made a new ring light which uses a battery instead of having annoying wires go to a wall wart. That’s important for someone who spends so much time hunched over the microscope. Oh, and he’s built the ring light on a rather nice looking SMD board.
The board offers a few power configurations. Normally he powers it from a 1650 mAh LiPo battery attached to the rear of his microscope. The battery can be charged using USB or through a DC jack for which there’s a place on the board, though he hasn’t soldered one on yet. In a pinch, he can instead power the light from the USB or the DC jack, but so far he’s getting over 6 hours on a single charge, good enough for an SMD session.
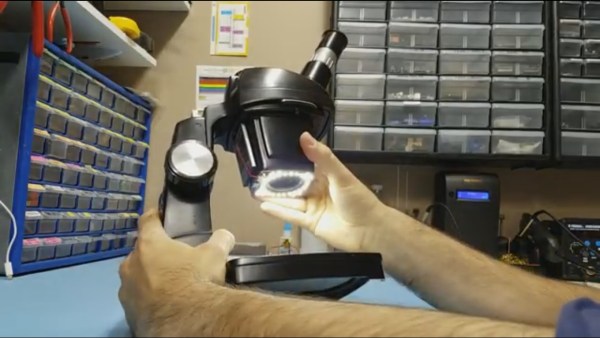
The video below shows his SMD board manufacturing process, from drawing up the board in Eagle, laser cutting holes for a stencil, pasting, populating the board, and doing the reflow, along with all sorts of tips along the way. Check it out, it makes for enjoyable viewing.
Here’s another microscope ring light with selectable lighting patterns for getting rid of those pesky shadows. What features would make your SMD sessions go a little easier?
Continue reading “Wireless Ring Light For SMD Microscope” →